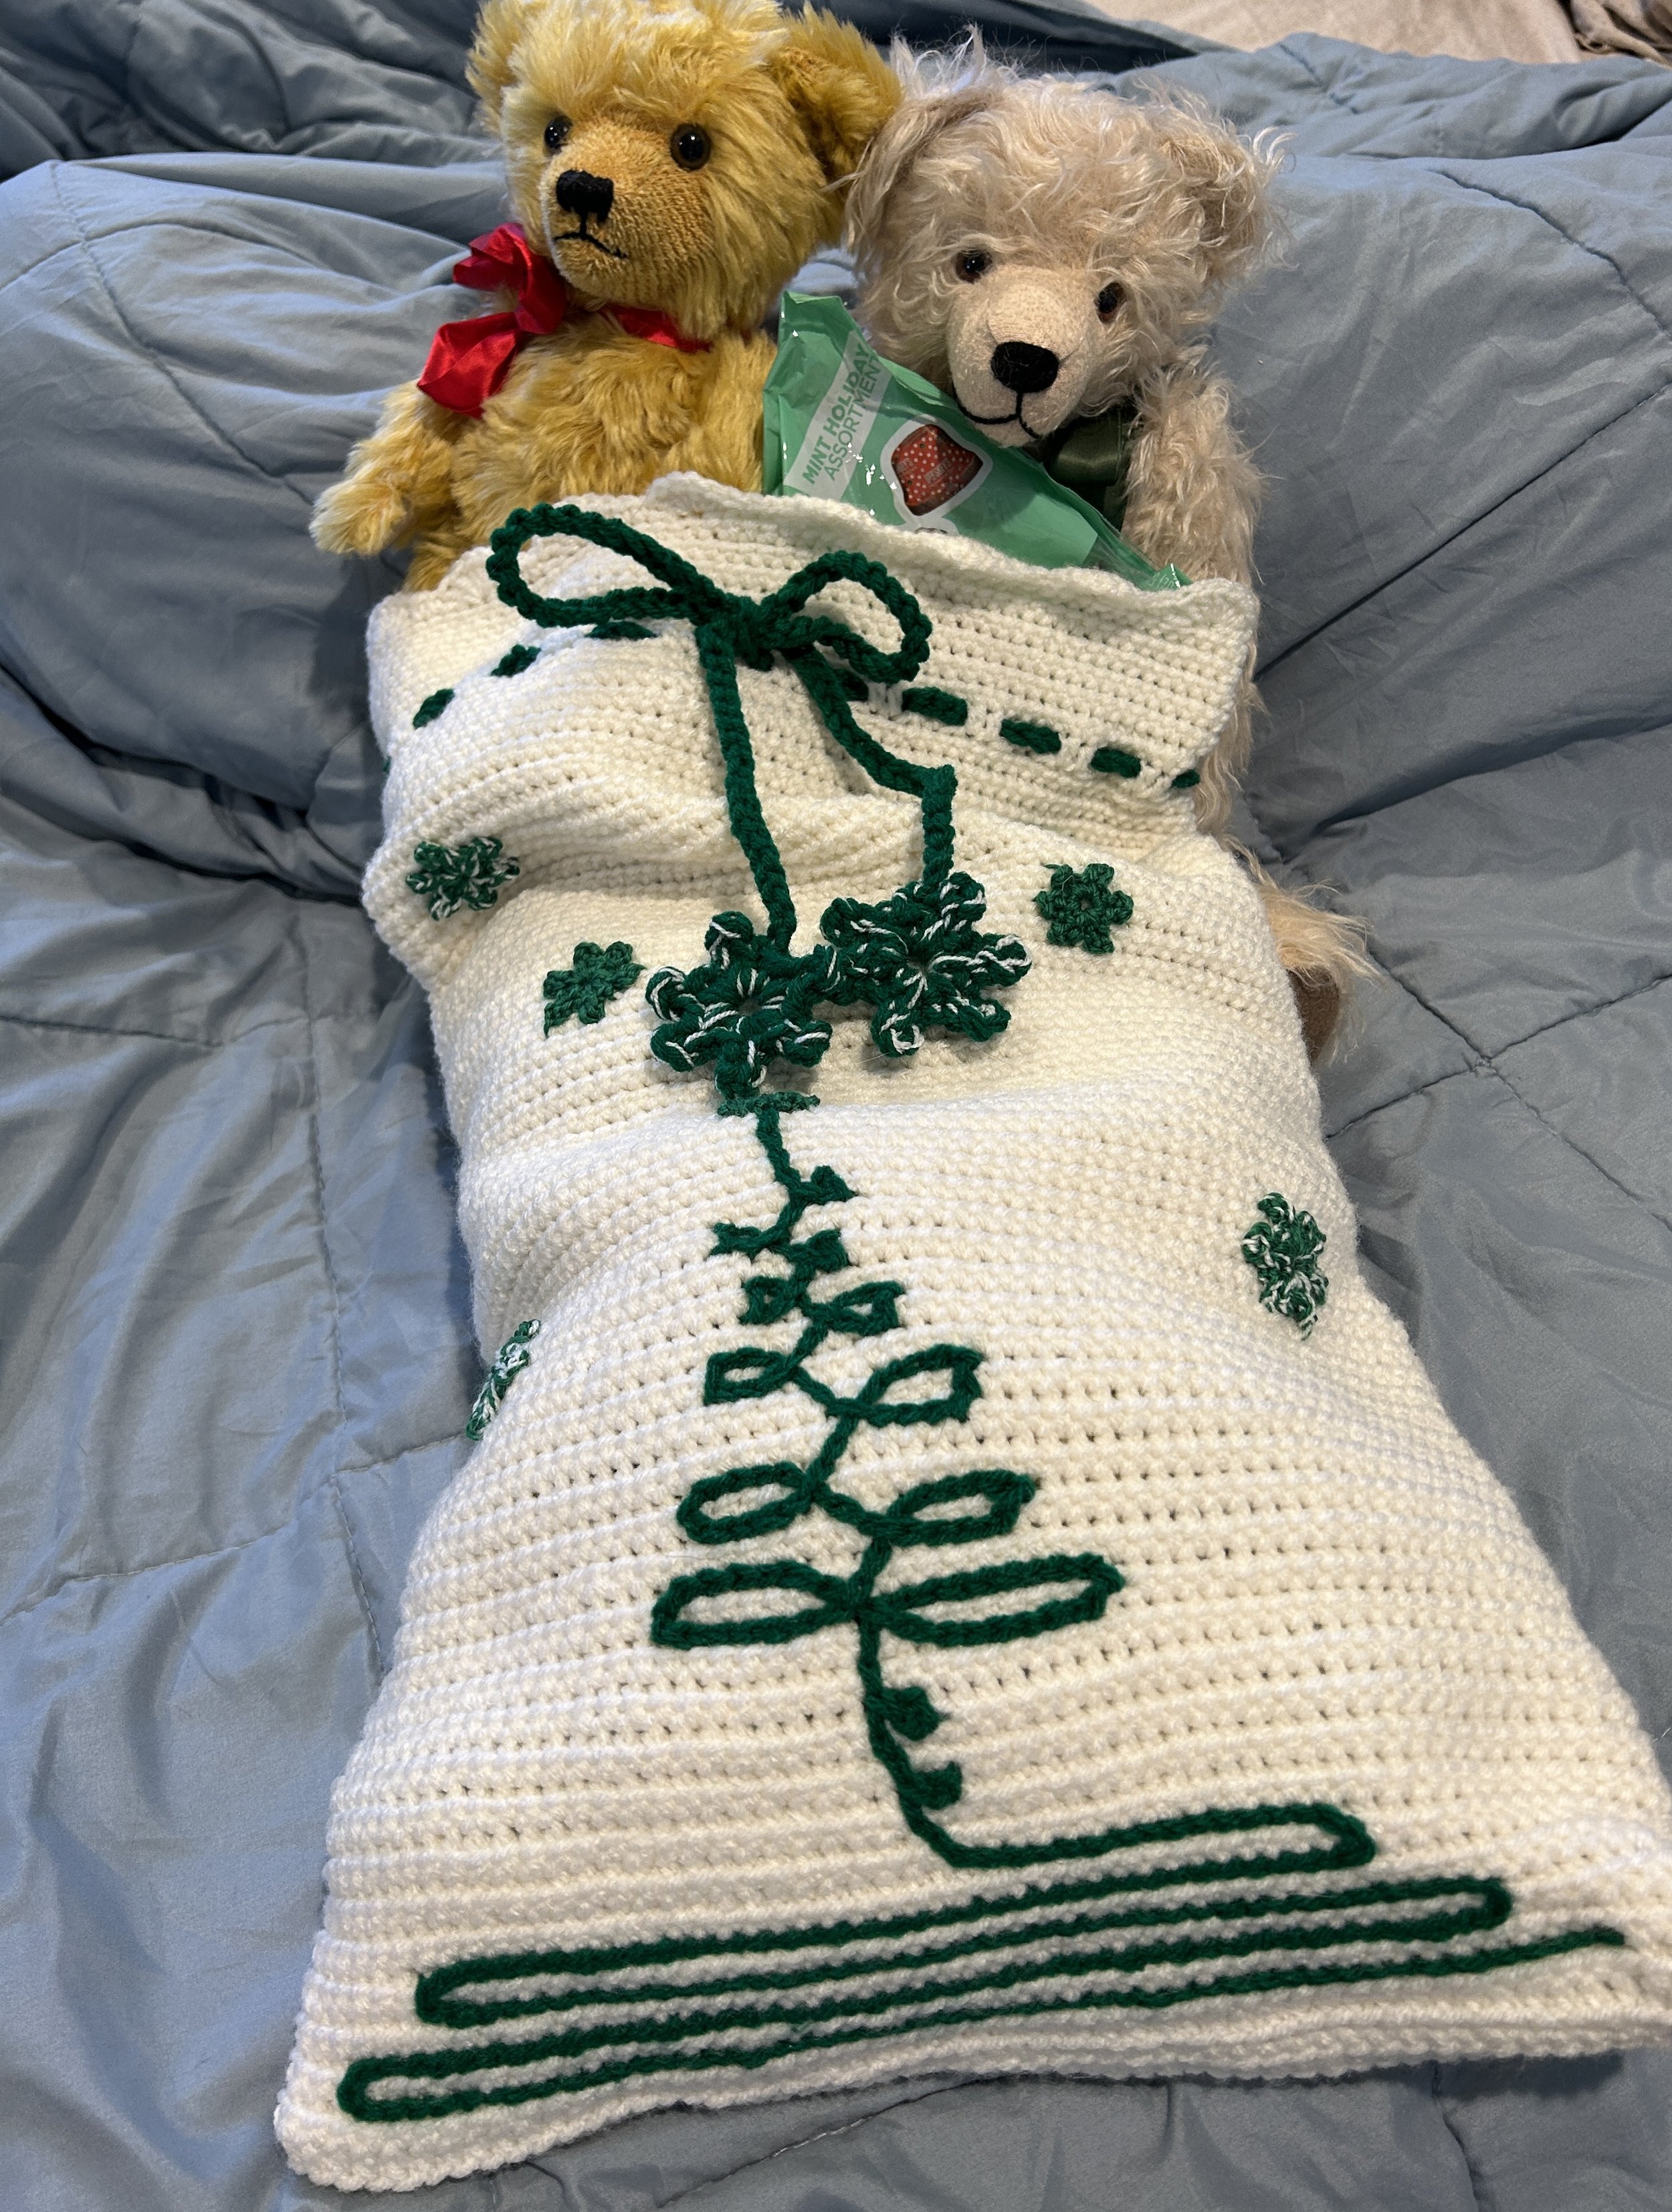
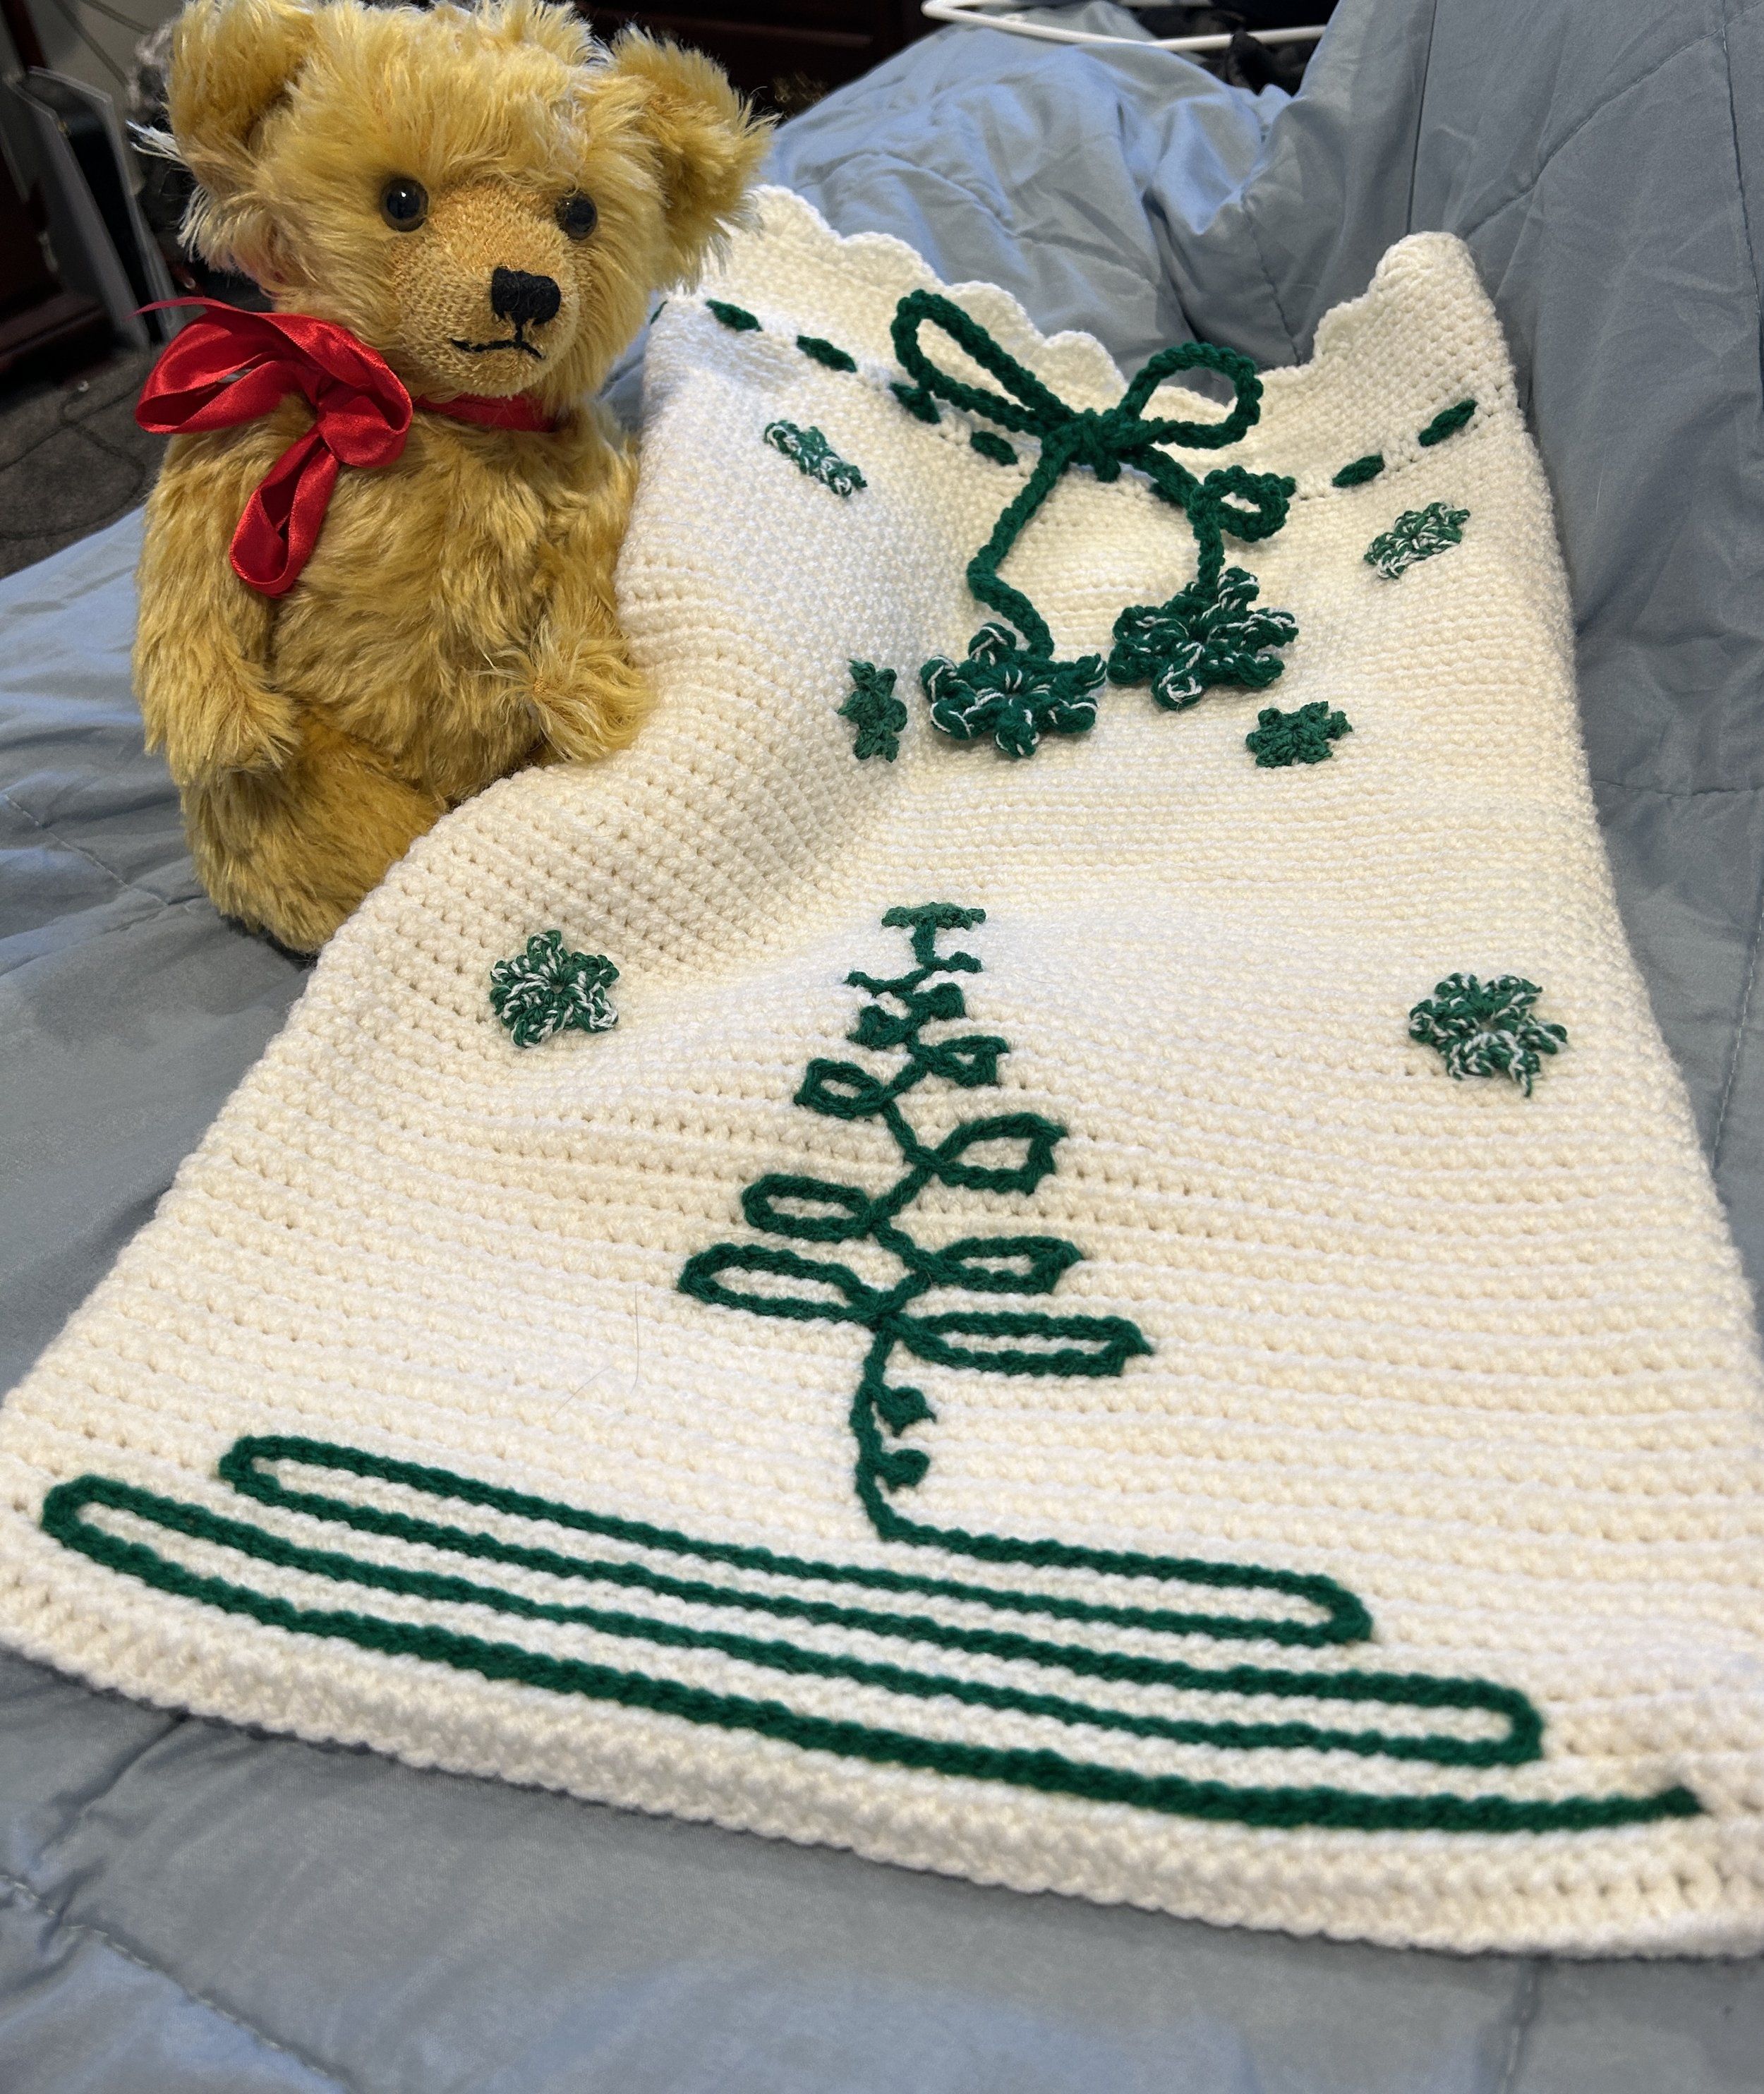
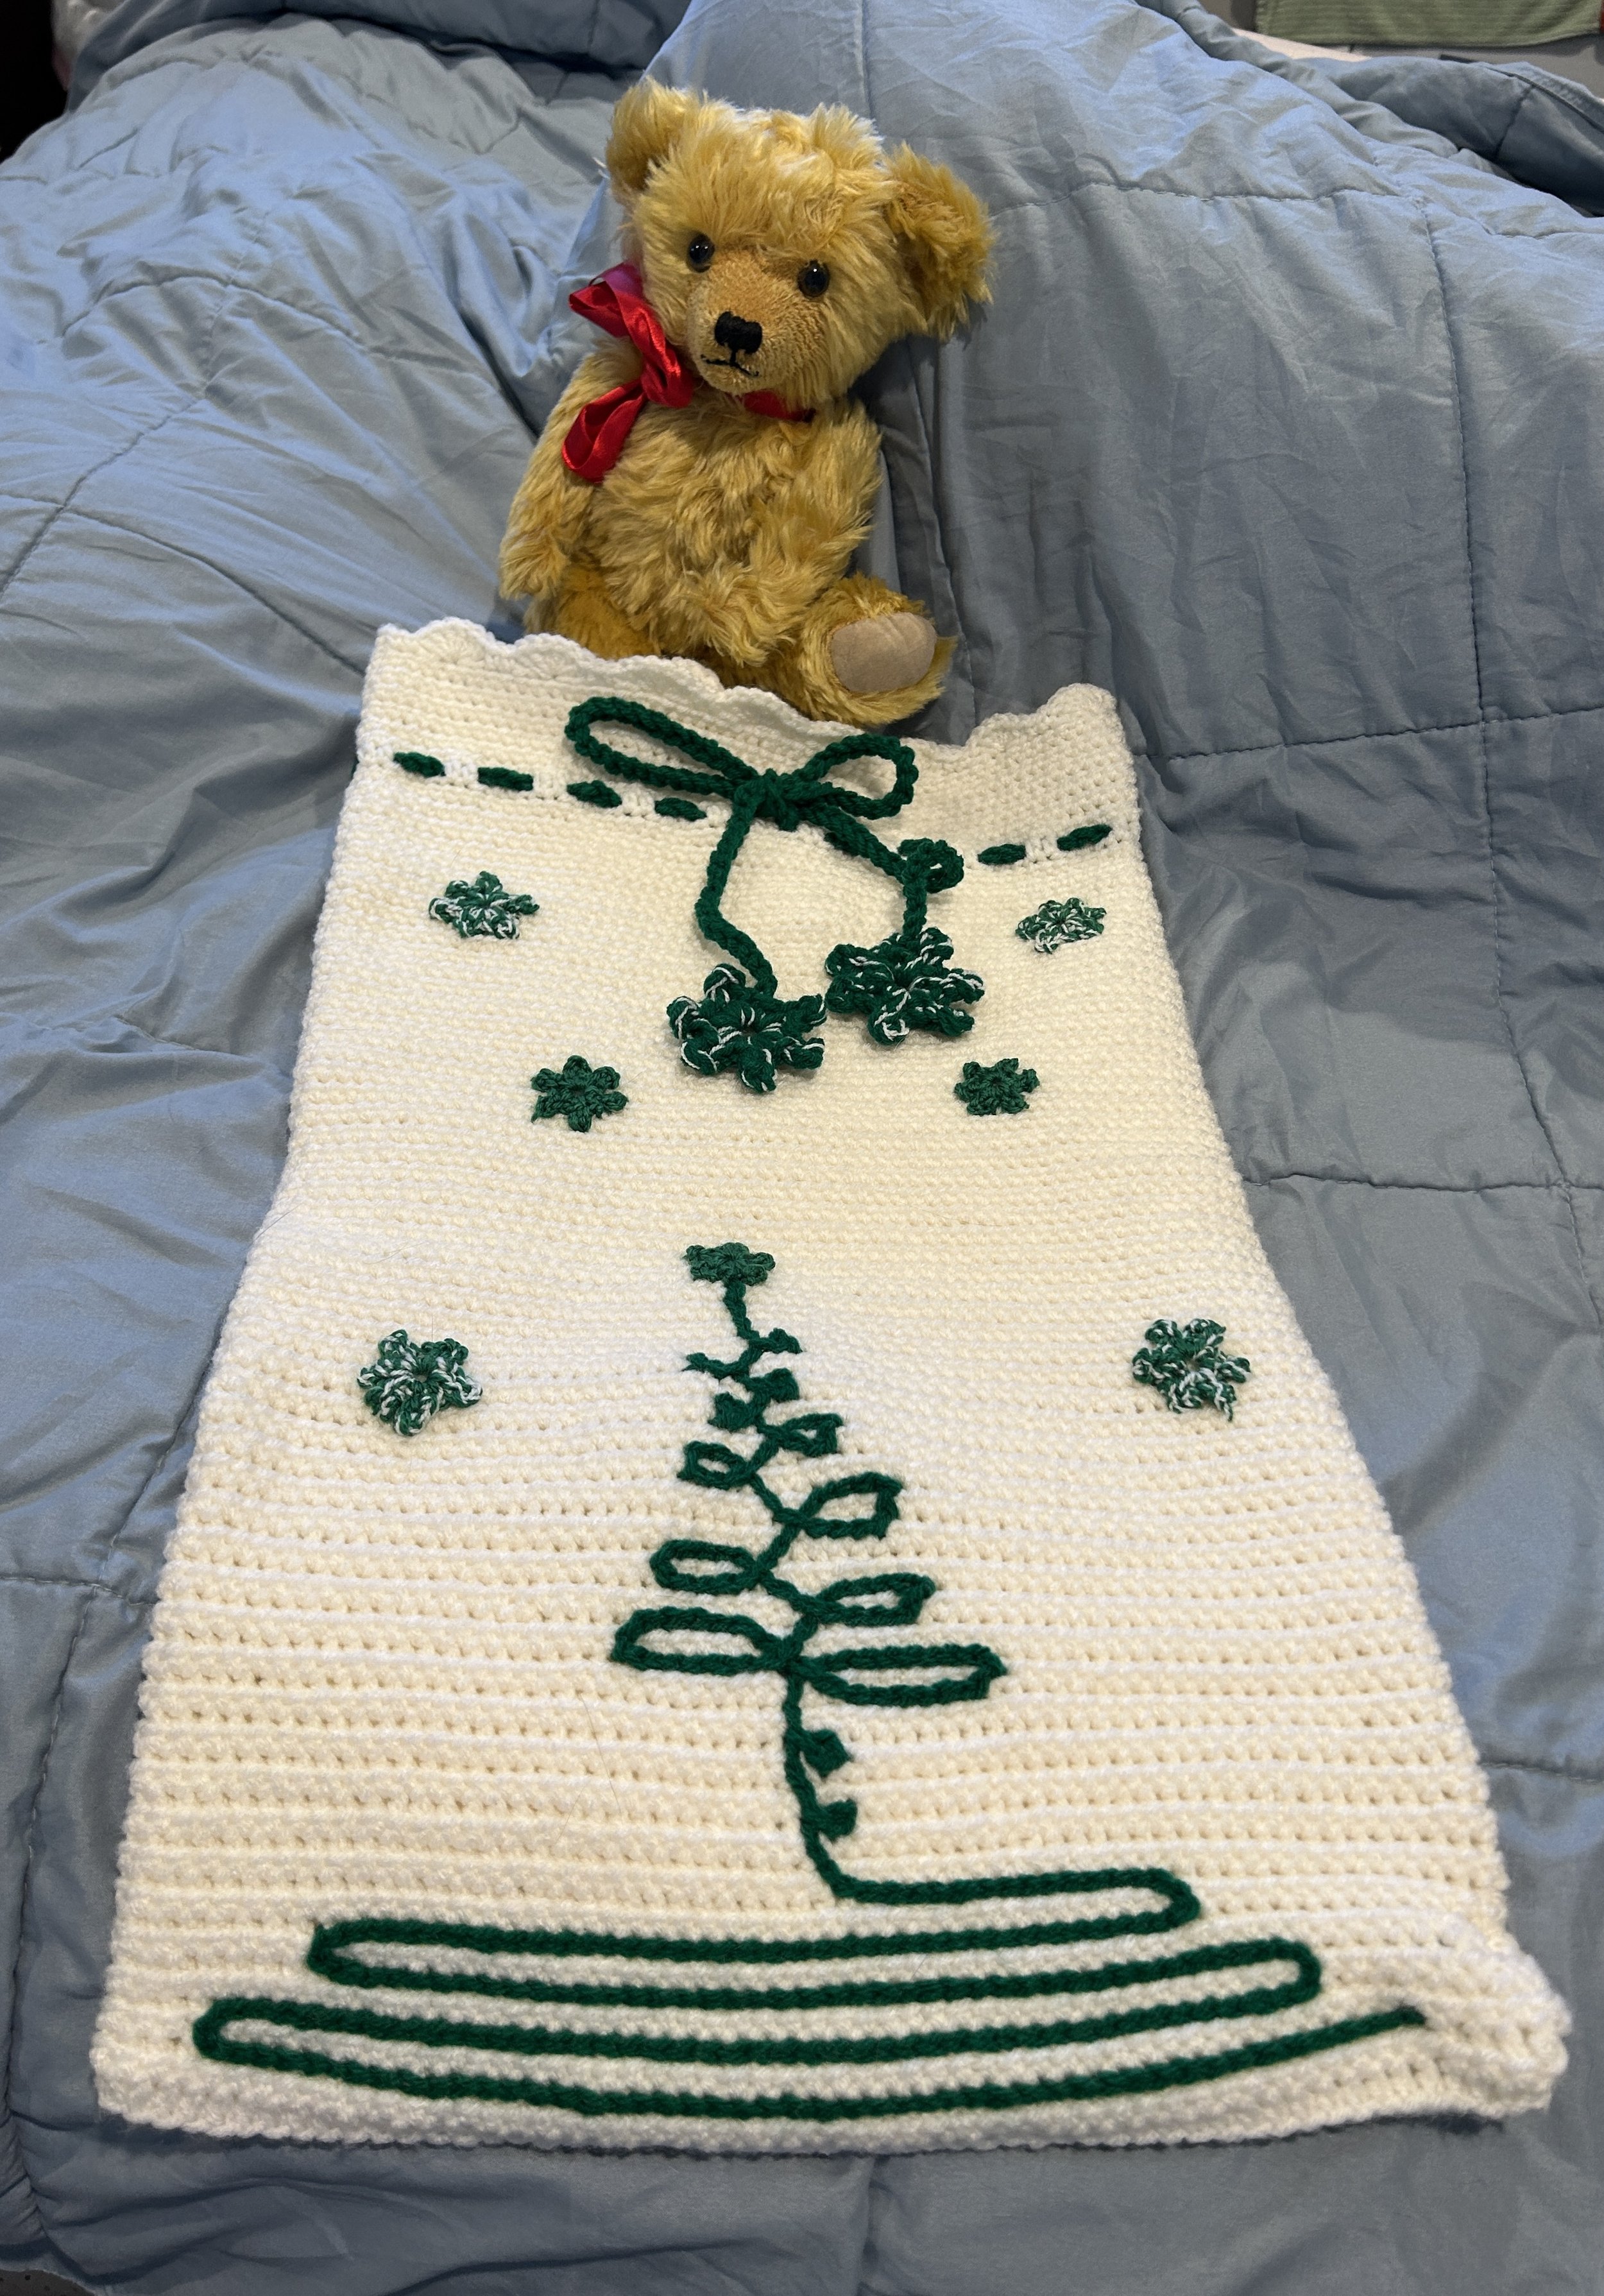
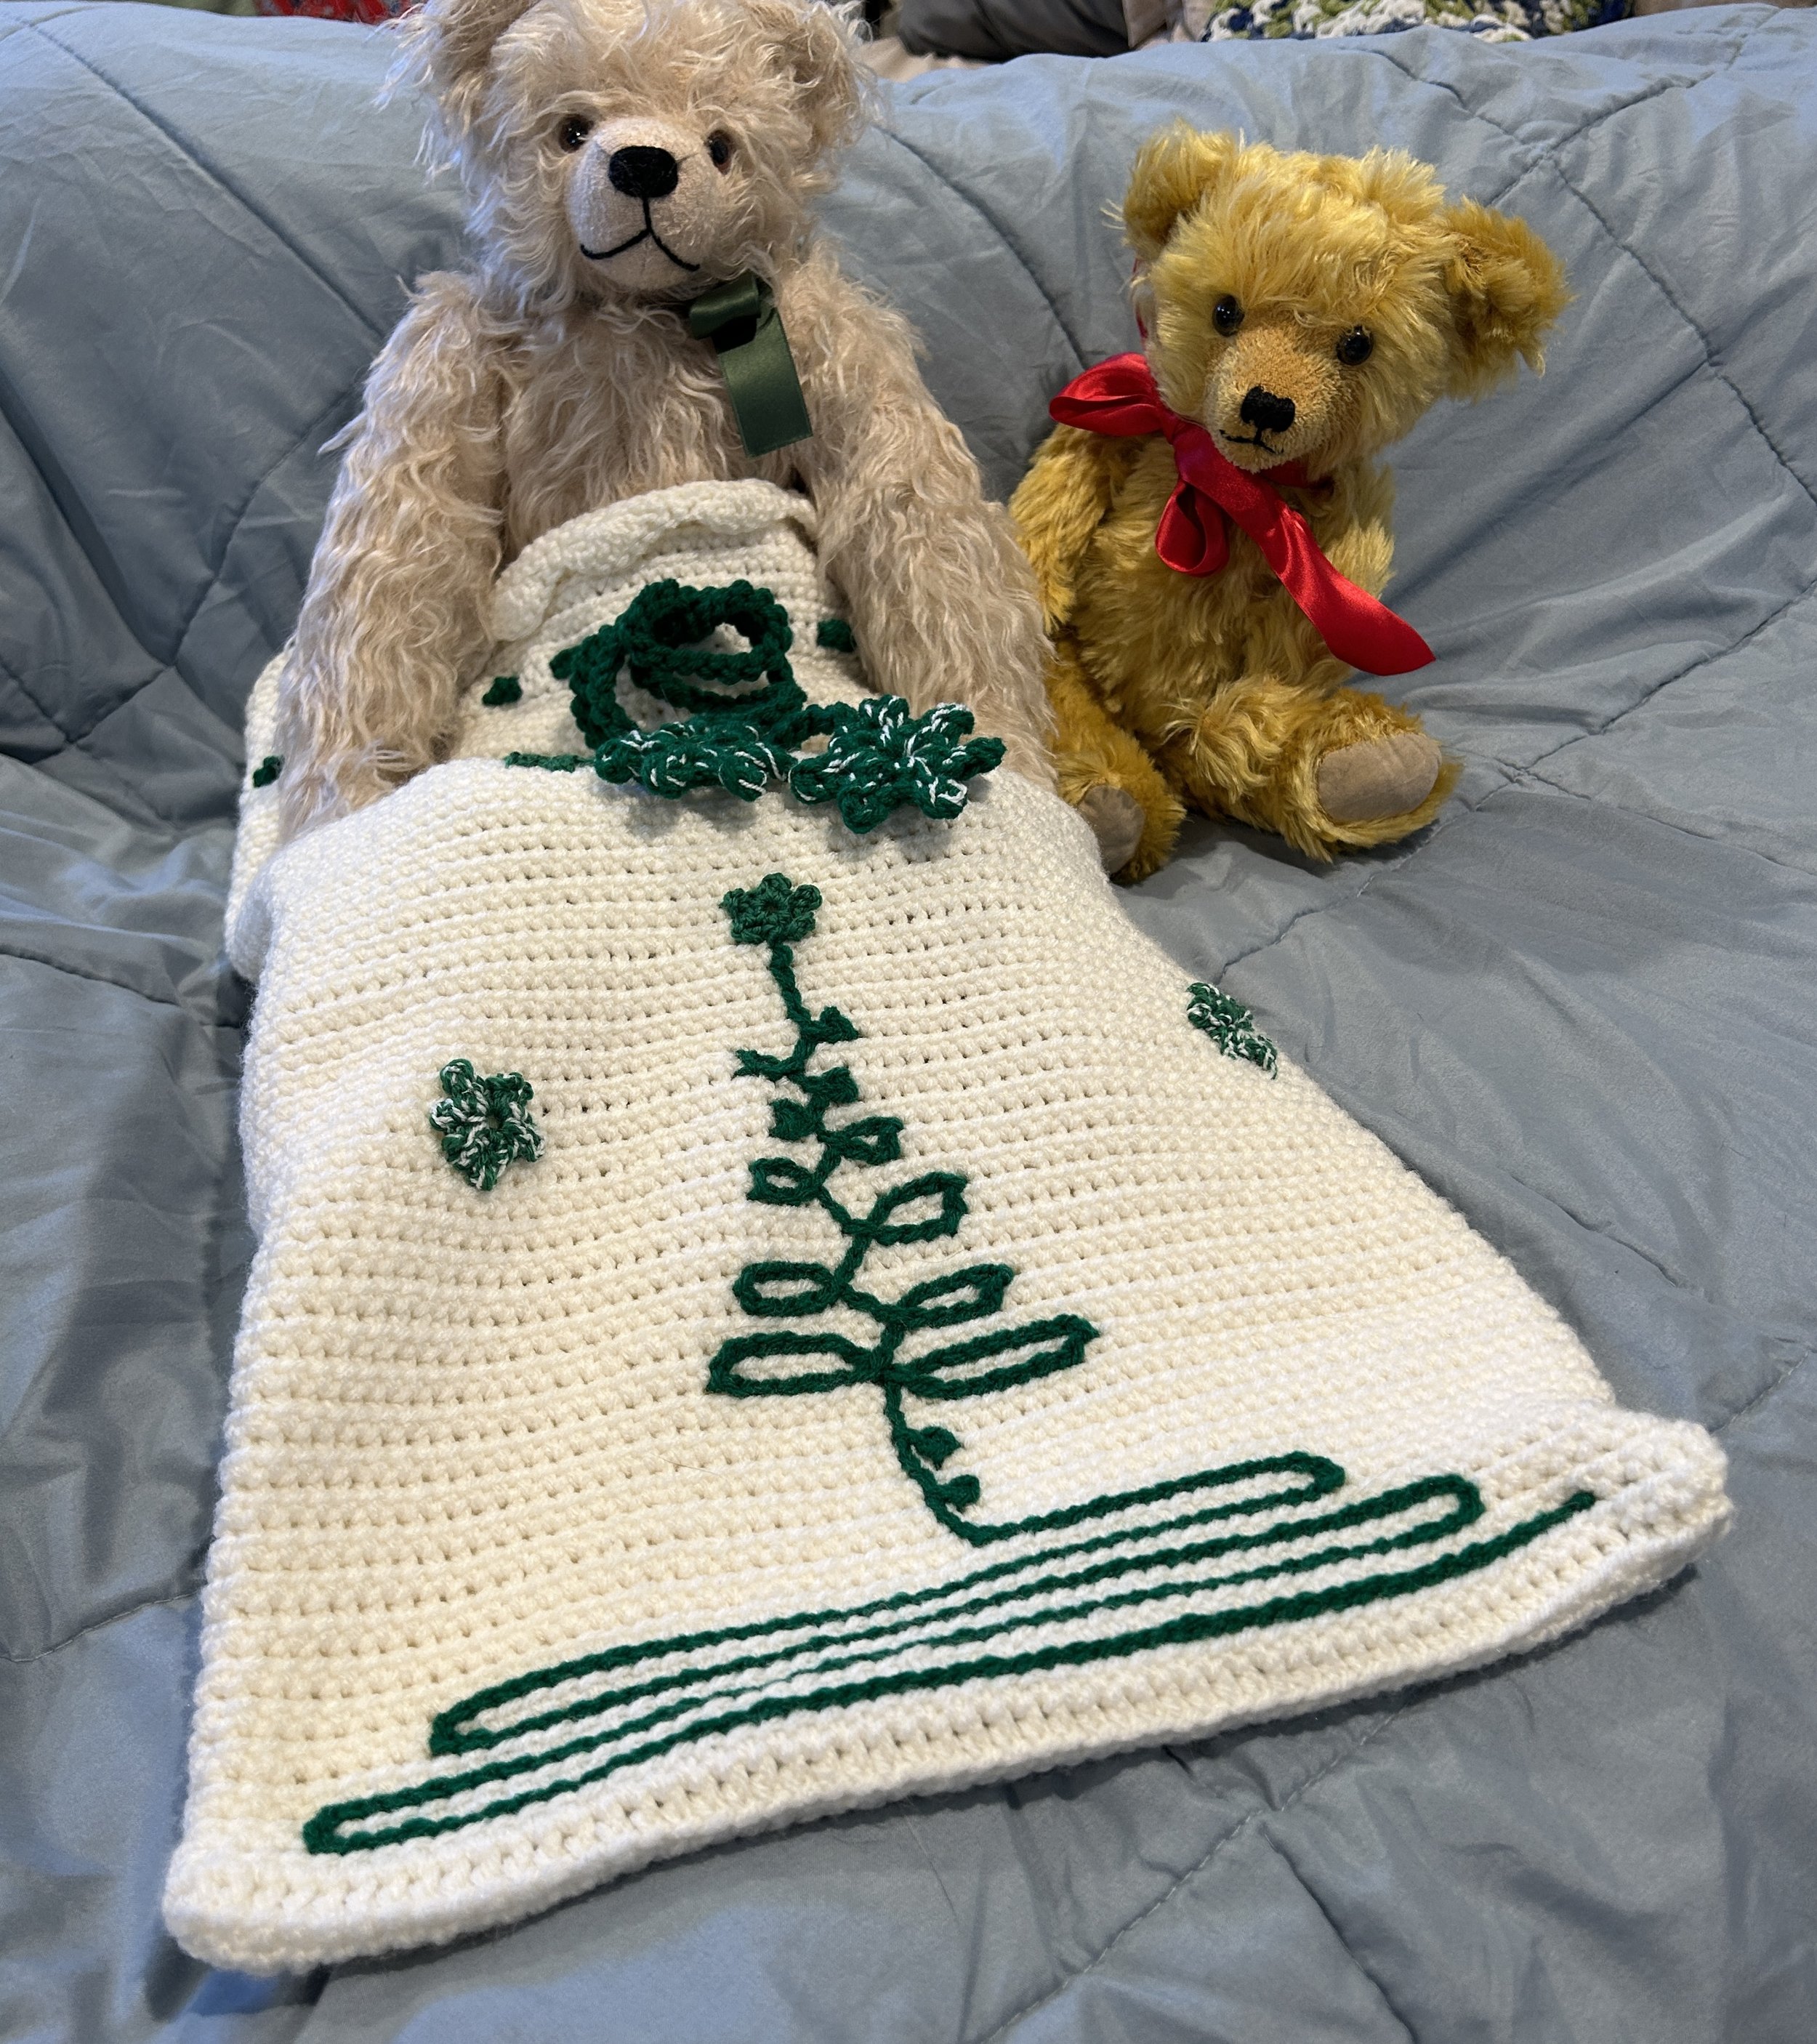
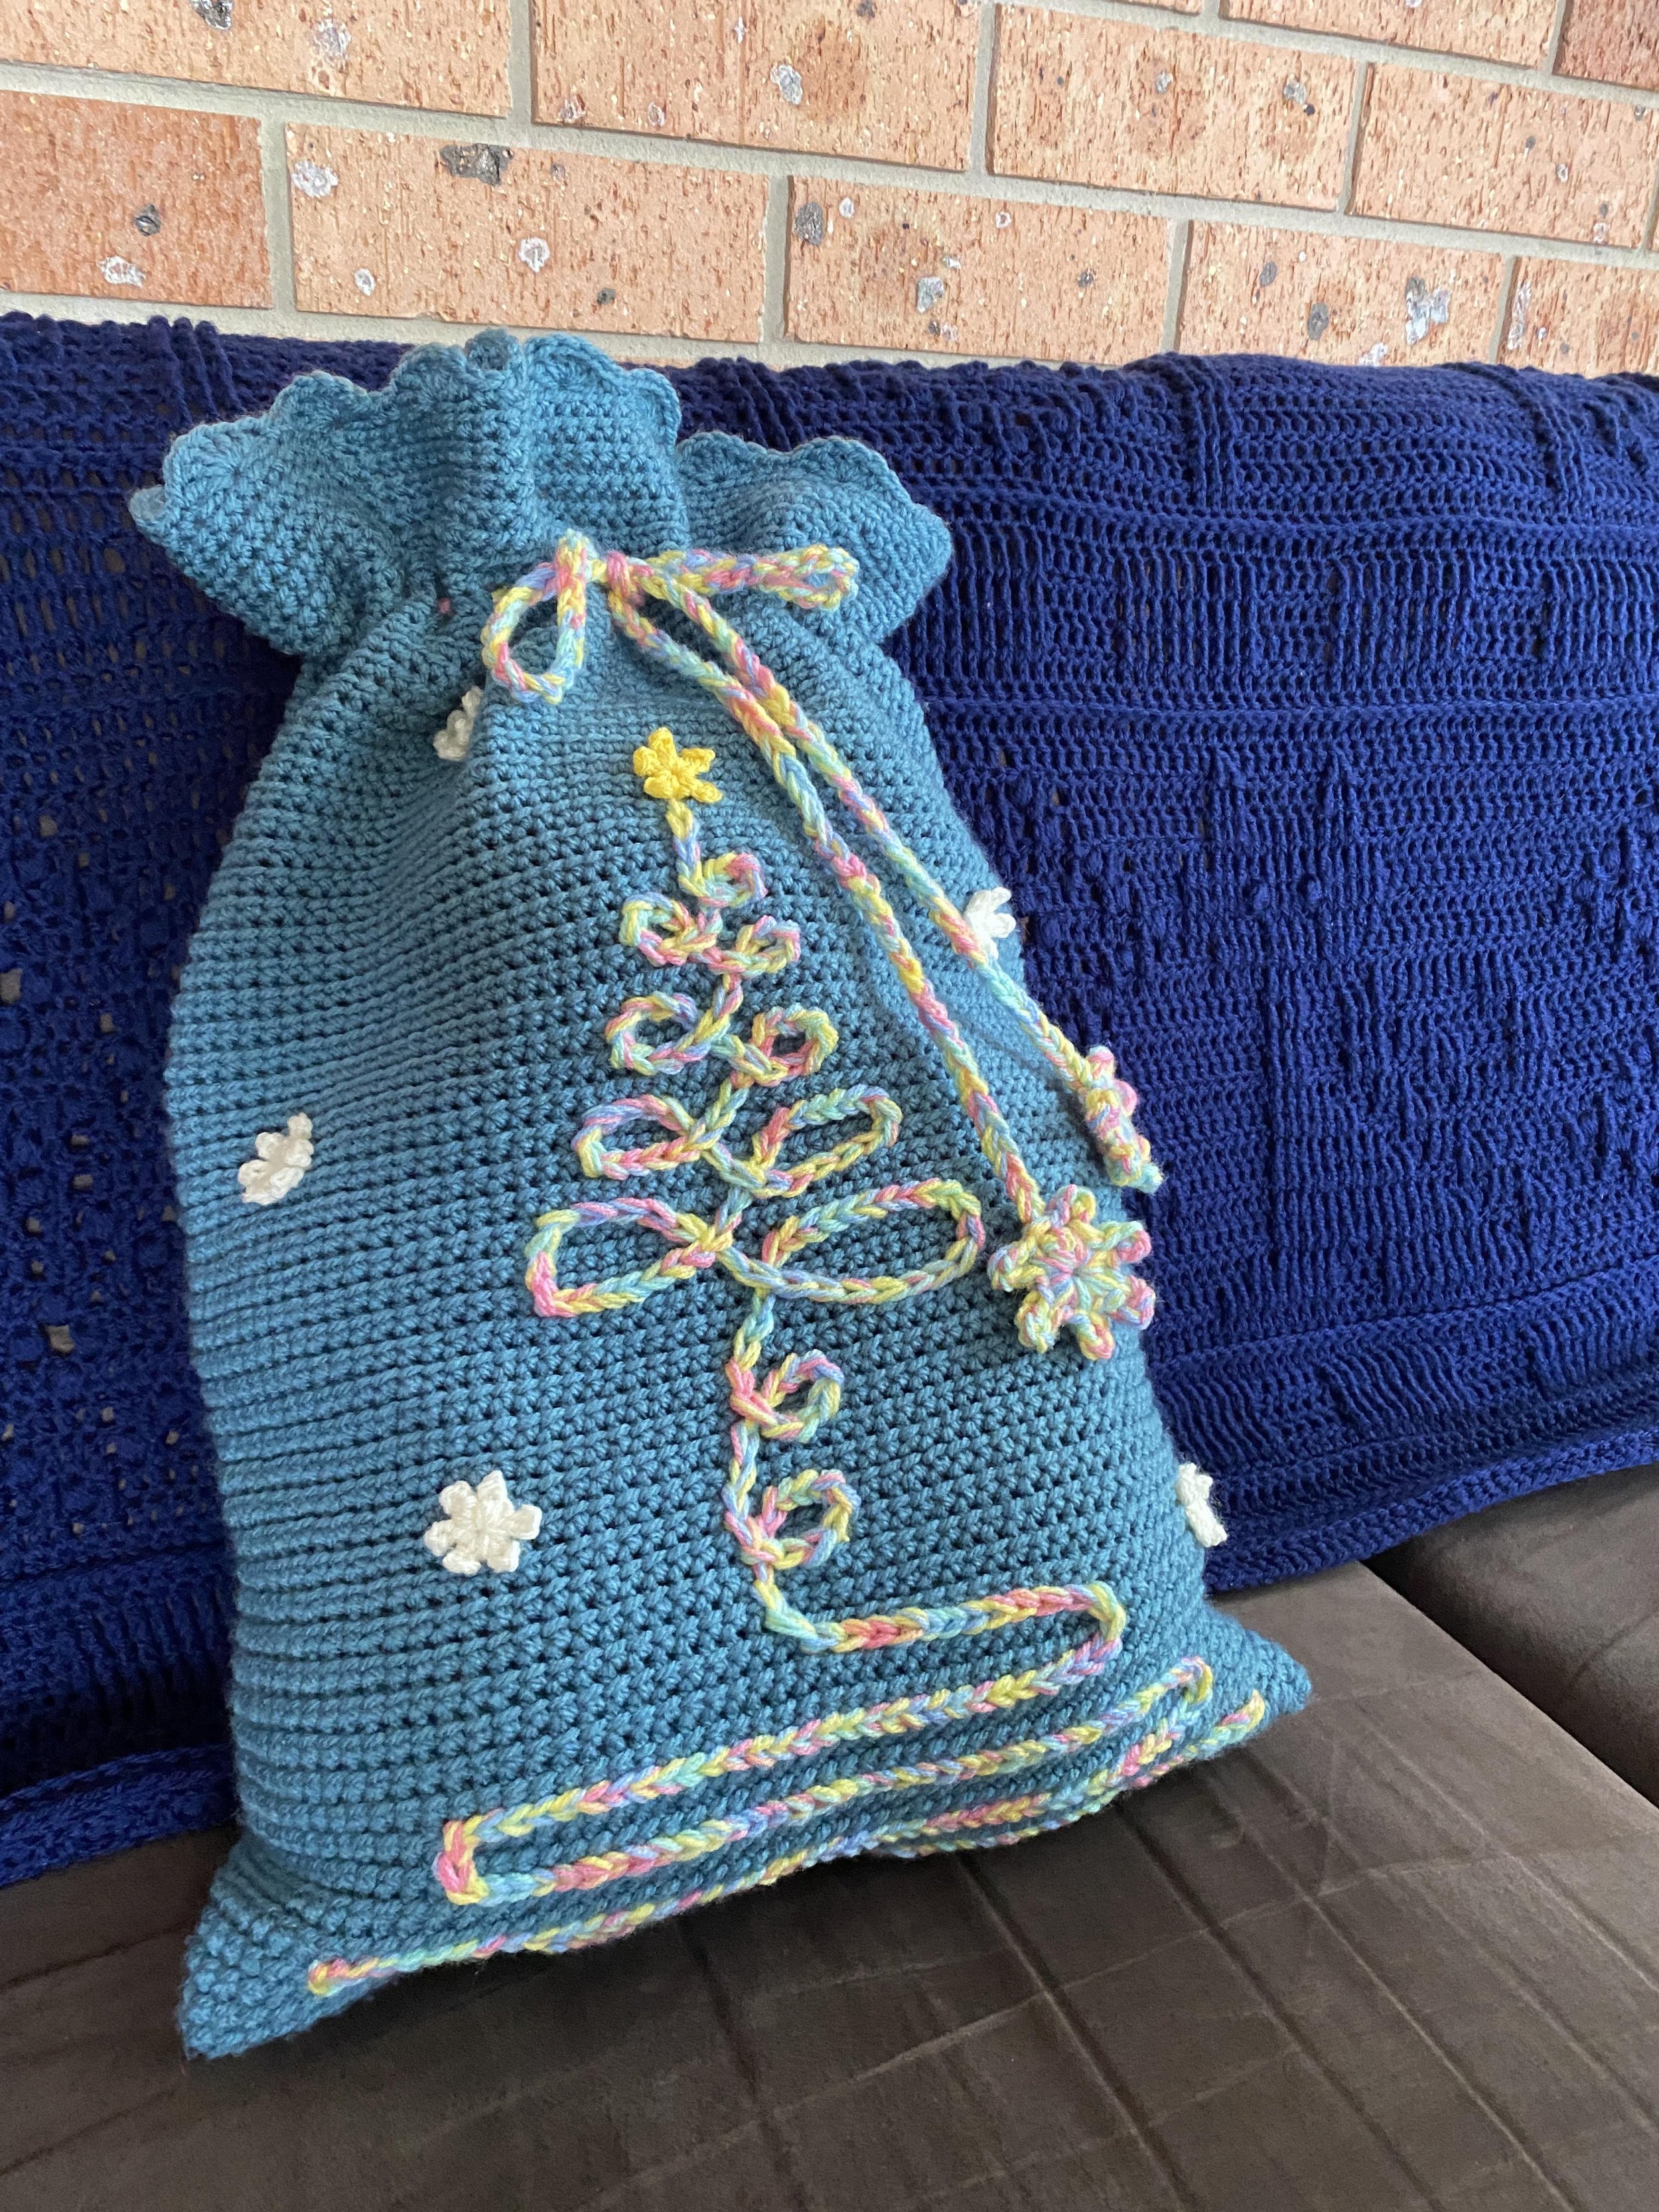
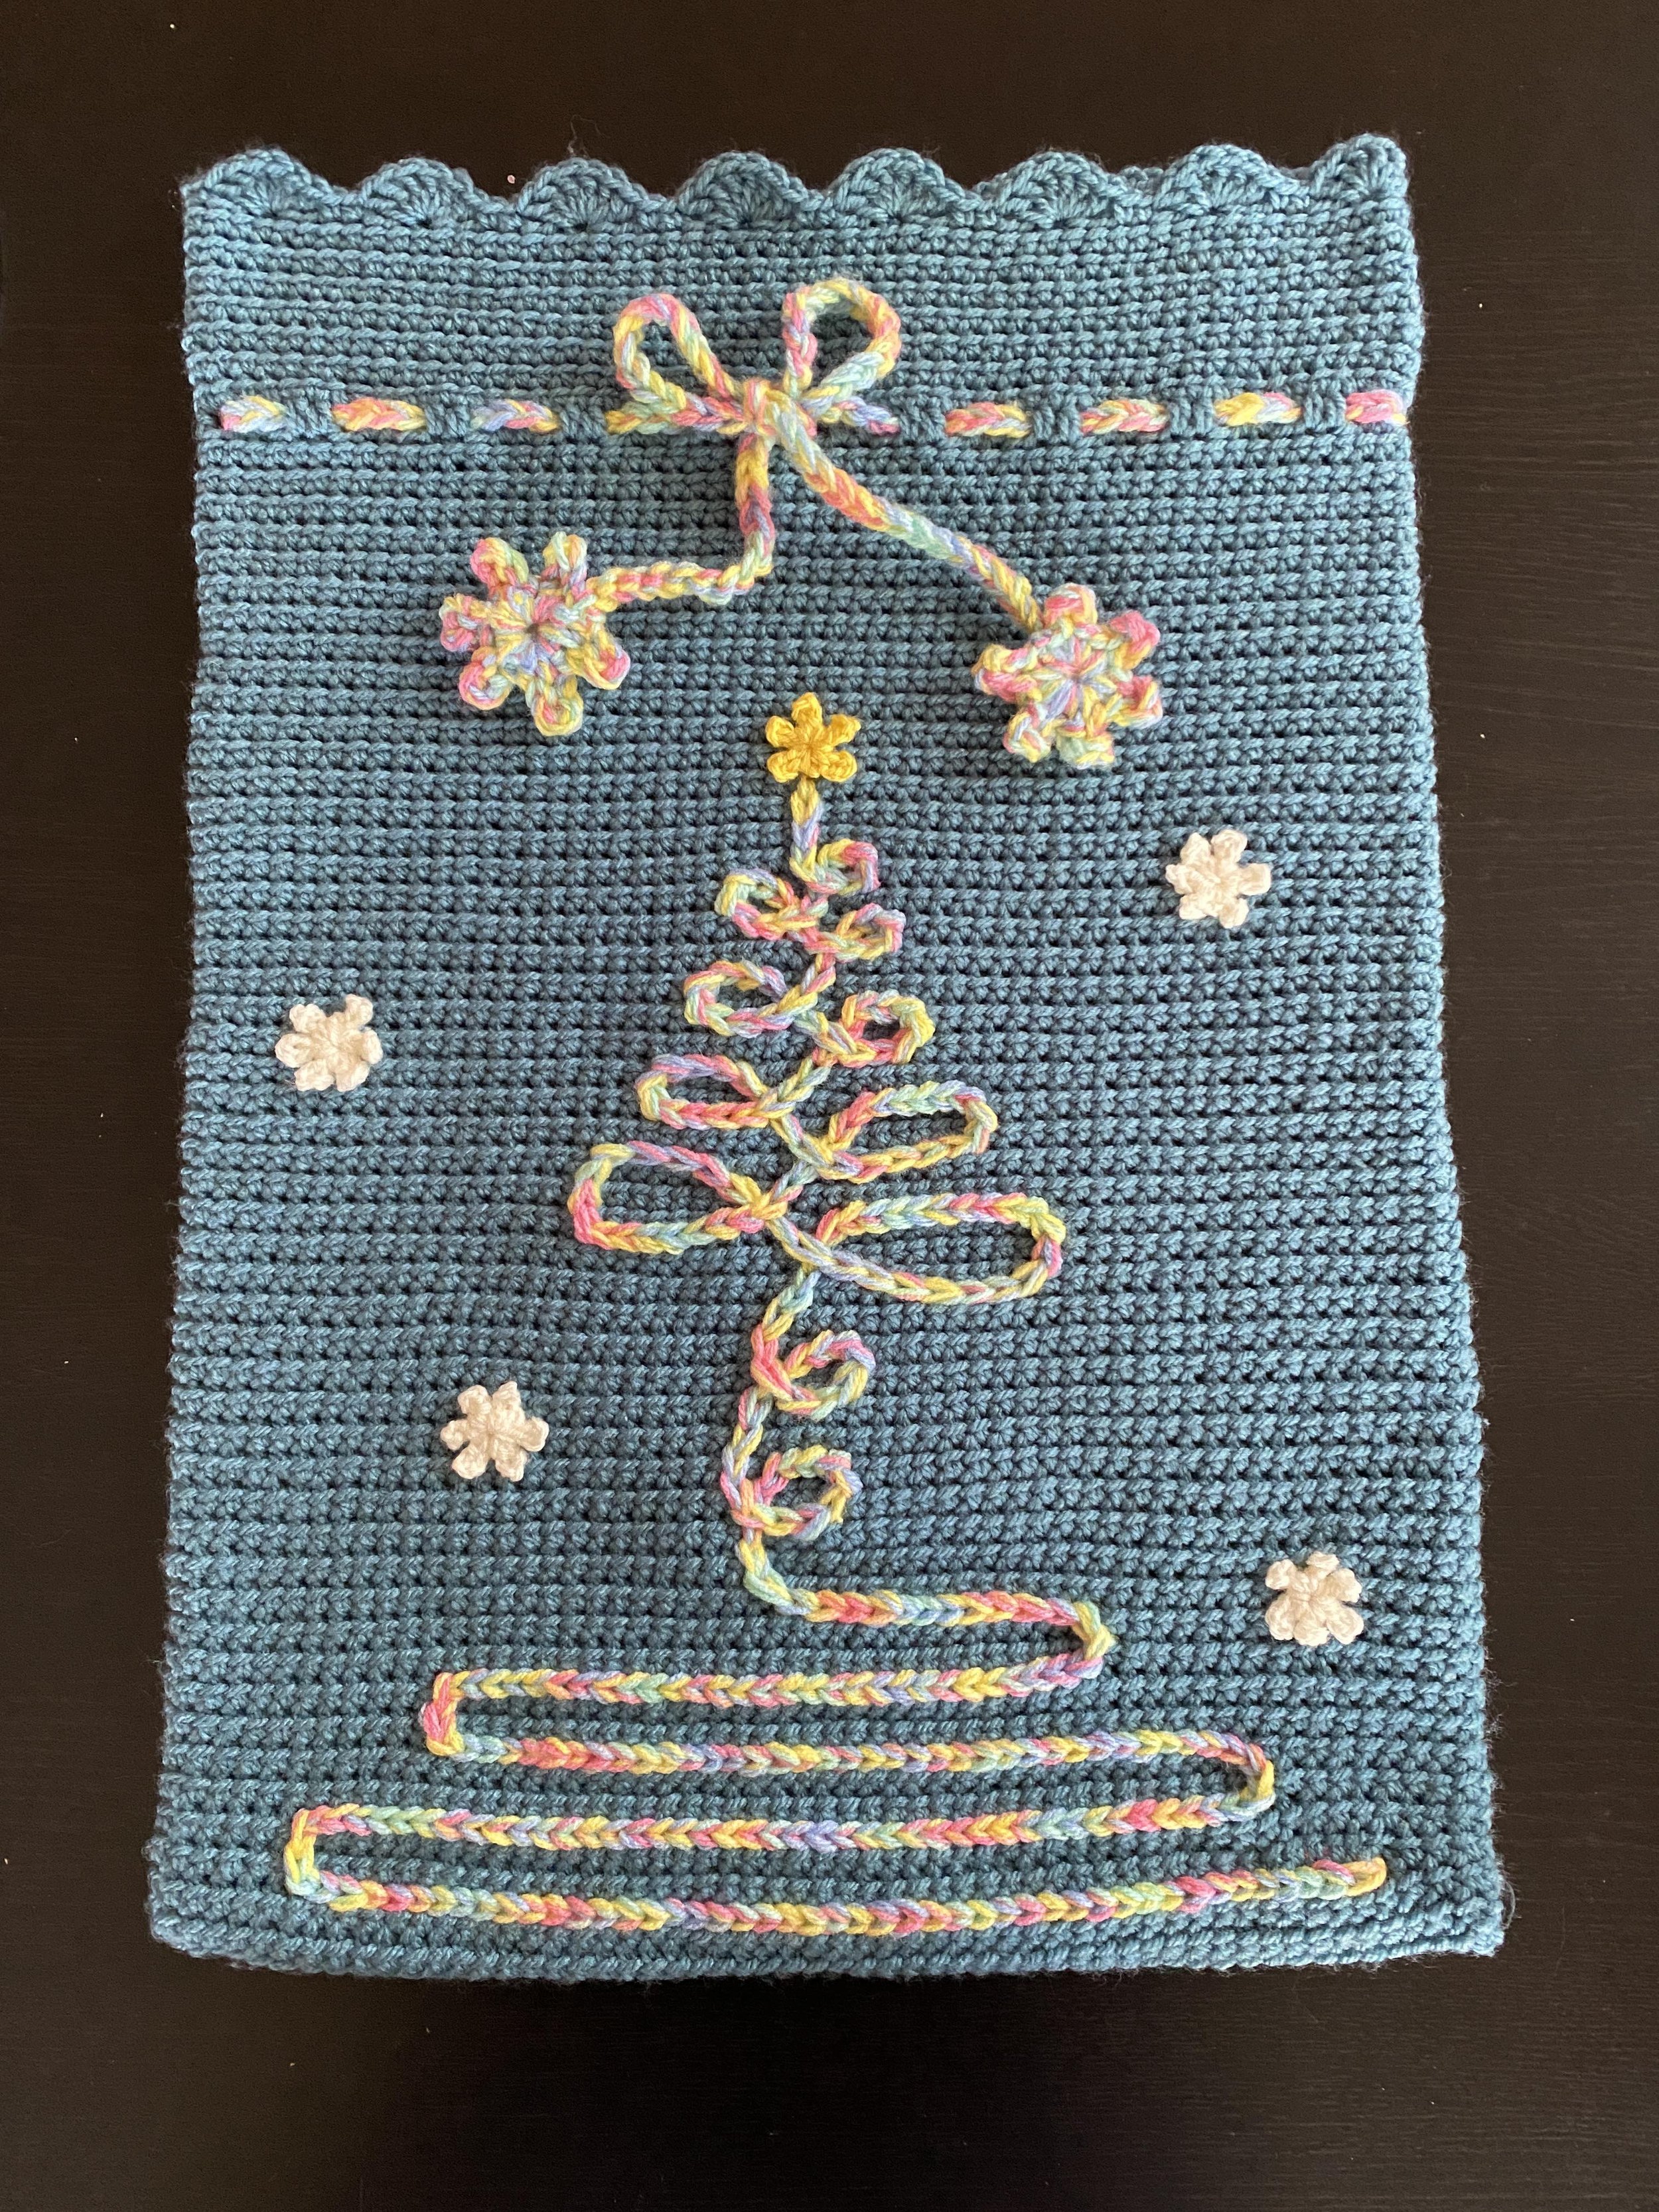
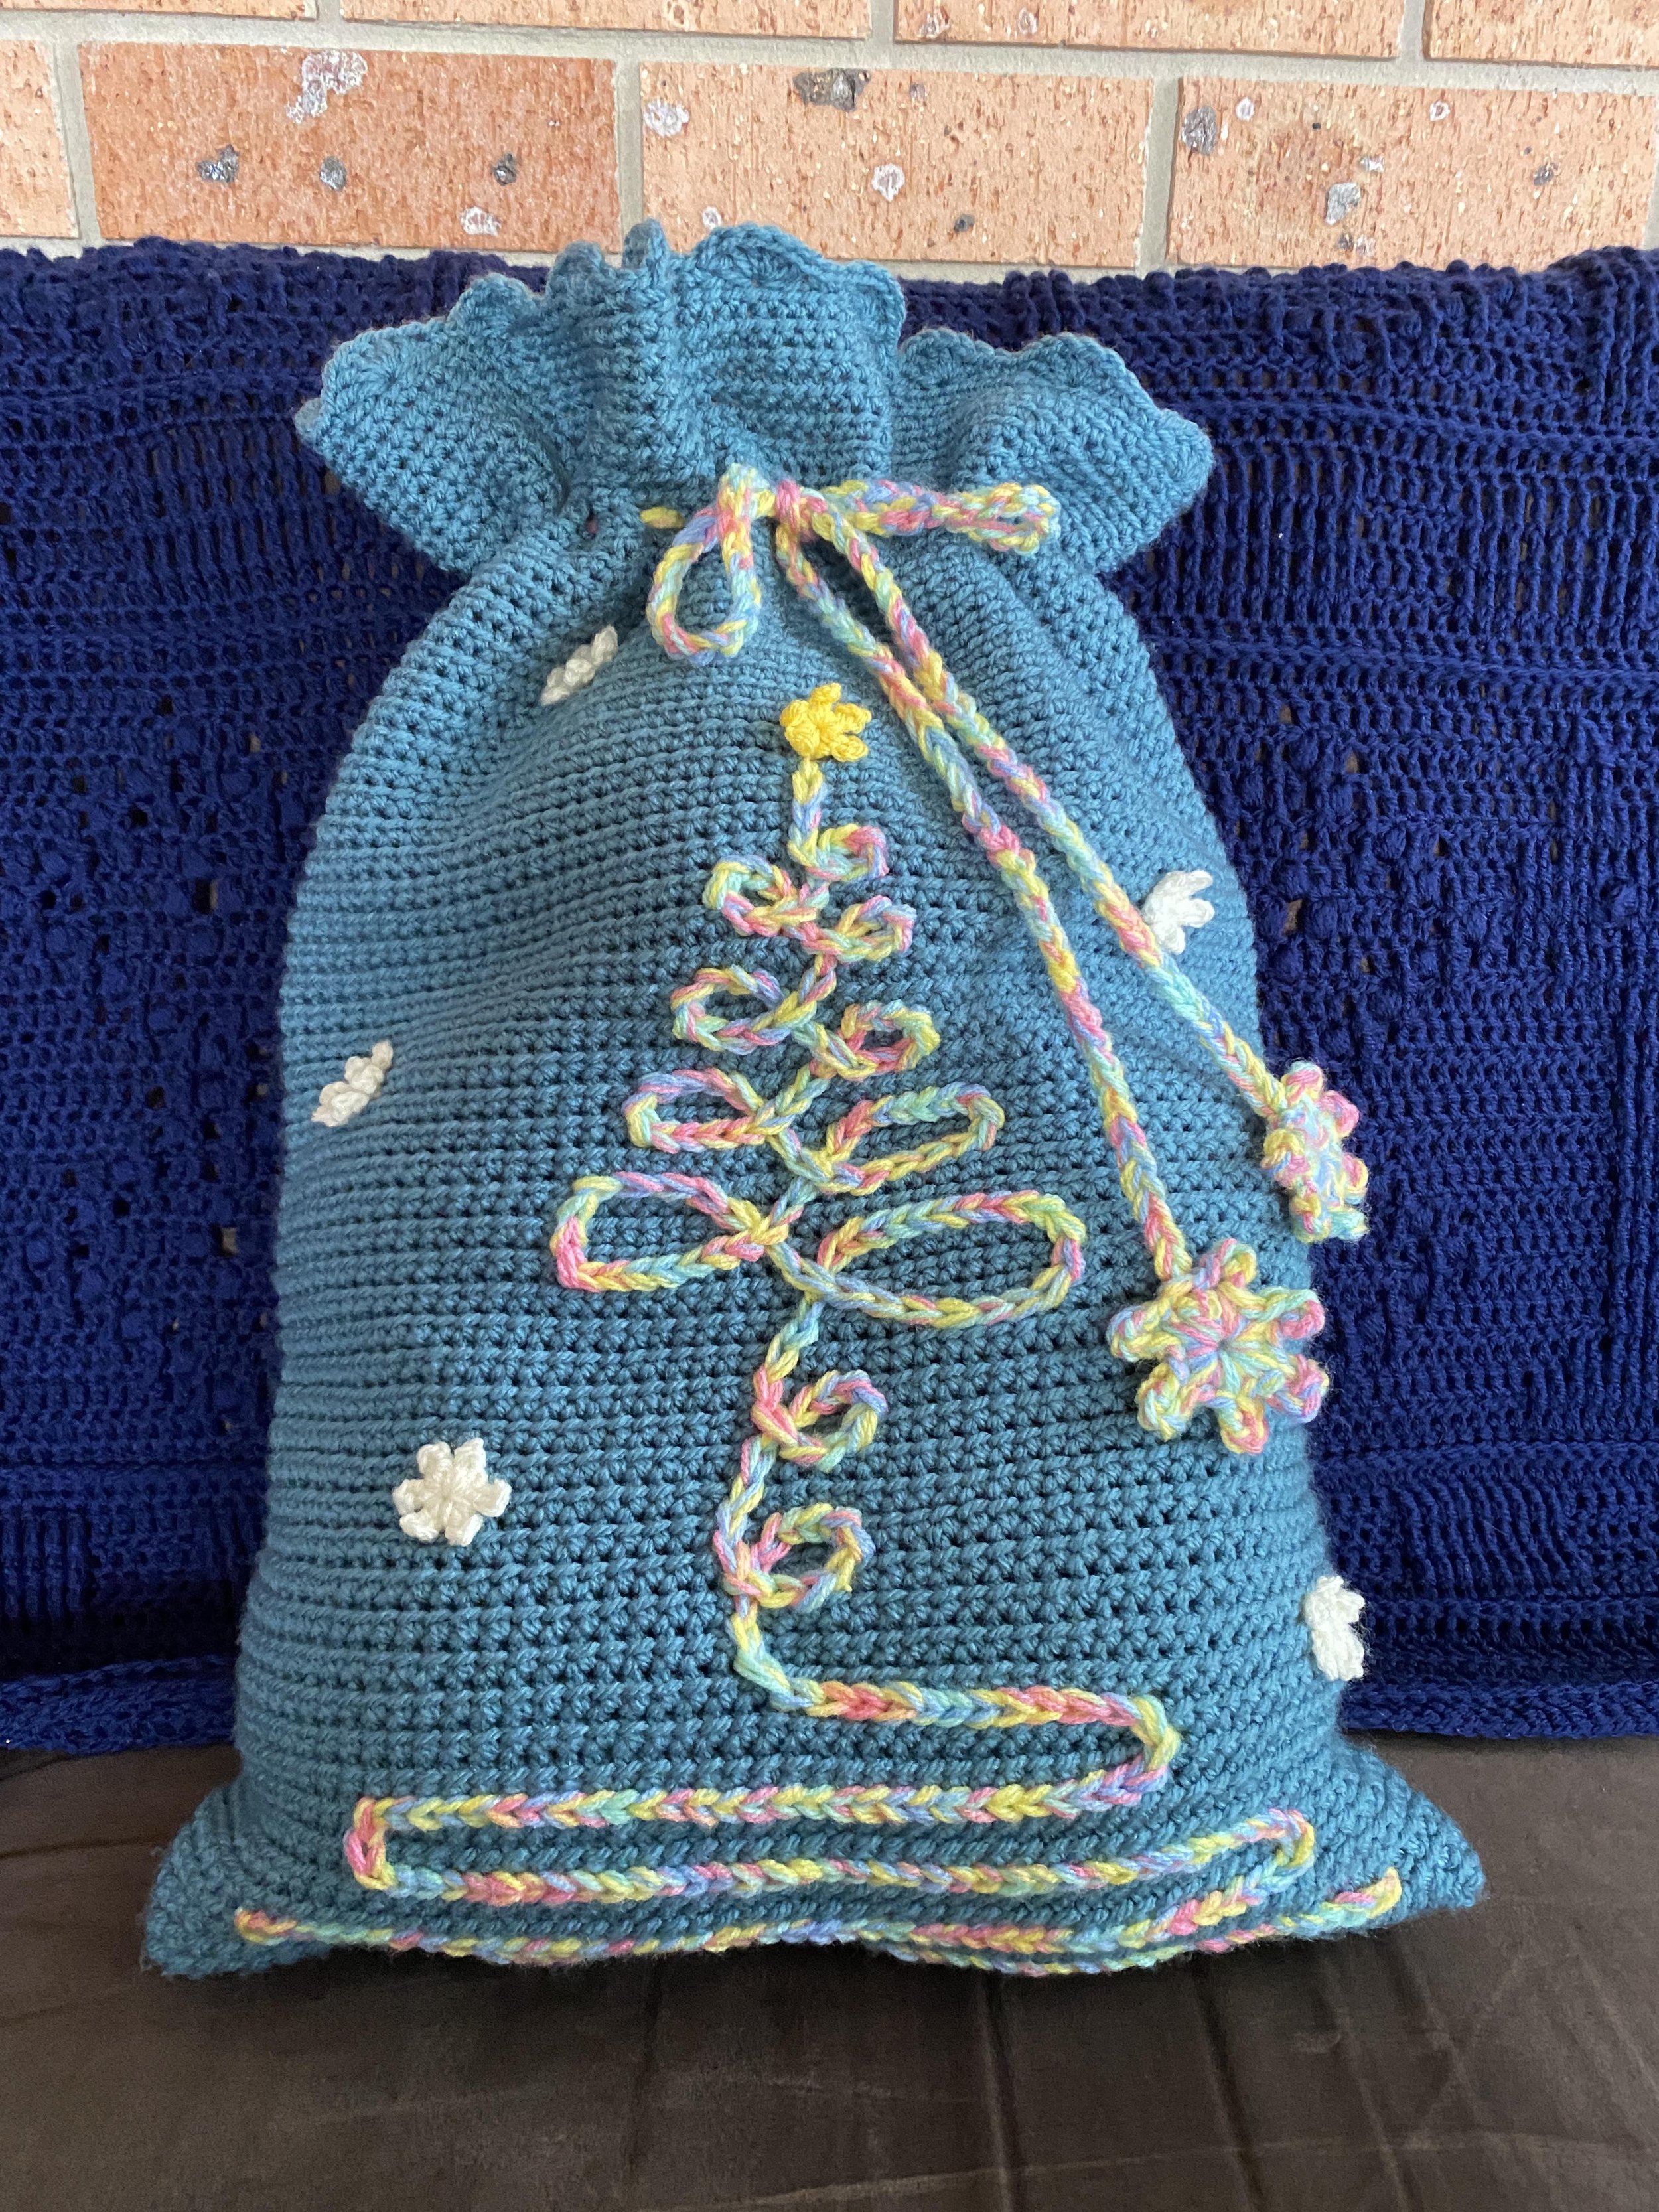
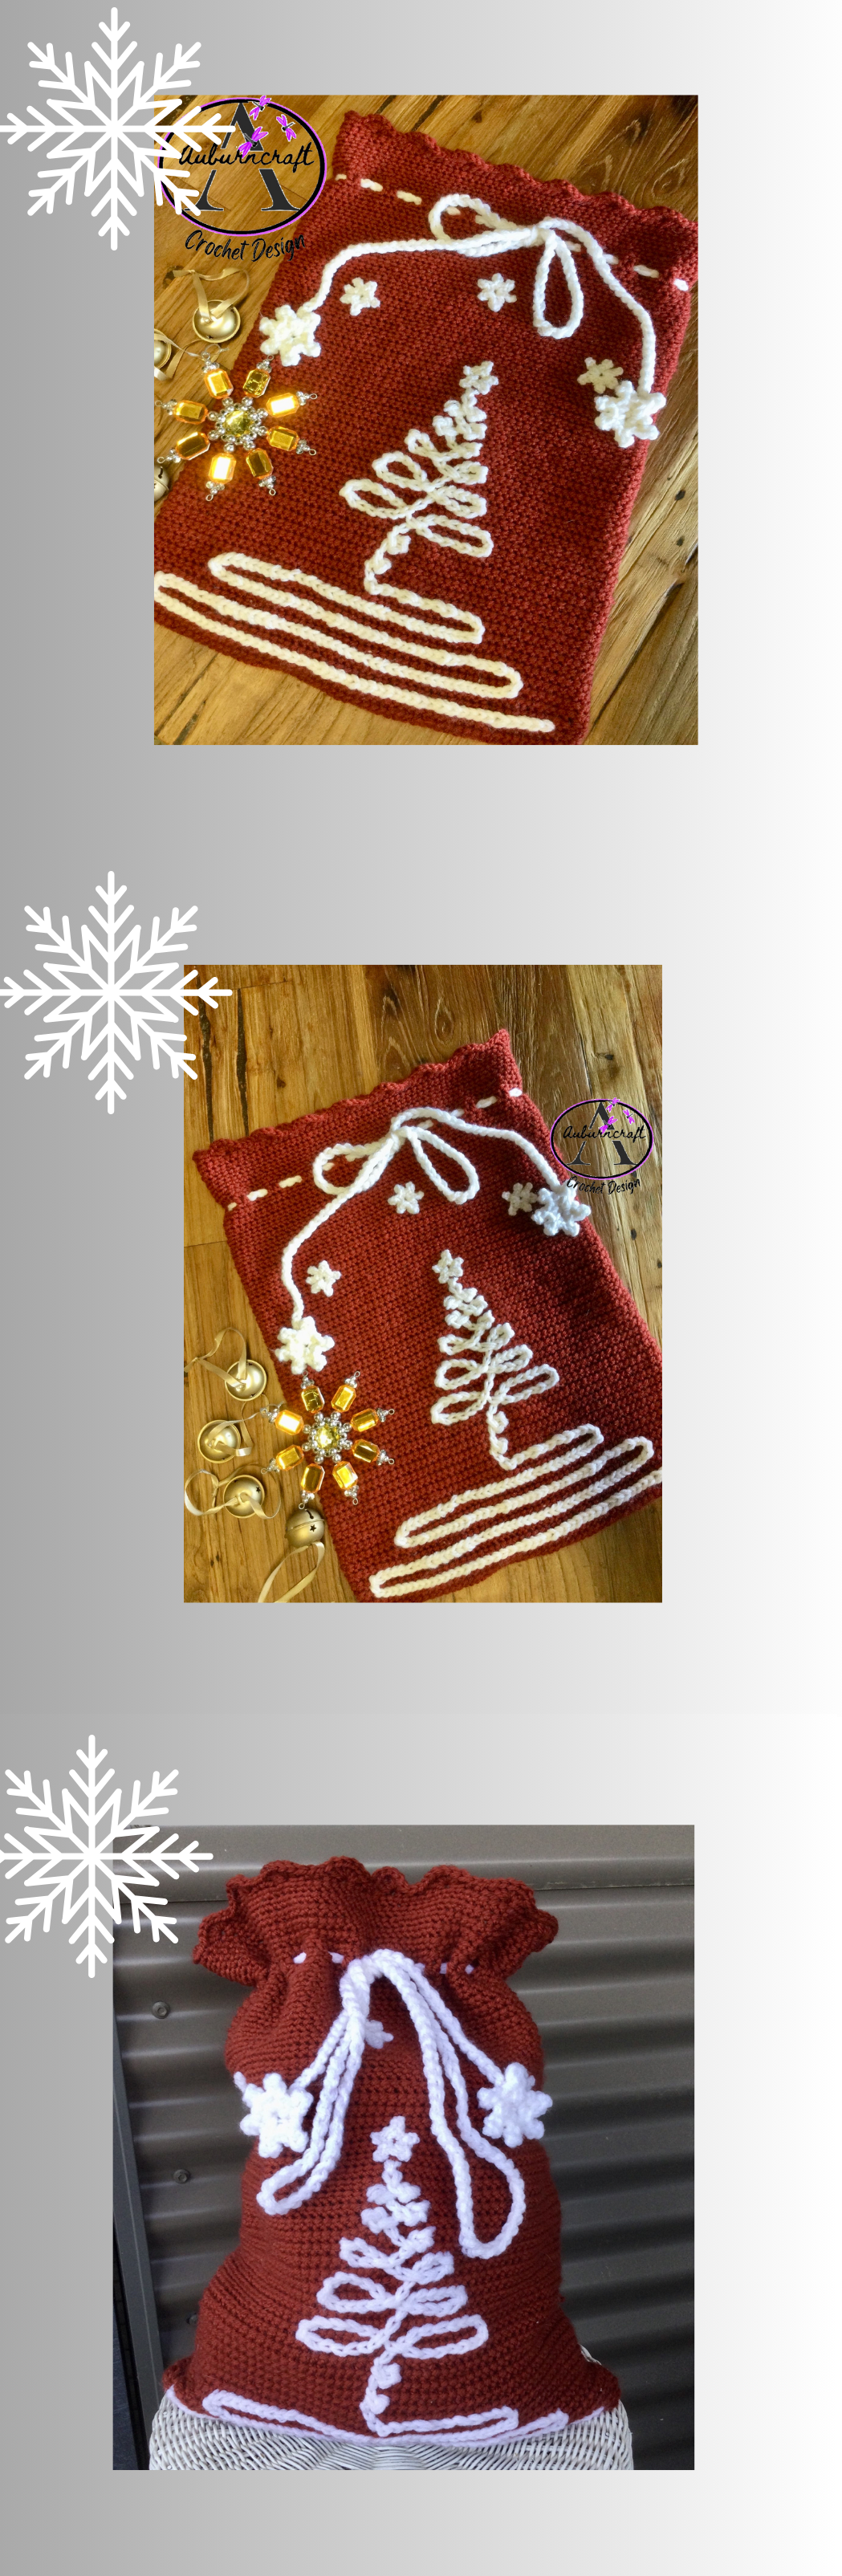
Christmas Goodie Sack

$4.95au
Available free here on my webpage in my members only section
For a downloadable PDF visit Ravelry, Etsy and Lovecrafts
Crochet terminology: US & UK
Both: US and UK are available as PDF downloads on my selling platforms. Note: A graph is only available in the Paid PDF downloads.
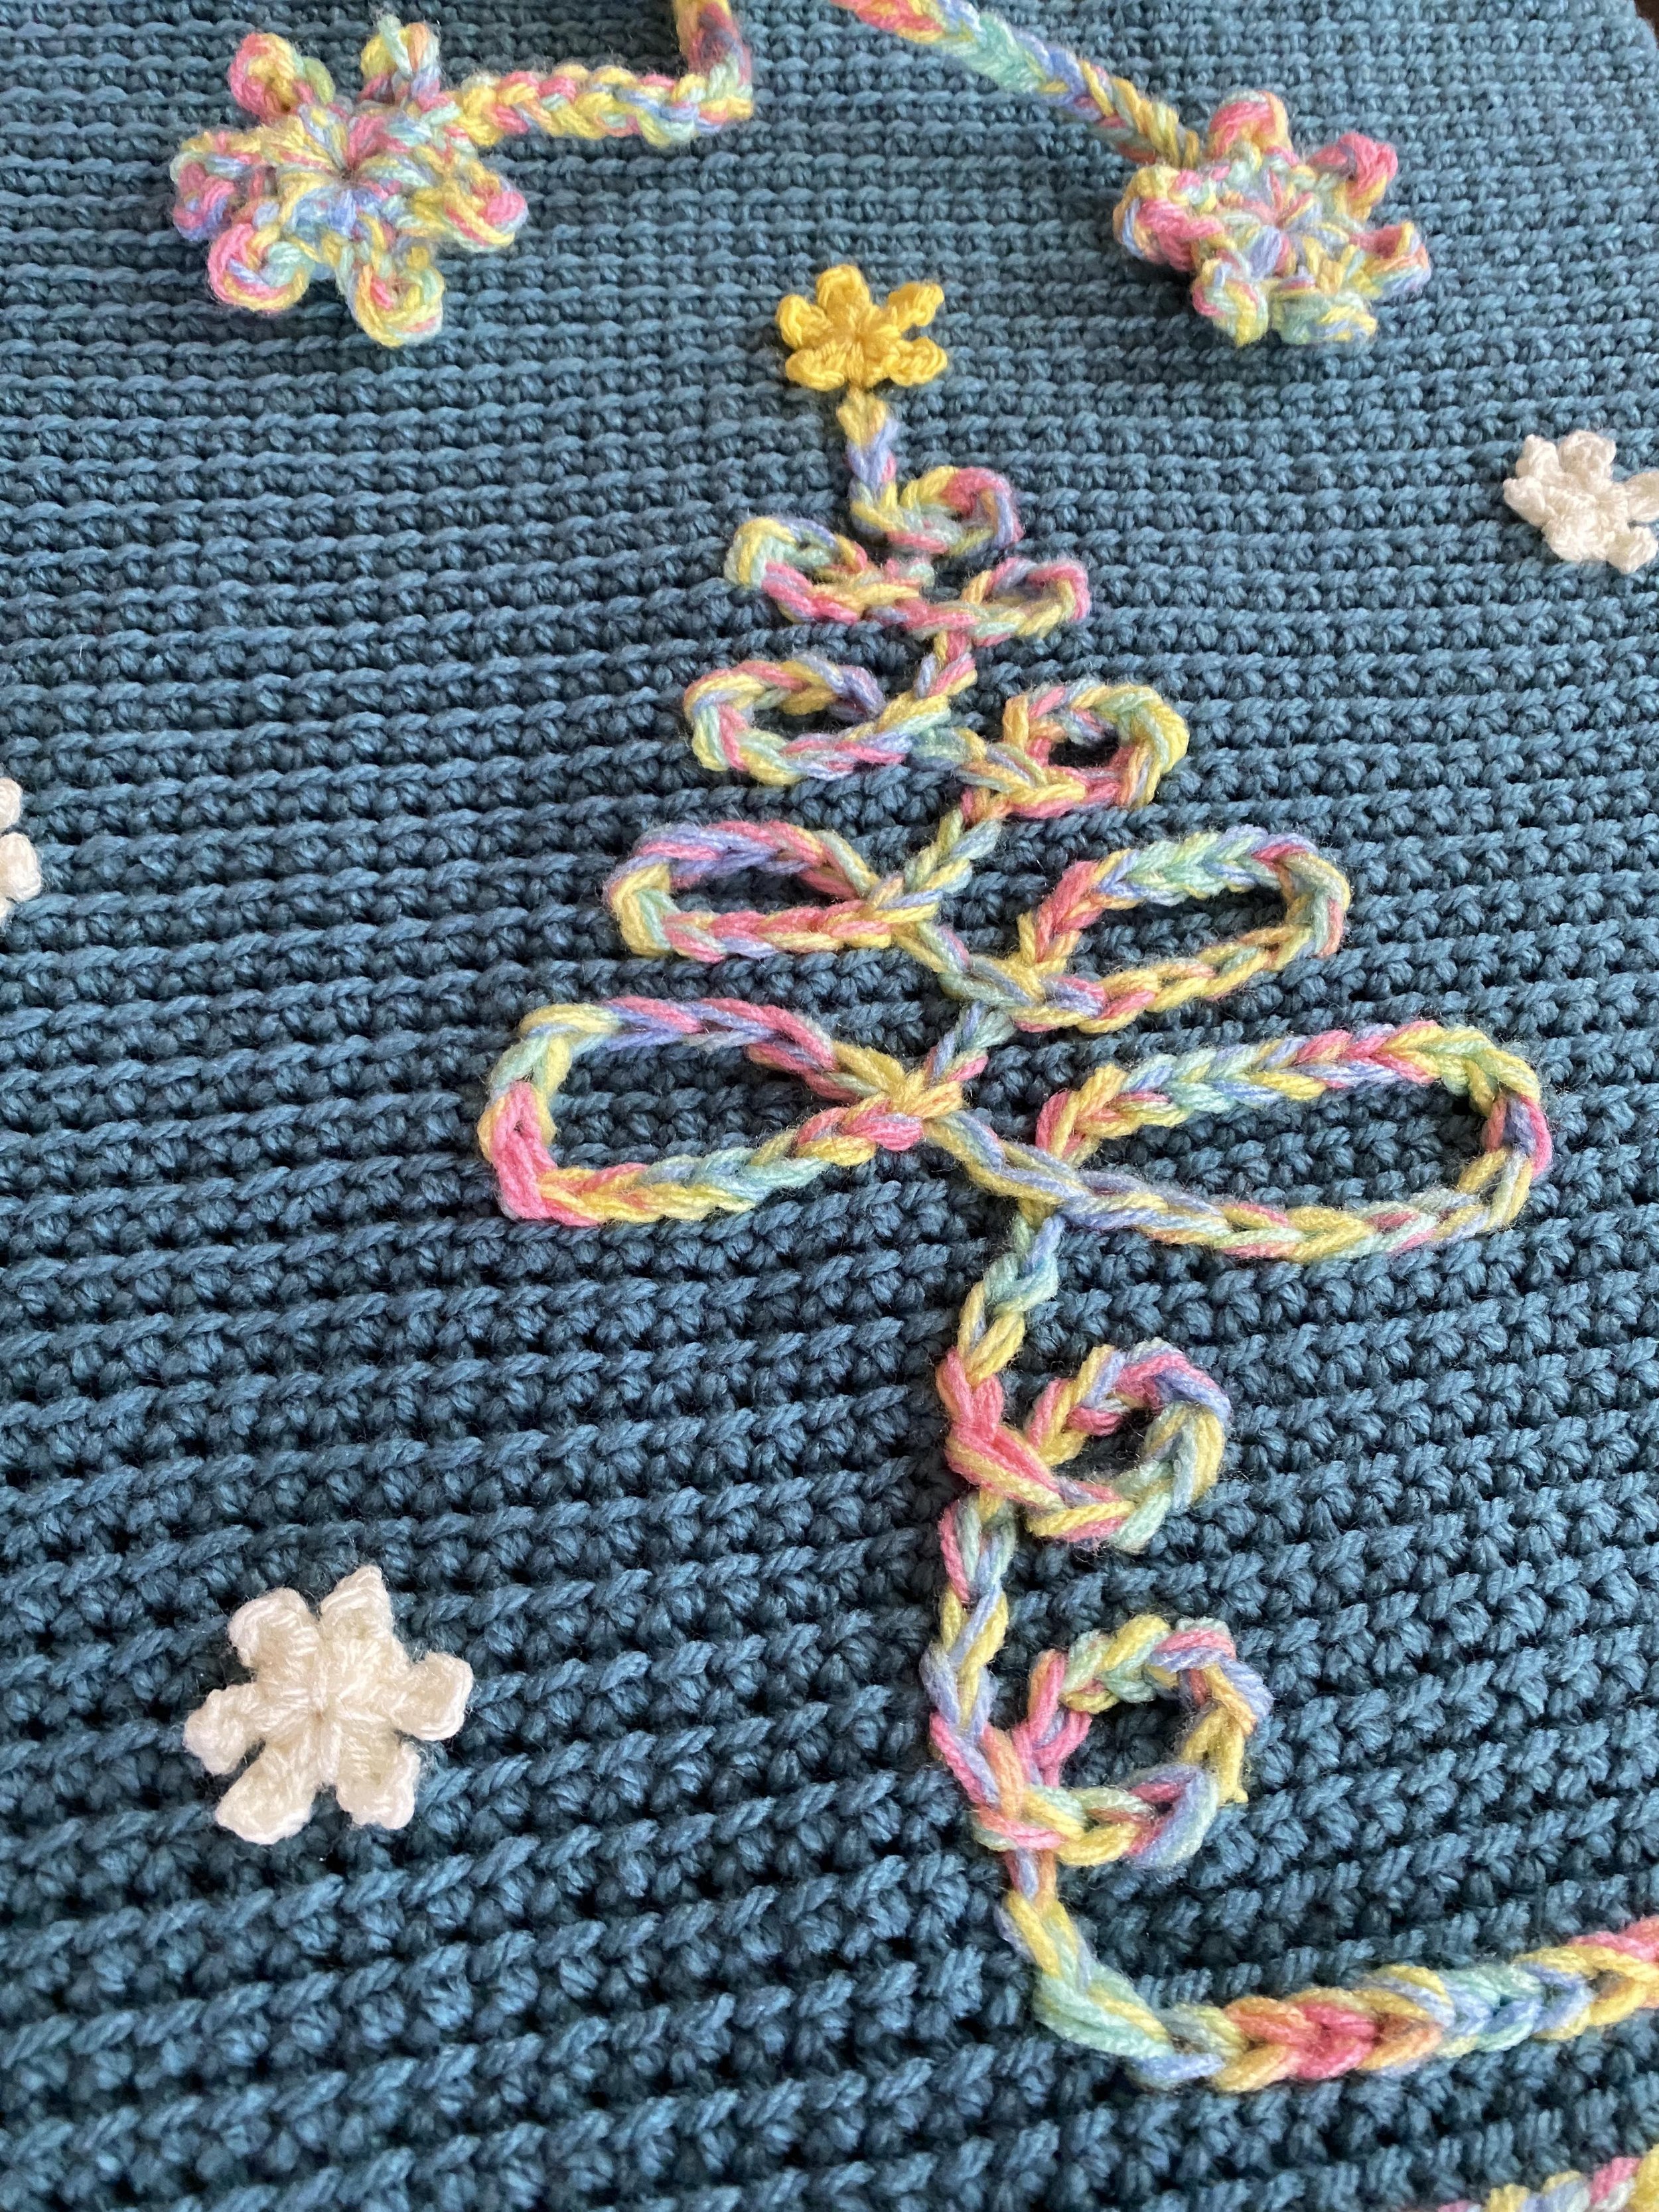
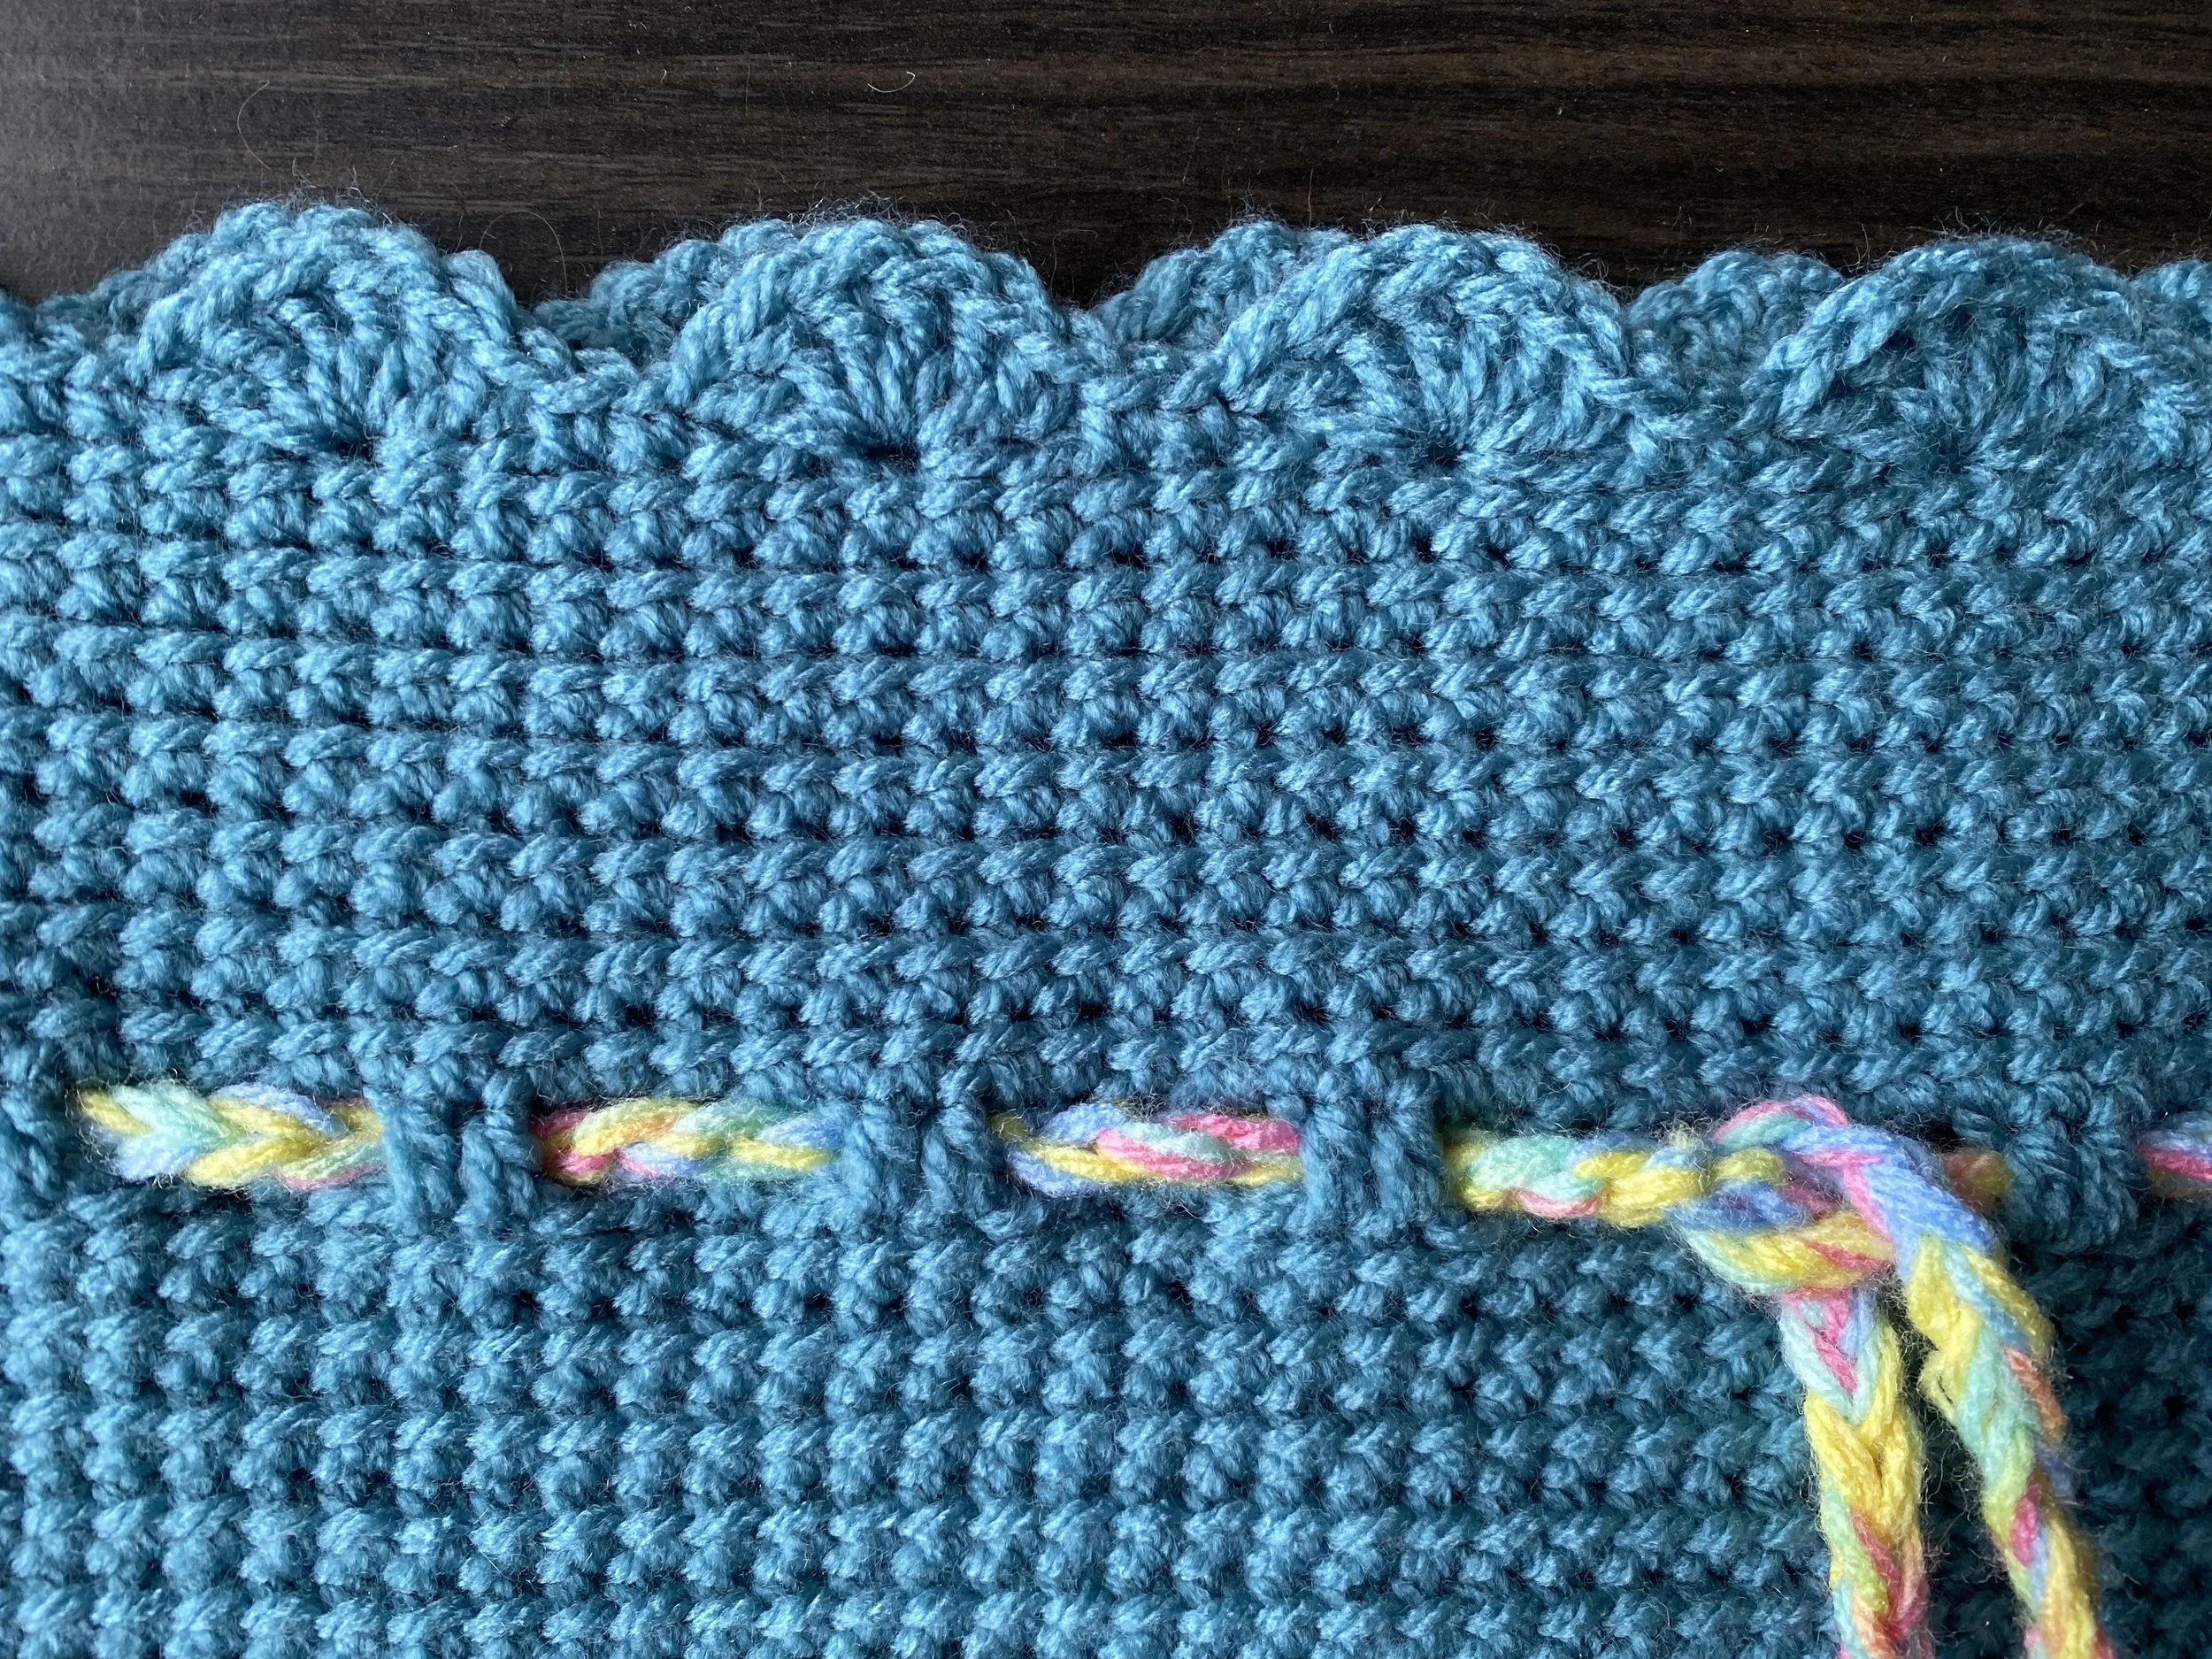
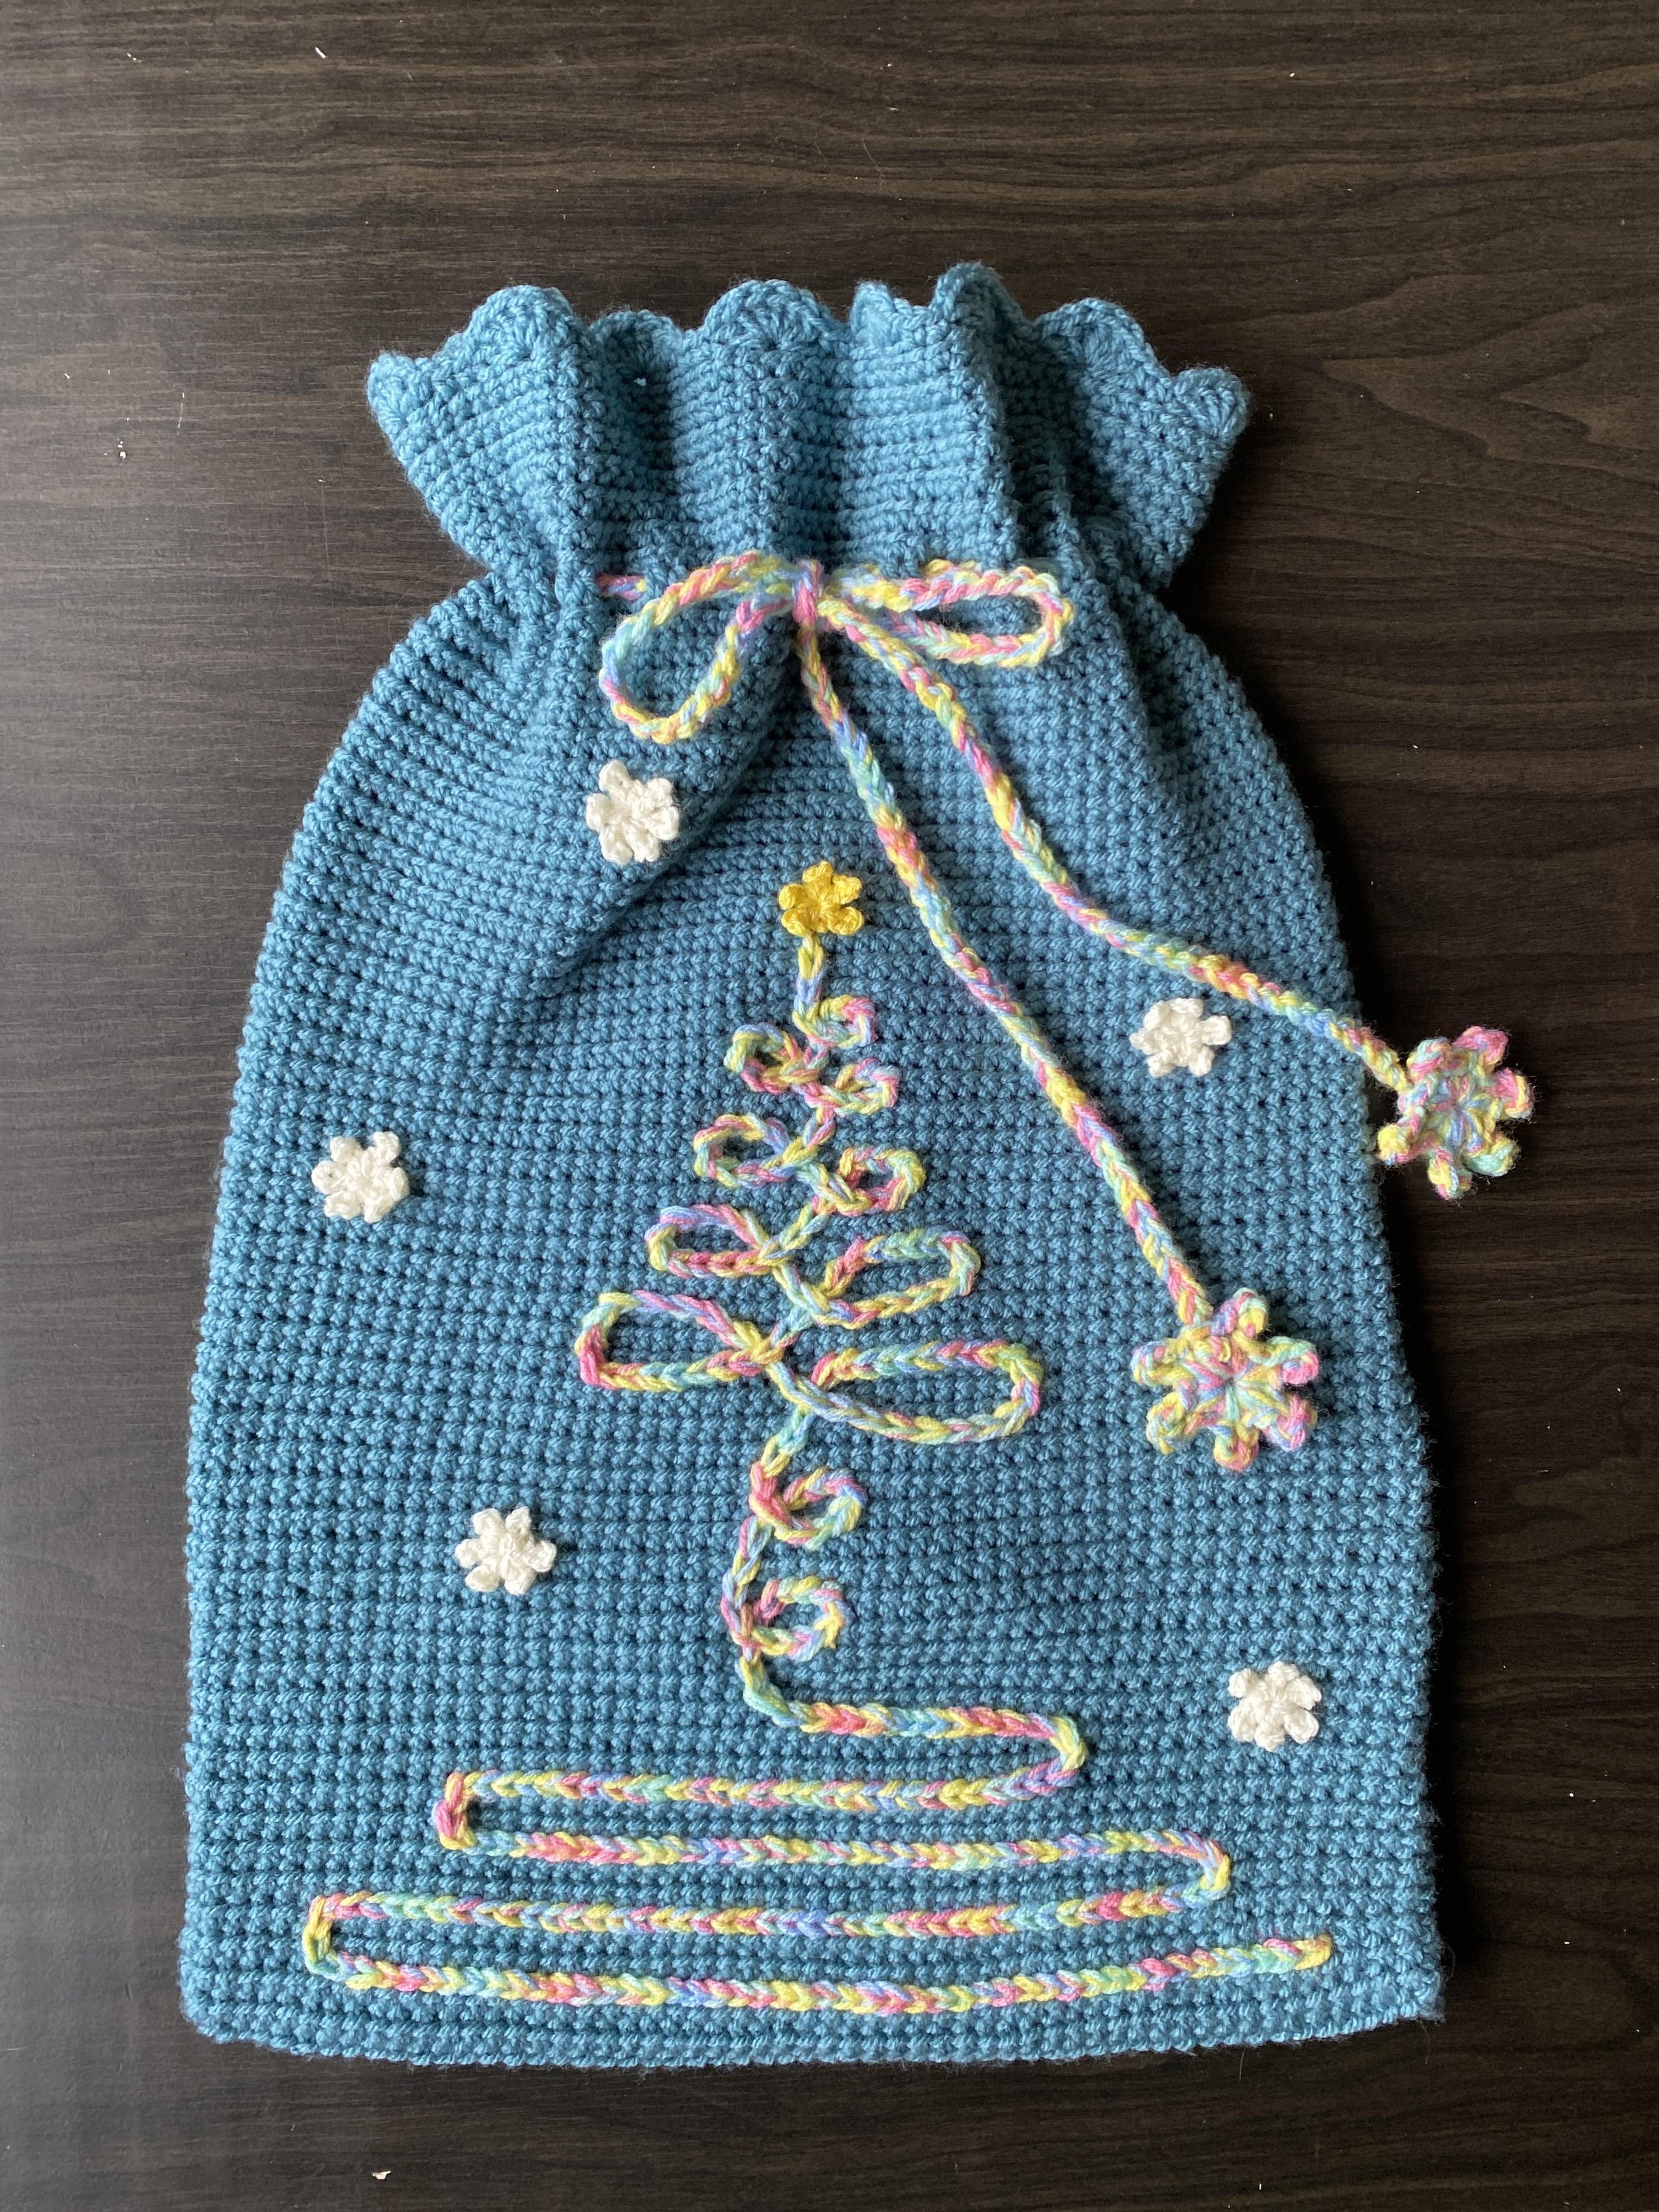
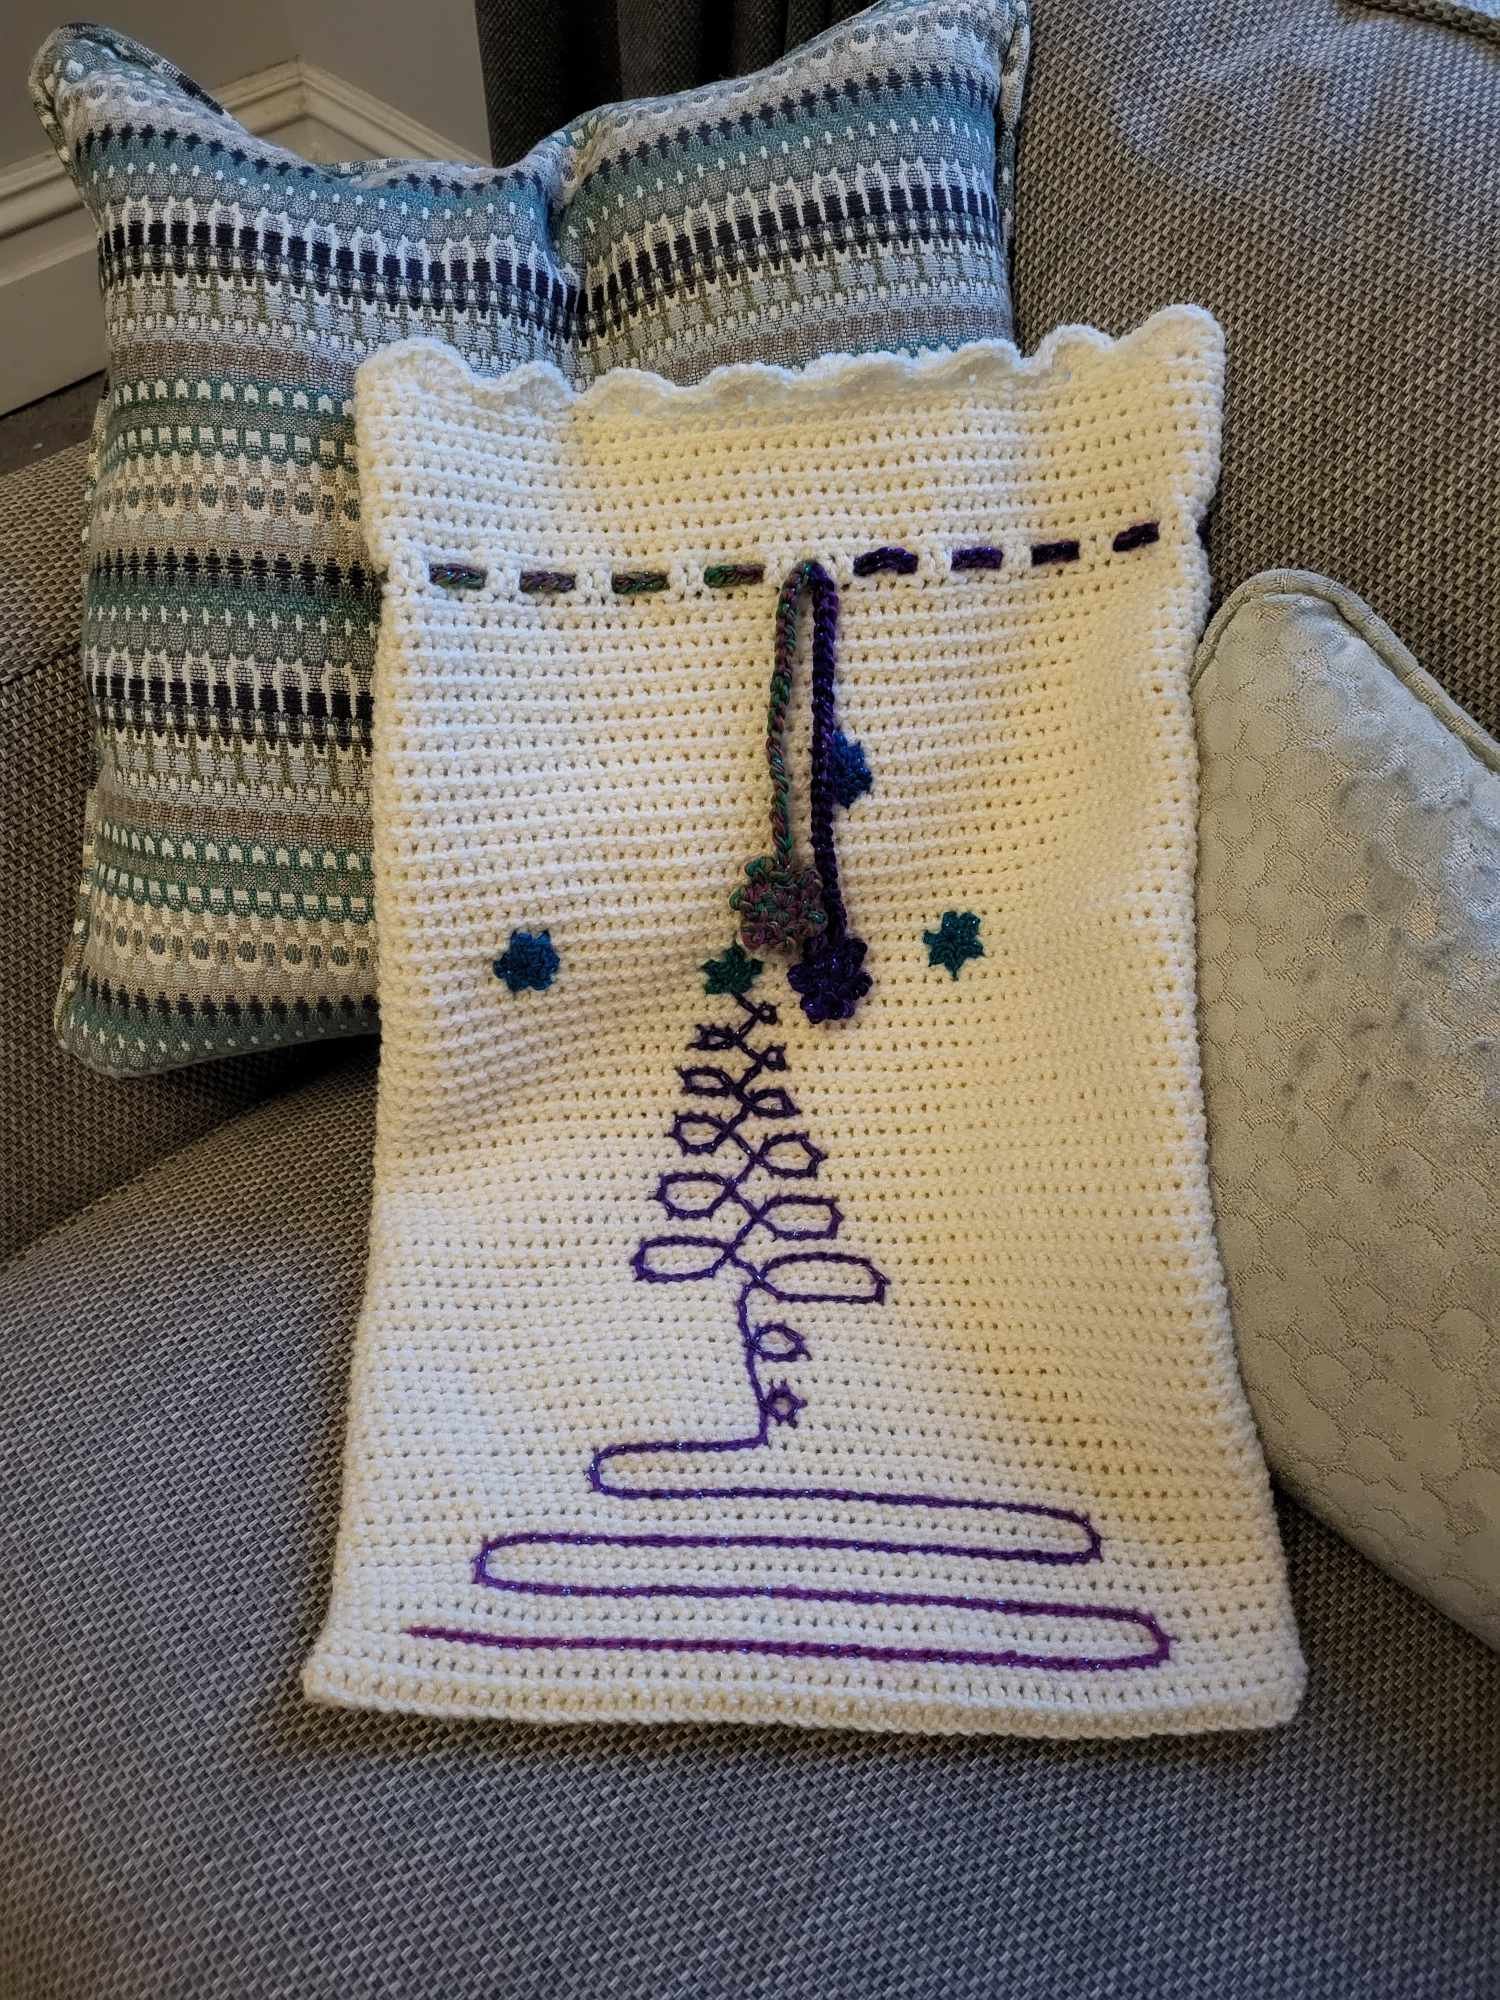
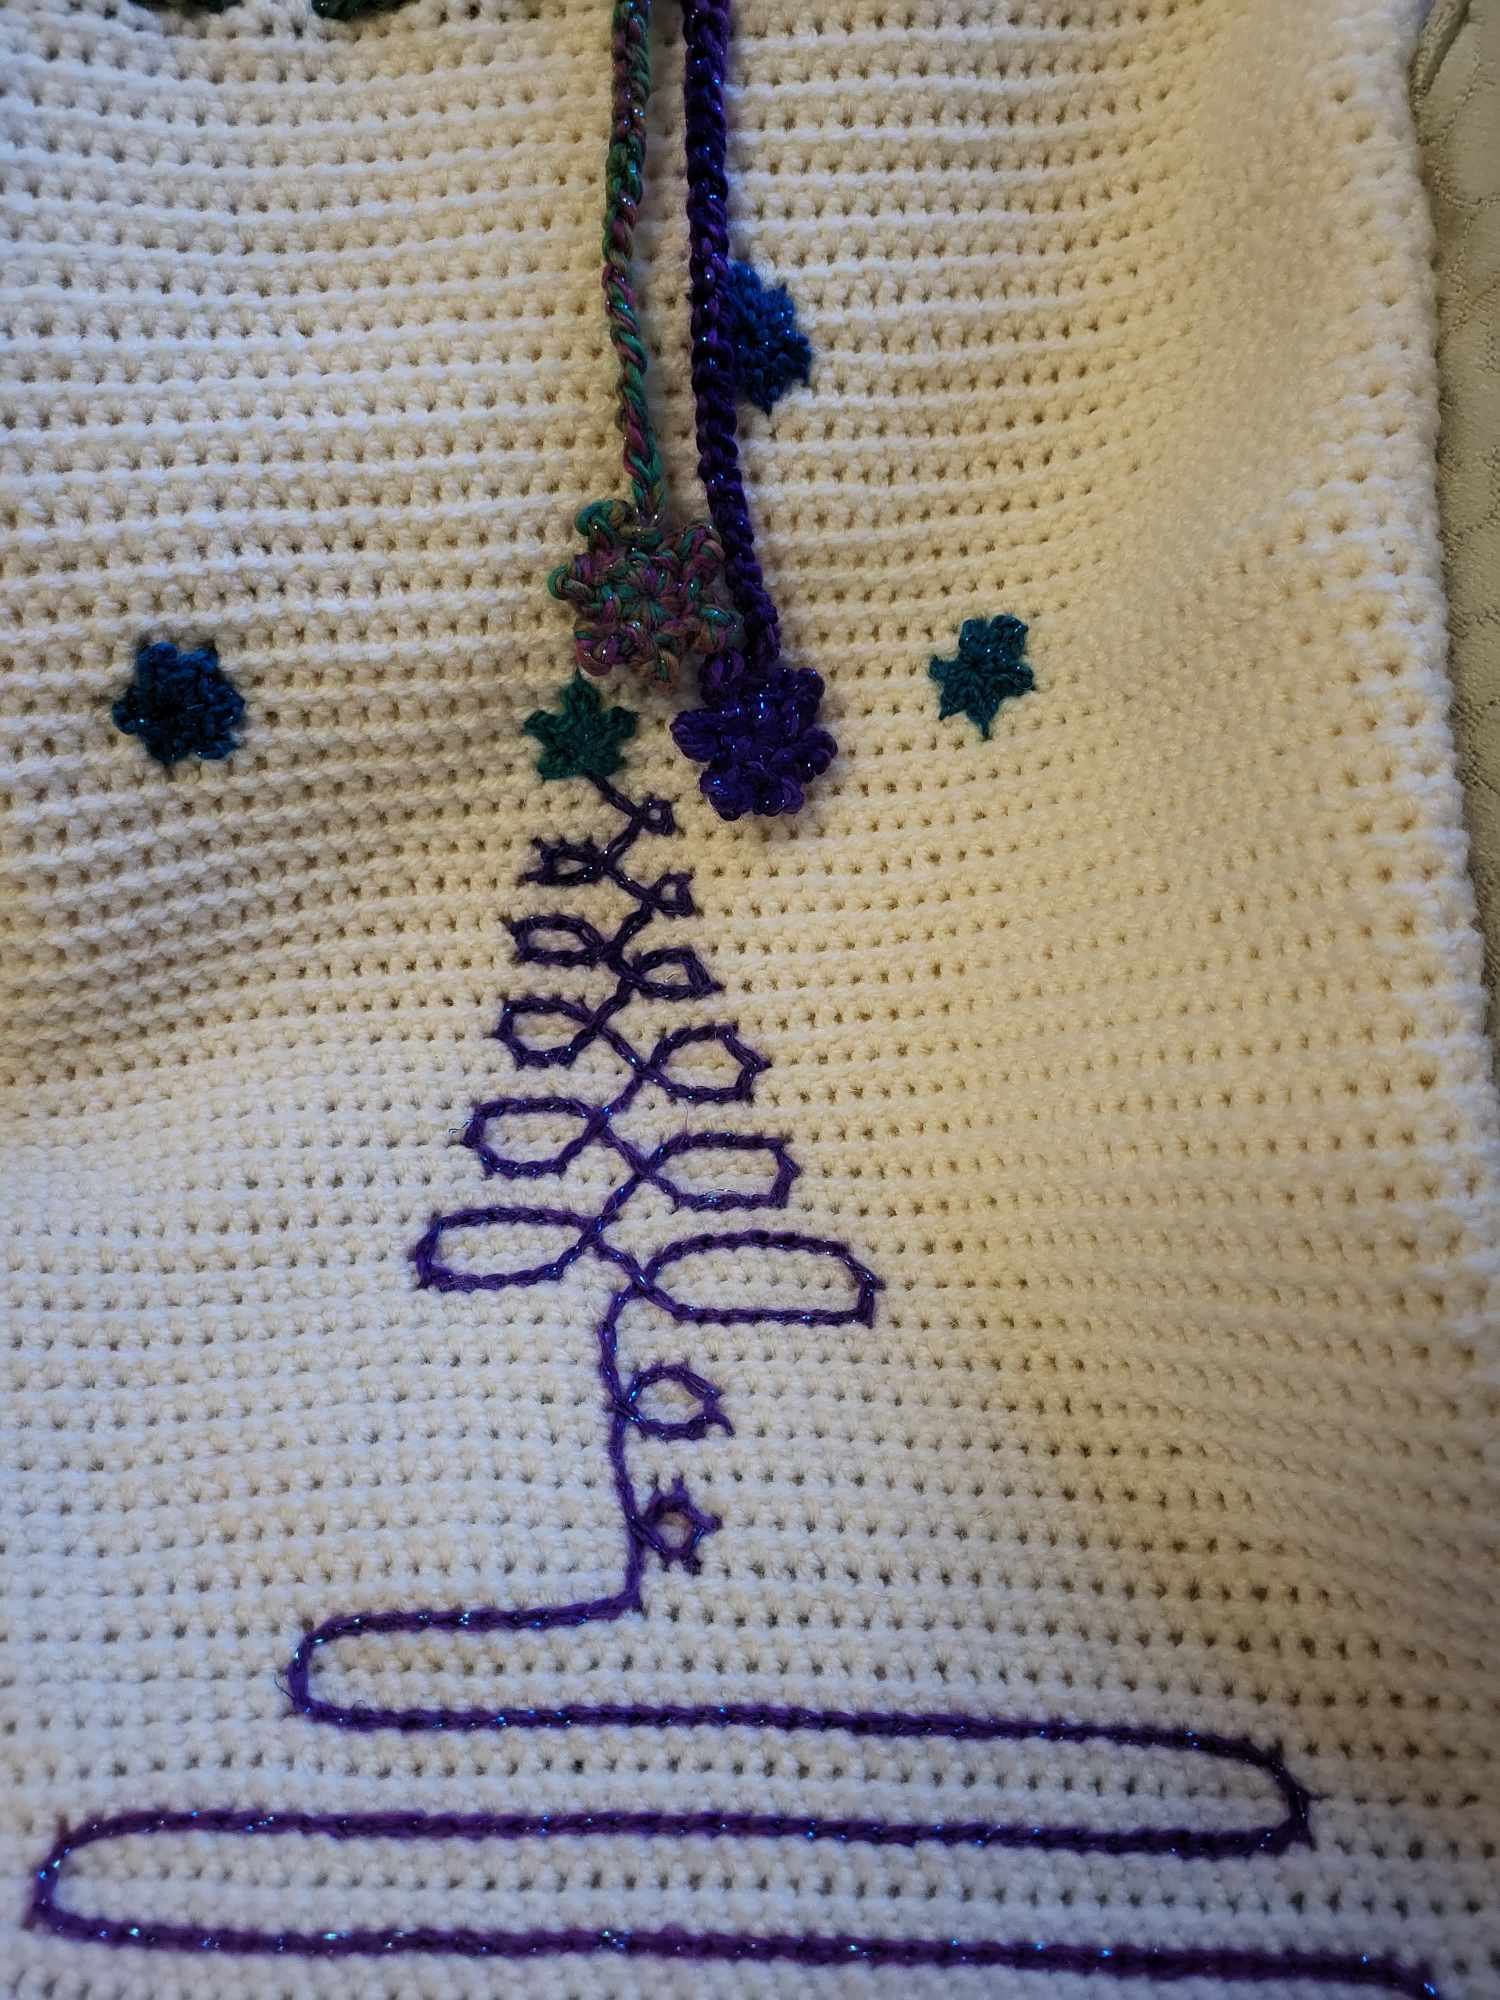
This a written pattern, with photographs and graphs. The pattern is comprised of simple stitches with the basis being a linked stitch. Surface slip stitch is used for the tree. A guide to the surface slip stitch is provide. Your own artist flair is encouraged.
This works up surprisingly quick.
Materials:
5mm/H hook
3.5mm E Hook (used for snowflakes and stars)
C1= Stylecraft Special Aran with wool. Col- Burgundy. Approximately 620m/678yd used.
C2= Stylecraft Special Dk. Col-Cream. Approximately 295m/322.6yd.
Tapestry Needle
Scissors
Stitch Marker
Safety Pin
Yarn Substitutions:
Paintbox Yarns Simply Aran (click here for supplier).
Hayfield Bonus Aran (click here for supplier).
Cascade Superwash Aran (click here for supplier).
King Cole Big Aran (click here for supplier).
Lion Brand Basic Stitch Aran (click here for supplier).
Lion Brand Feels Like Butta (click here for supplier).


Below: Tester Examples
Sallyanne Fisher: Picture 1-4. Hook: 5.5m Yarnology ergonomic 4.5mm. Yarn: Red heart Super Saver acrylic WW in soft white 728 yards/665.7 m Unknown DK green acrylic 345.0 yards/ 315.5 m. Crafters Square fingering acrylic blend in white 6.0 yards. Measurements: 23 in x 14 inches.
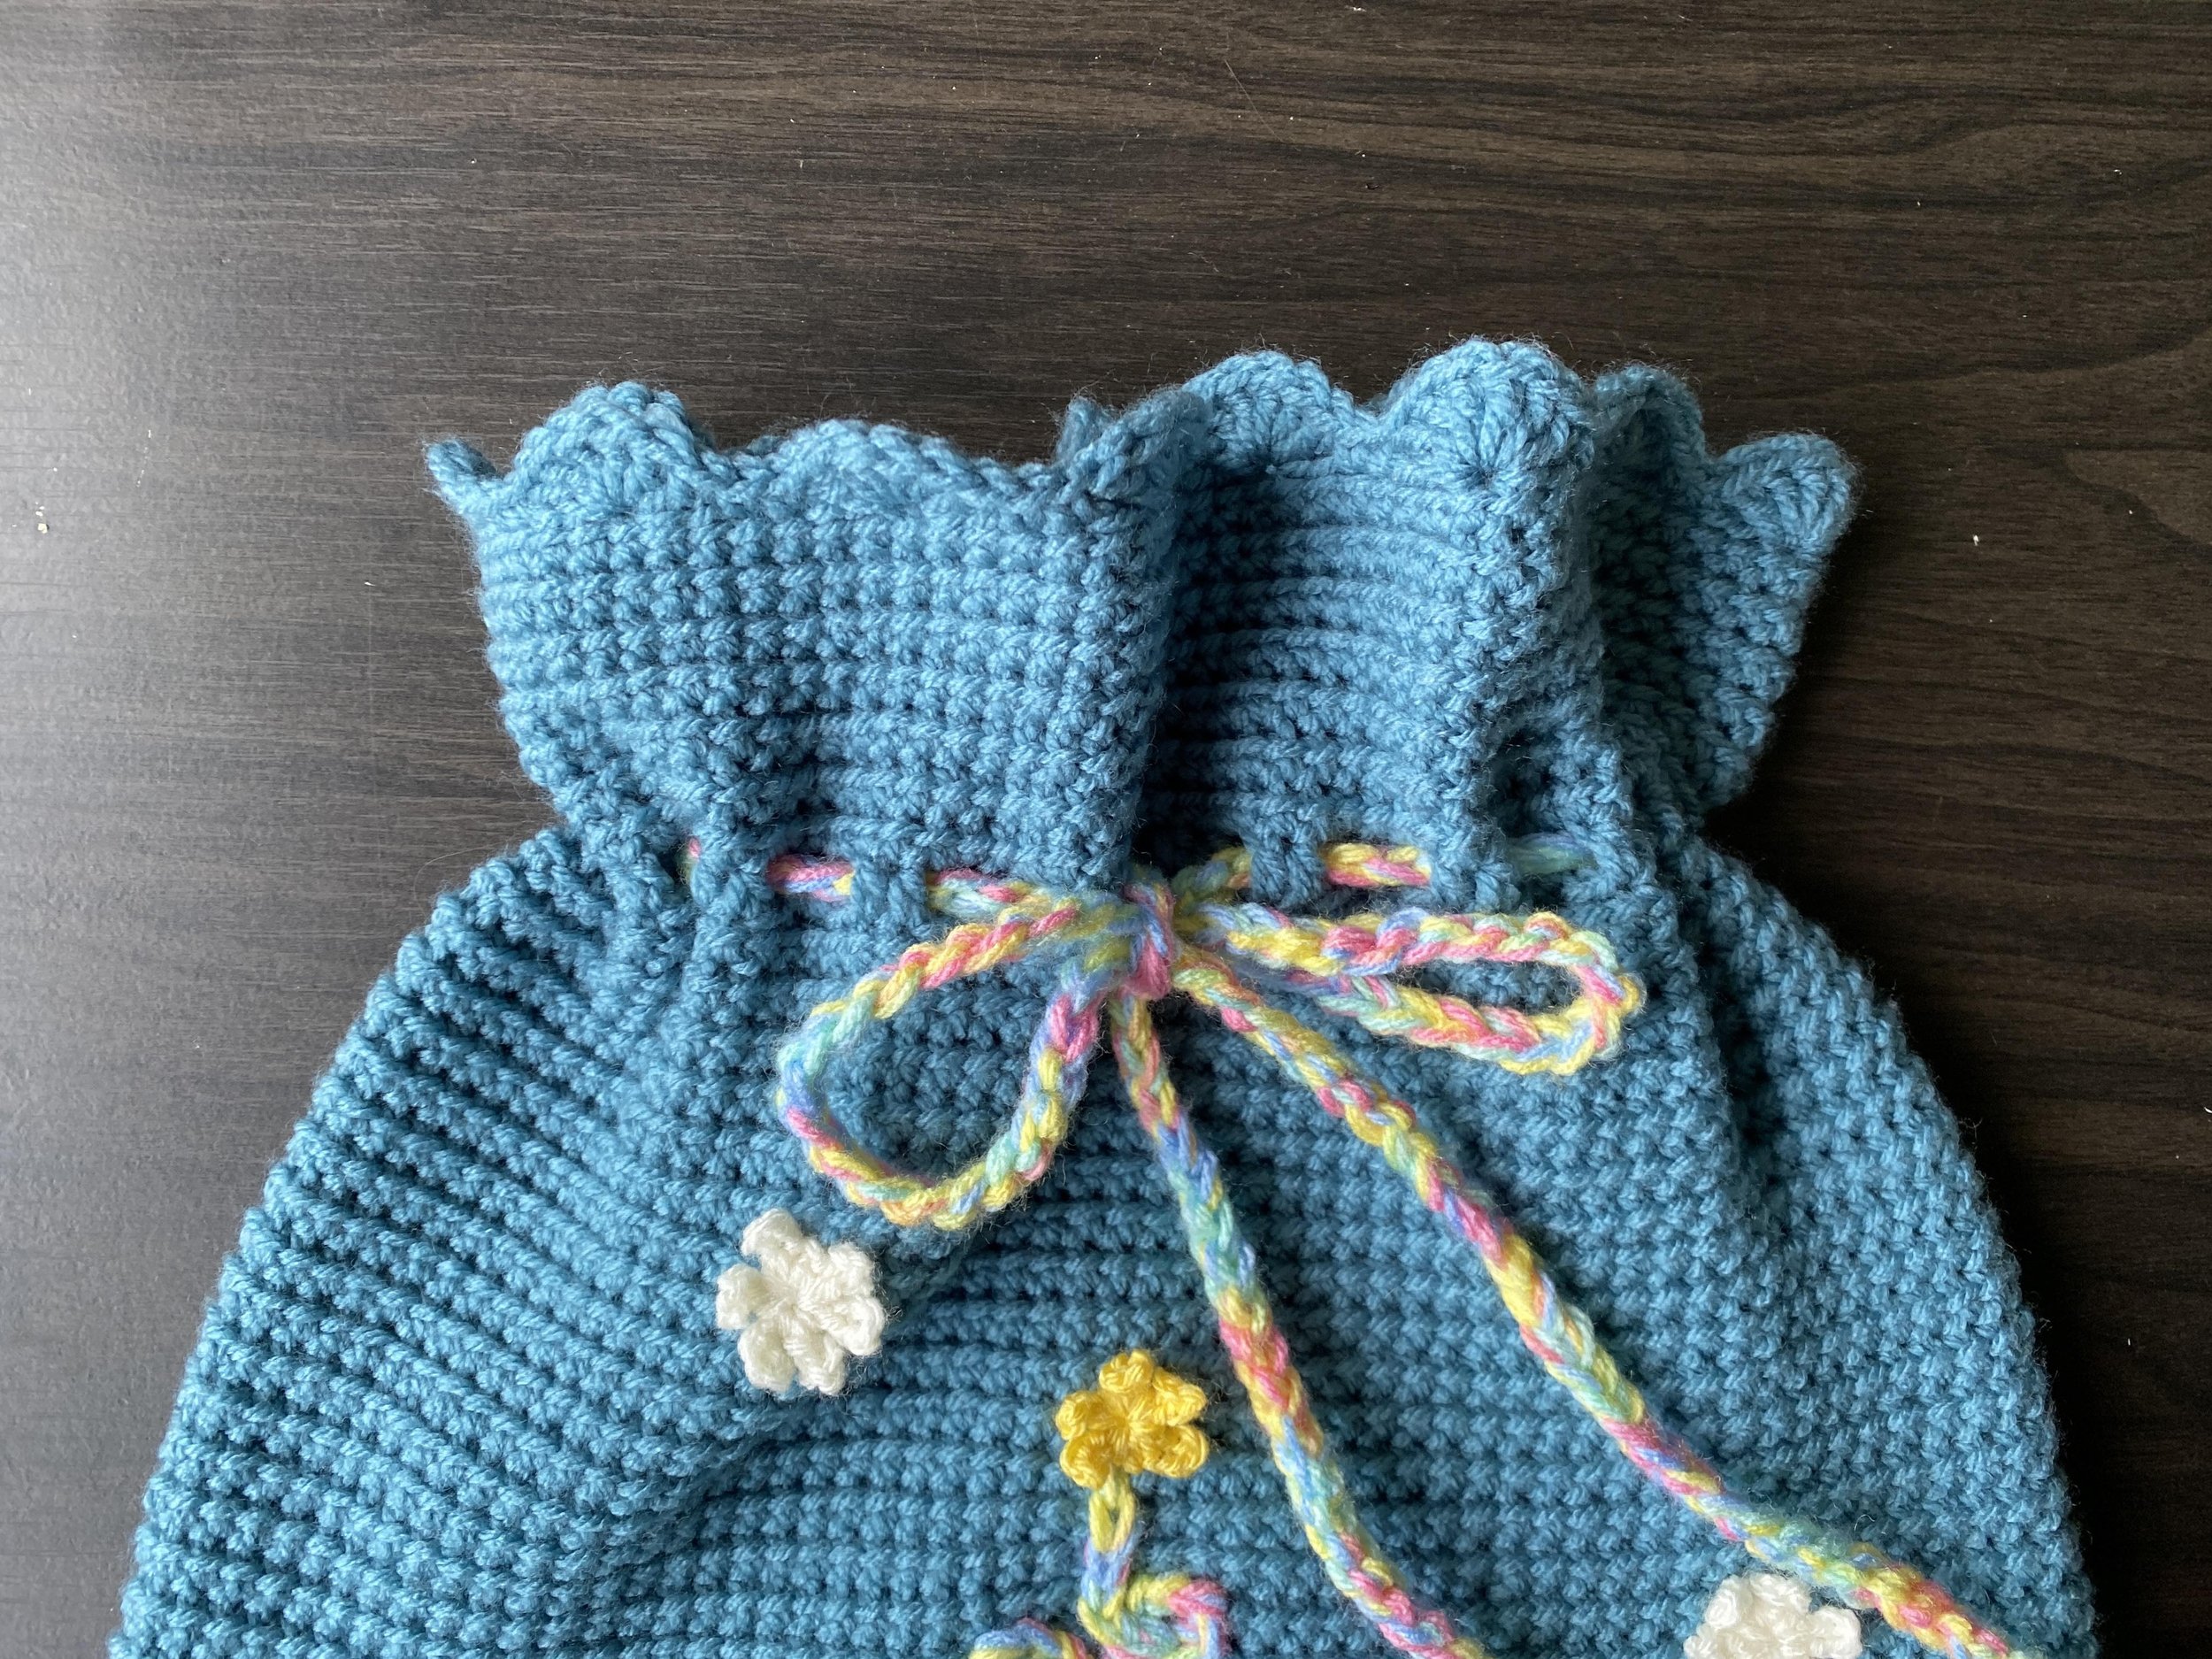
Lauren Diessel: Pictures 5-11. Hook: 5mm Clover Amour hook, and 3.5mm Clover Amour hook. Yarn: C1 Stylecraft Special Aran, colour: Storm Blue — Used approx 558.6m / 285g. C2 4 Seasons Marvel Printed, colour: 0001 — Used approx 100m / 35g Snowflakes x5: Stylecraft Special DK, colour: cream — Used approx 6m / 2g Star: Stylecraft Special DK, colour: citron — used less than 1g / approx 3m, Measurements: 38cm x 54cm.
Emma Large: Pictures 12-14.