


I had been playing around with Daffodils for a new bag design and decided to turn one of them into a bookmark. If you are looking for a quick and easy make, or maybe you need an end of year teachers gift, these work up fast and look great!
The free version of the pattern is below. A PDF copy is available for a small purchase amount on my ravelry page.
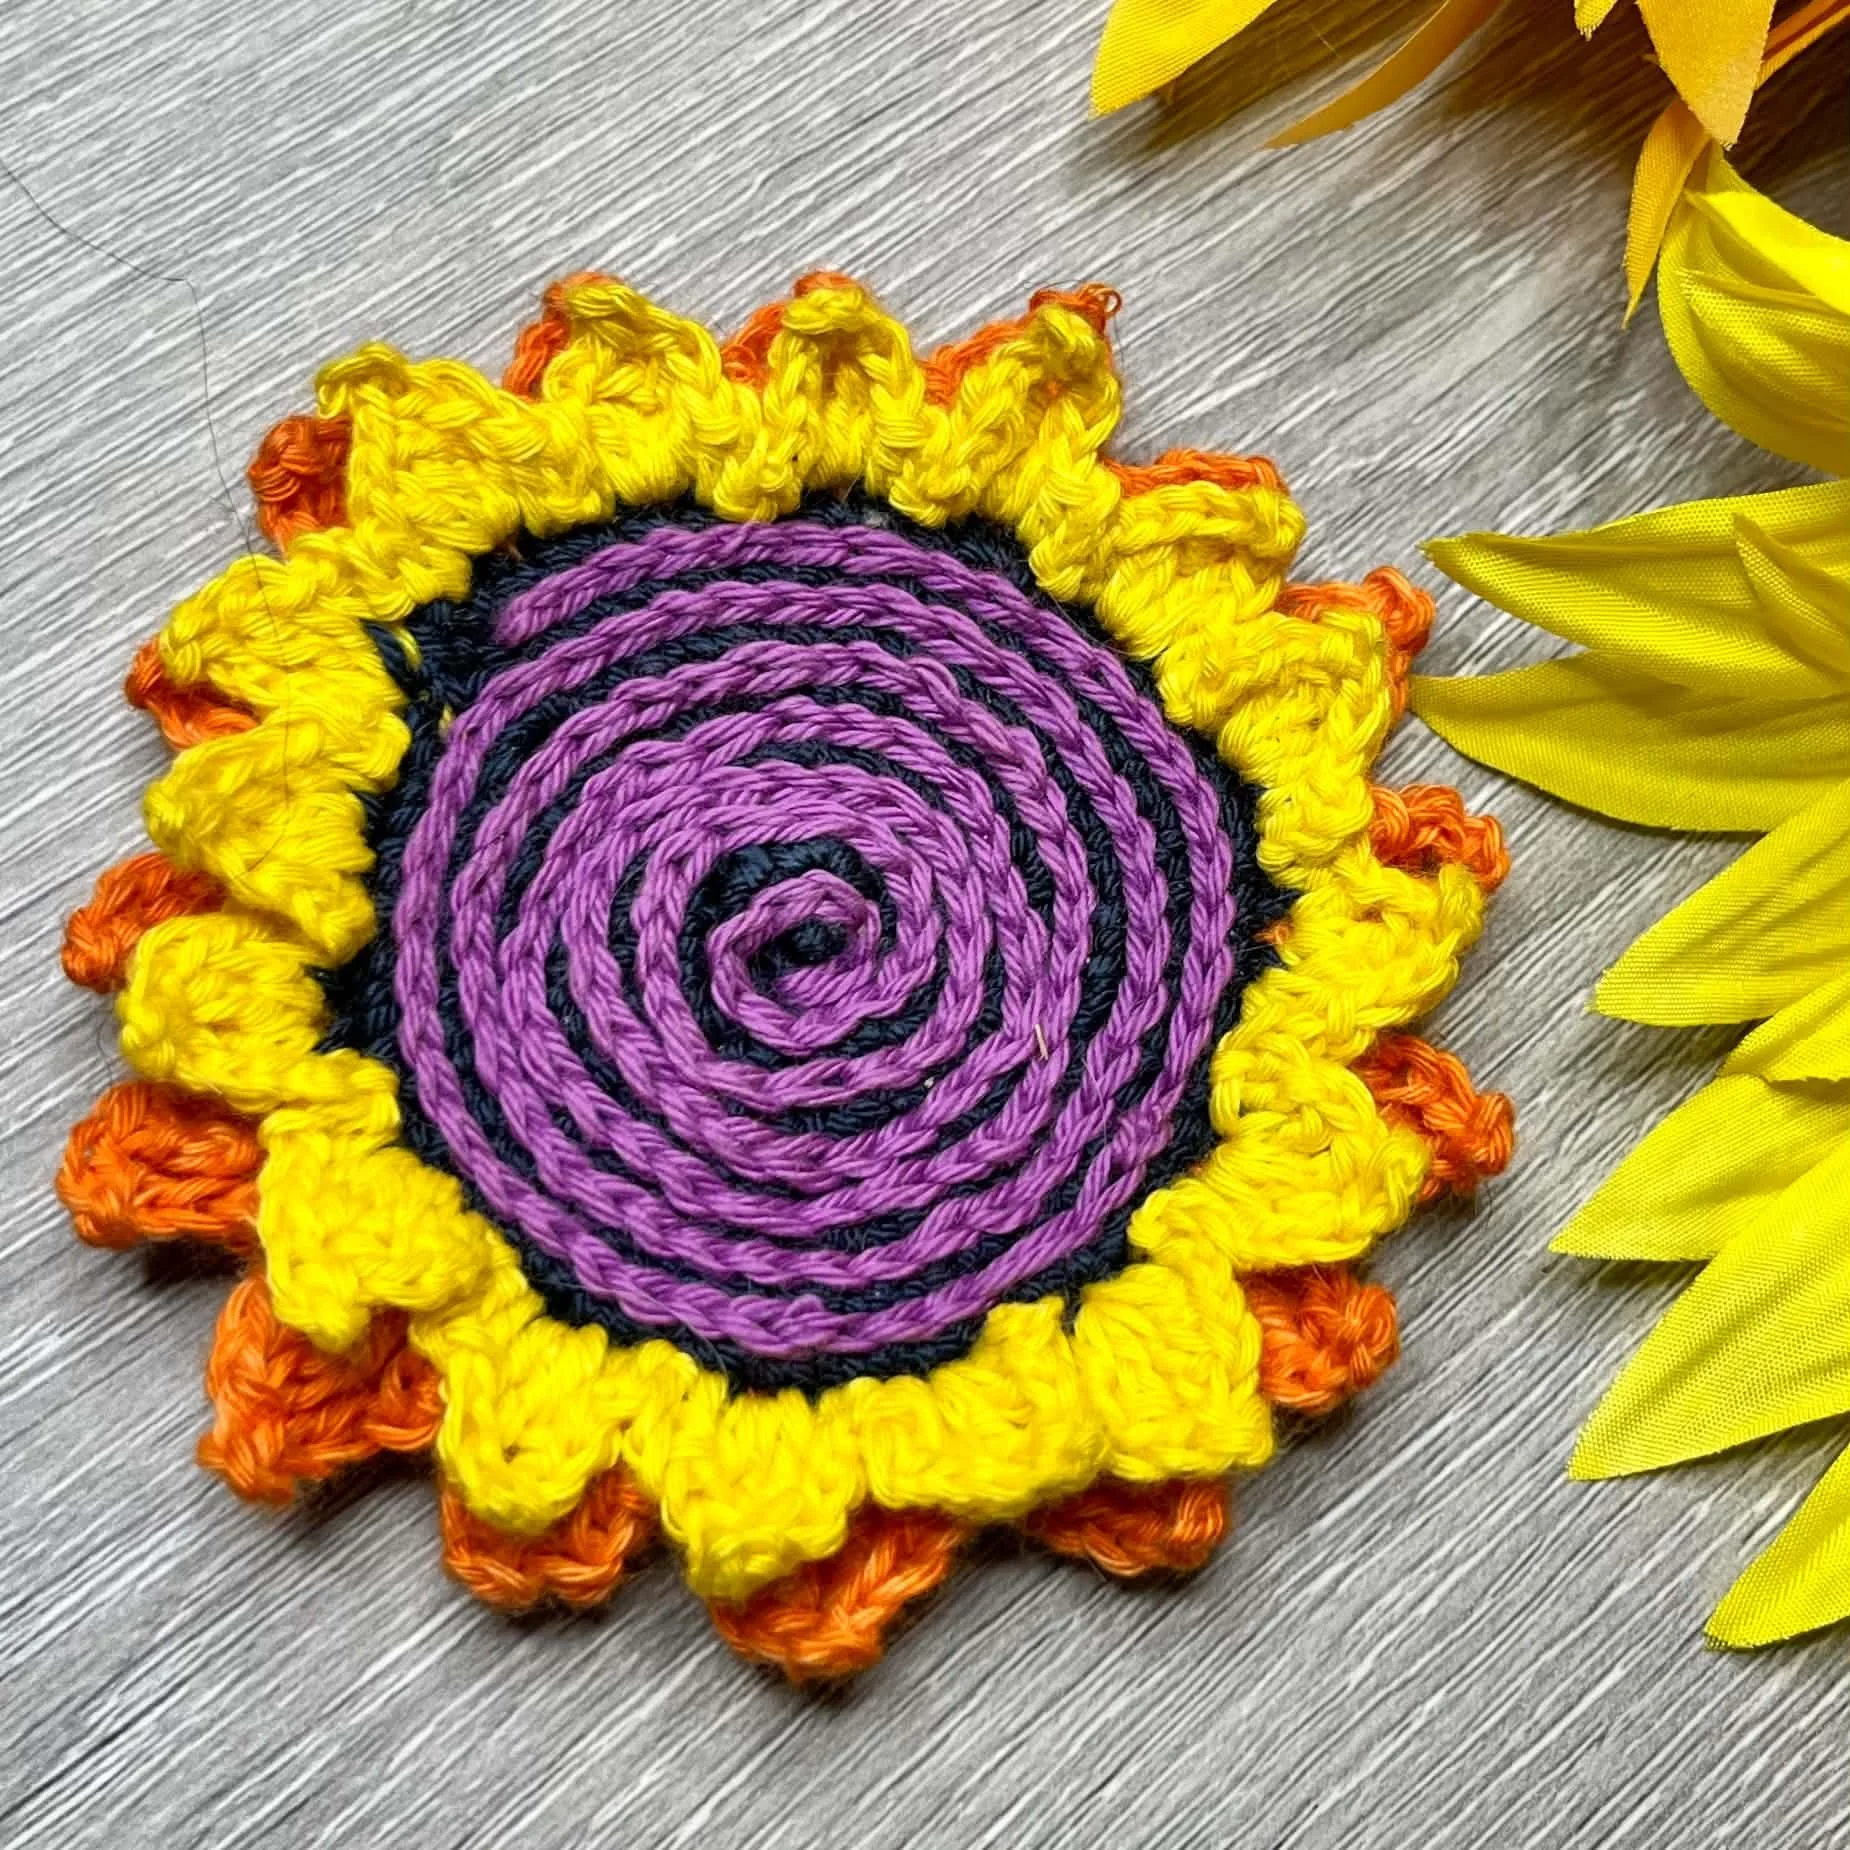
Daffodil Bookmark

USA terms are used.
Materials:
3.5mm/E hook
This is a perfect scrap buster project as only a small amount of each ball is used.
1 ball Cotton Dk in Orange = C1
1 ball Cotton Dk in Yellow = C2
1 ball Cotton Dk in Green = C3
Tapestry needle.

2large beads with wide holes. I made mine from Polymer clay. Instructions aregiven if you wish to make your own.
Jewellery cap.
Small amount of craft glue.
Abbreviations:
Sc- Single crochet
Dc- Double crochet
Tr- Treble crochet
Slst- Slip stitch
Blsc- Back loop single crochet
Fl- Front loop
Lp- Loop
Ch- Chain
Measurements: 15 ½ inches/39.37cm from top of flower to endof tassel.
Notes:
- Chains count as a stitch unless otherwisestated.
- Gauge is not a necessity for this project.Size will be determined by hook and yarn selection.
- Keep the orange yarn and stitch marker to thefront of your flower when working round 2.
- Stitch counts and hints appear in purple.
- Making your own polymer beads is optional. Ifpurchasing beads, be sure to buy ones with large holes.
- This bookmark is sized for a medium book.Reduce the stem chains if you wish for a shorter bookmark. Increase the stemchains for a larger bookmark.
Flower head:
Round 1: With C1 make a magic circle. Ch1 into a magiccircle (does not count as a st). Sc15 intocircle. Slst to ch1. Remove hook and insert a st marker. Do not fasten off. [15]
Round 2:With C2. Attach yarn with a slst into any back loop of round 1 .*( Ch2, dc1,tr1) into same back lp. Ch3, slst intofirst ch (picot made). (Tr1, dc1,ch2, slst) into next back loop. Slst across next 2 back loop of sc* Rep from *to * 5 times in total. Slst to first ch2 to close round. Fasten off and cut yarn. [5 petals]
Round 3:Remove st marker from C1. Ch1. Sc into each Fl of round 1. Slst to ch1 toclose. [15]
Round 4:Ch1. Sc into each st around. Slst to ch1to close. [15]
Round 5:Ch1 does not count as a st. Place next sc into same sp). * Sc. Ch2, slst backinto first ch of ch2. Sc2tog over next 2 sts.* Rep from * to * around. Closewith a slst. Fasten off and cut yarn.

Stem:
With C3. Ch50. Scinto 2nd ch from hk. Sc acrossto last ch. Work 3sc into the lastch. Turn and work sc along the otherside of the ch. Work 2sc into the last ch. Fasten off and cut yarn leaving a long tail to sew to flower head. Using a tapestry needle sew one end securelyto the back of your flower. [48sc + 3sc + 48sc + 2sc]

Leaves: (make2)

Using C3. Ch16.Slst into 2nd ch from hook. Sc into next ch. Hdc into next 2chs. Dc across to last 3 chs. Hdc intonext ch. Sc into next ch. Slst into last ch. Fasten off and cut yarn (leave a long tail for sewing). Sew the leaves to the stem, just above thebeads. [2sc,3hdc, 10dc]

Polymer Beads (optional):
Materials Needed
- Polymerclay in any colours (available at most craft outlets: I used red for thisproject).
- A rollingpin
- 5mmcrochet hook.
- Acrylicgloss varnish.
- Paintbrush
Step 1: If using more than one colour ofclay, combine these by working them together. Roll balls approx 10 to 15mm indiameter.

Step 2: Push ahole through the centre of each ball with a 5mm crochet hook end. Push the hookthrough several times from each end of the hole. This ensures the hole is even.

Step 3: Place your beads on an oven tray and bake in a slow oven for approximately 10 to 15 minutes. Allow to cool. Note: It is a good idea to place foil over your beads and tray, prior to baking. This helps keep any smell from the clay contained.

Step 4: Paint with Acrylic Gloss varnishmaking sure to brush out any bubbles. Allow to dry.

Adding Beads and Jewellery cap:
Thread your beads onto the stem end, not attached to the flower. Place a small amount of craft glue inside thejewellery cap and push the stem end onto it. Allow to dry.


Tassel:
1. Wrap yarn 10times around an iPhone or a piece of cardboard approx 3 inches/7.5cm wide.
2. Thread adarning needle with 15cm/5.90inches of yarn and tie the top of the tasseltightly, leaving the tail to tie to your jewellery cap.
3. Remove the yarn from the iPhone/cardboard.


4. Thread adarning needle with approx 20cm/7.87inches of yarn and wrap around the tassel6-8 times tightly. Knot and push the needle down through the wrapping so it canbecome part of the ends.
5. Tie the Tassel to the Stringing Jewellerycap.
6. Cut the ends of the Tassel and trim evenly.
Thank you to my wonderful testers:
Agnès Arcarons, Kathy Dodge, Bethany Colhoff, Amy Belanger Dreffs, Heather Greene, Patsy Breaux Cantor


This page may contain affiliate links.