A world filled with flowers is a beauty to behold!
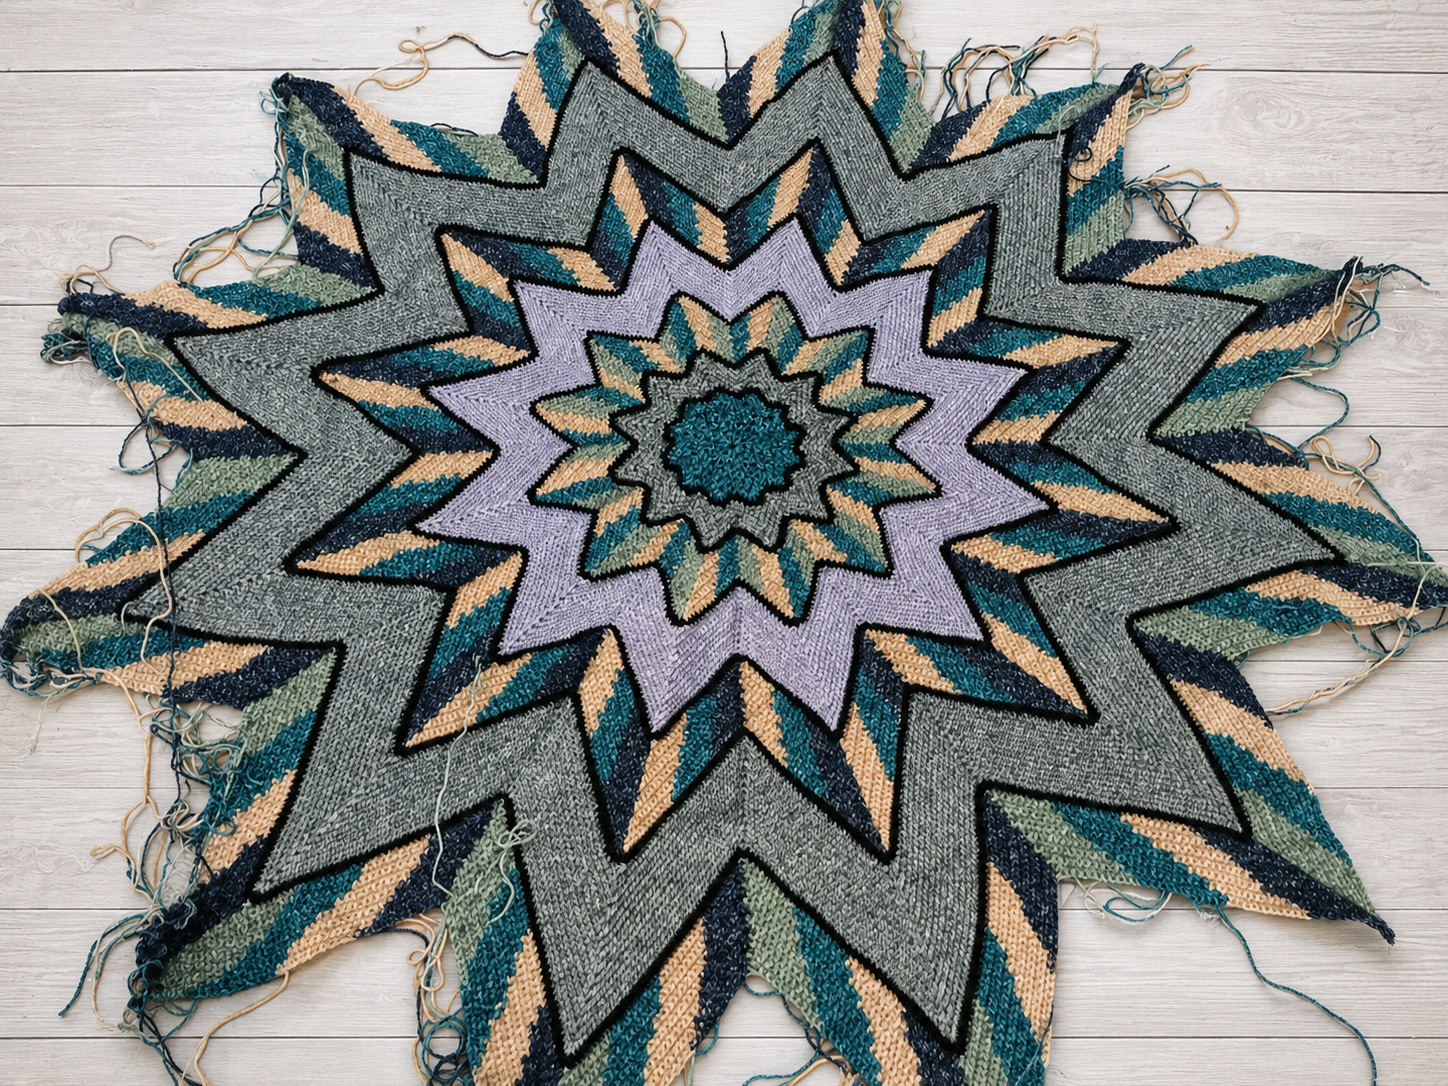
I have been making shawls and blankets of late. Occasionally I have added a few bandana cowls to mix it up, but I needed a break from the blanket I have been working on.
On looking around the room where I store my yarns, I viewed the mountain of what I would consider scrap yarns and decided I should make a bag out of scraps.
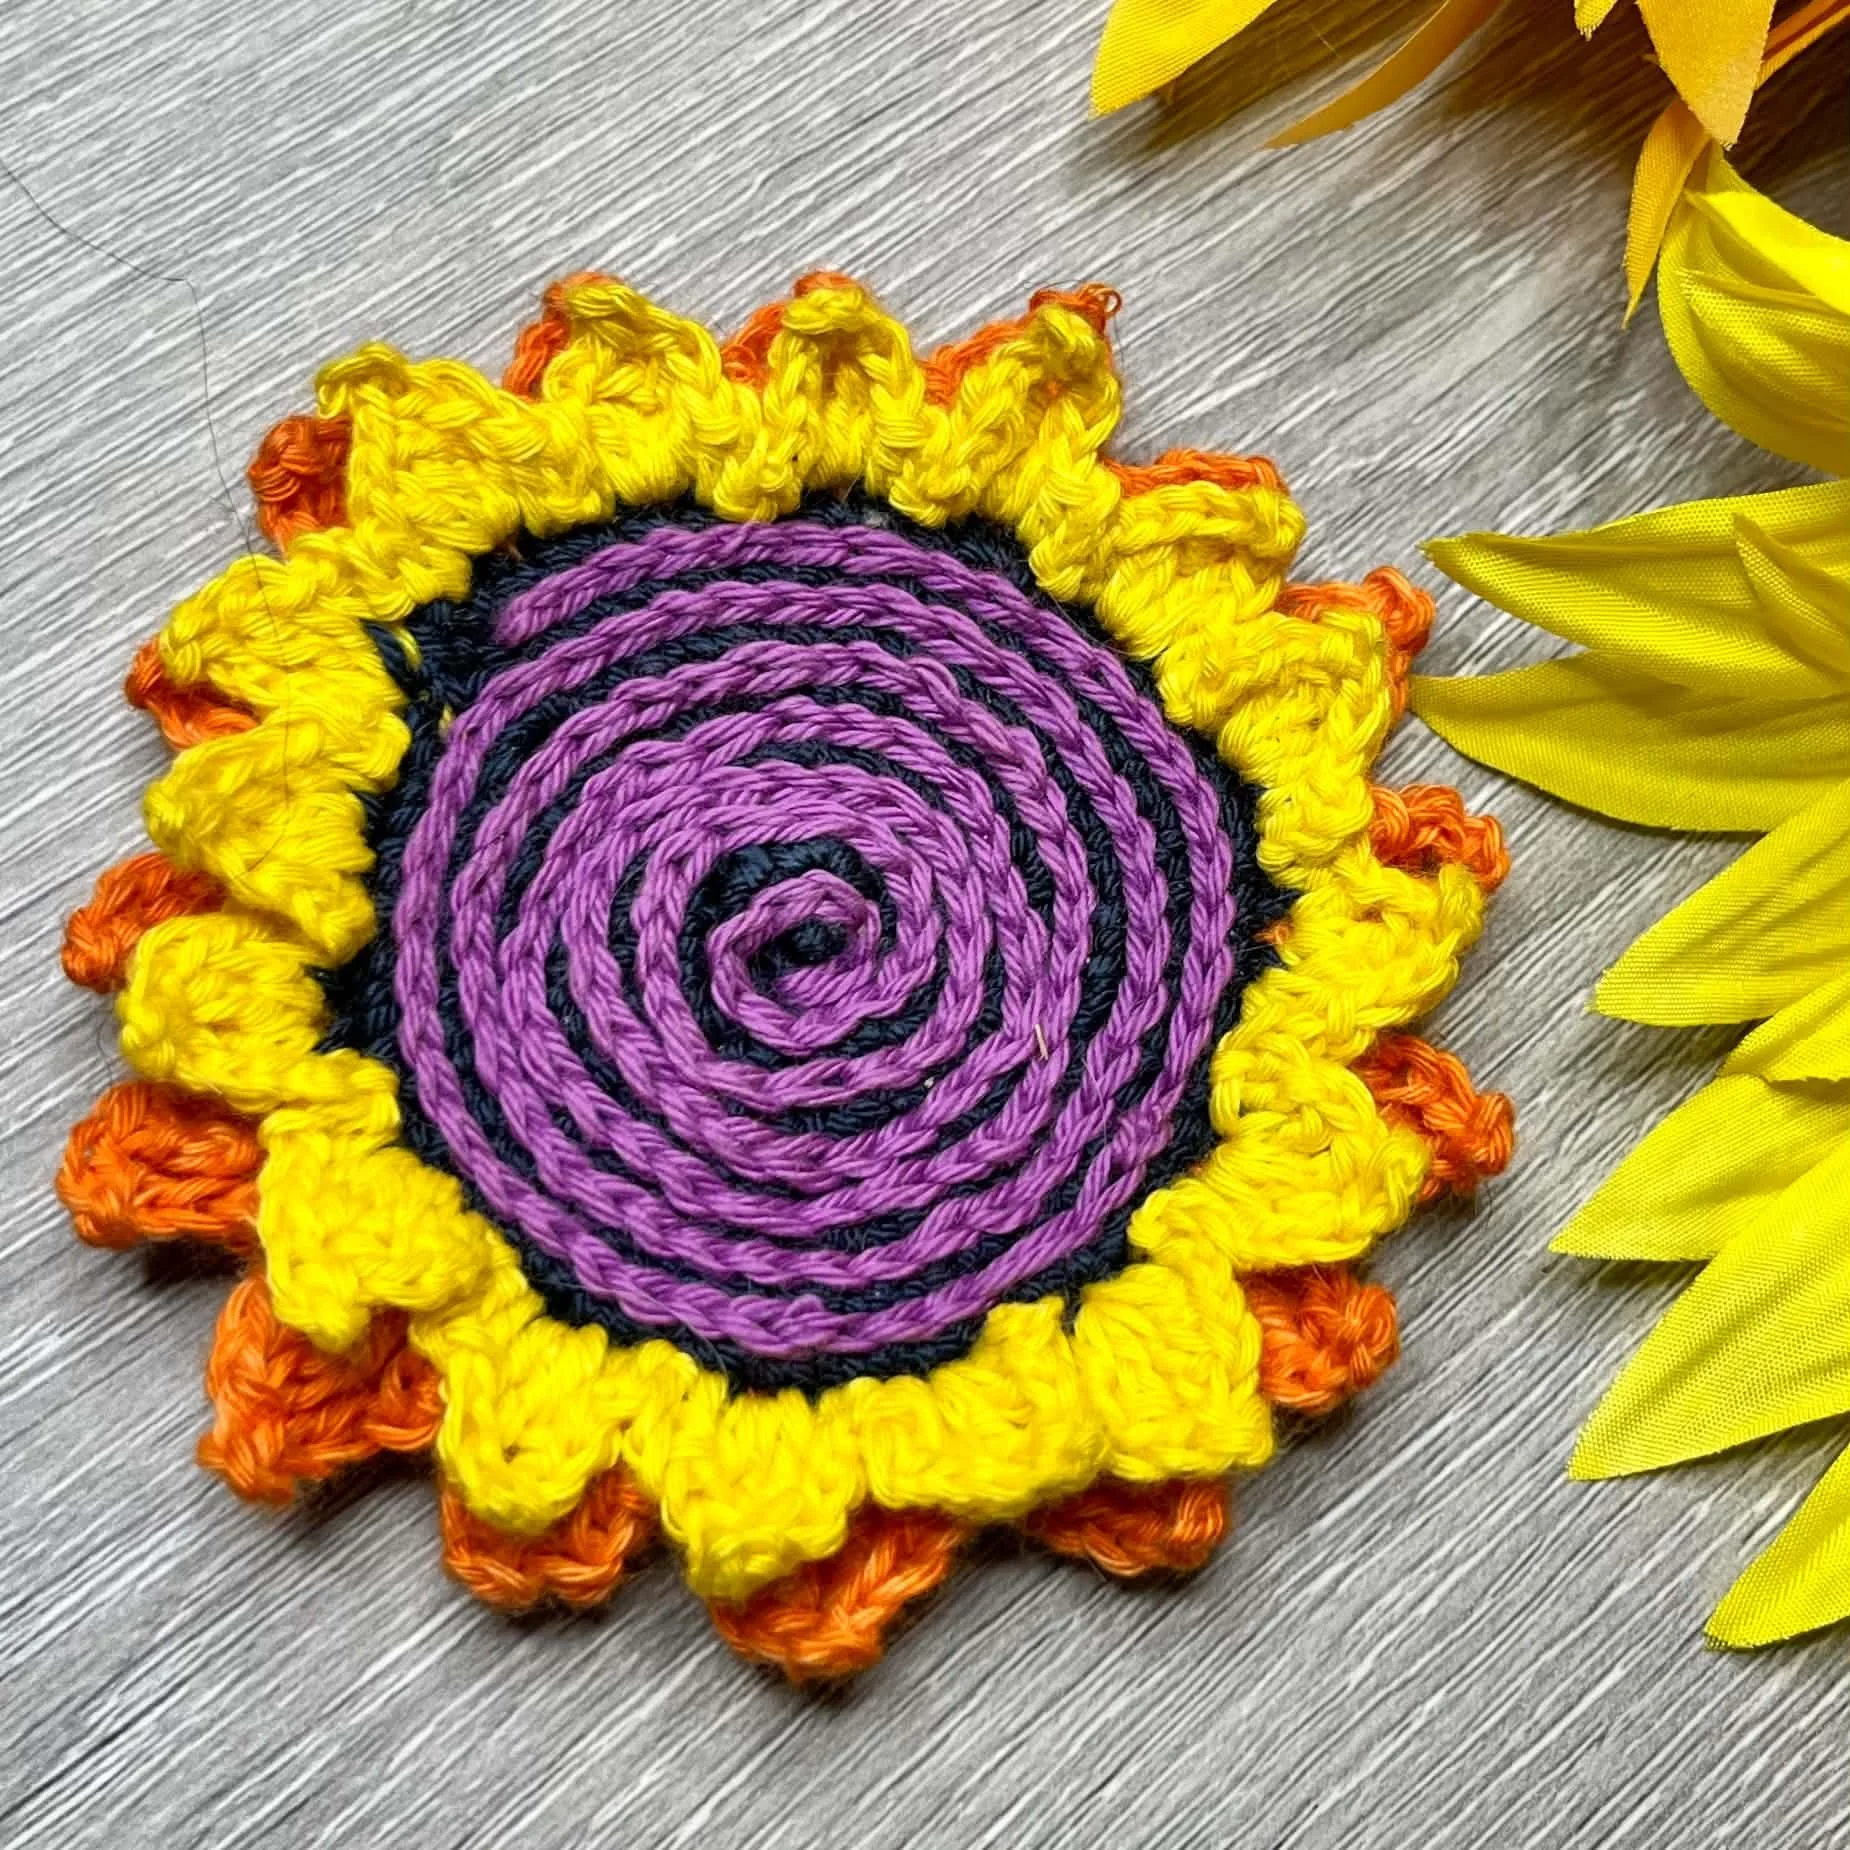
The bag on completion really needed a flower. This little flower is the result!
This has a raised centre for that 3D look.
US terms are used for this pattern:
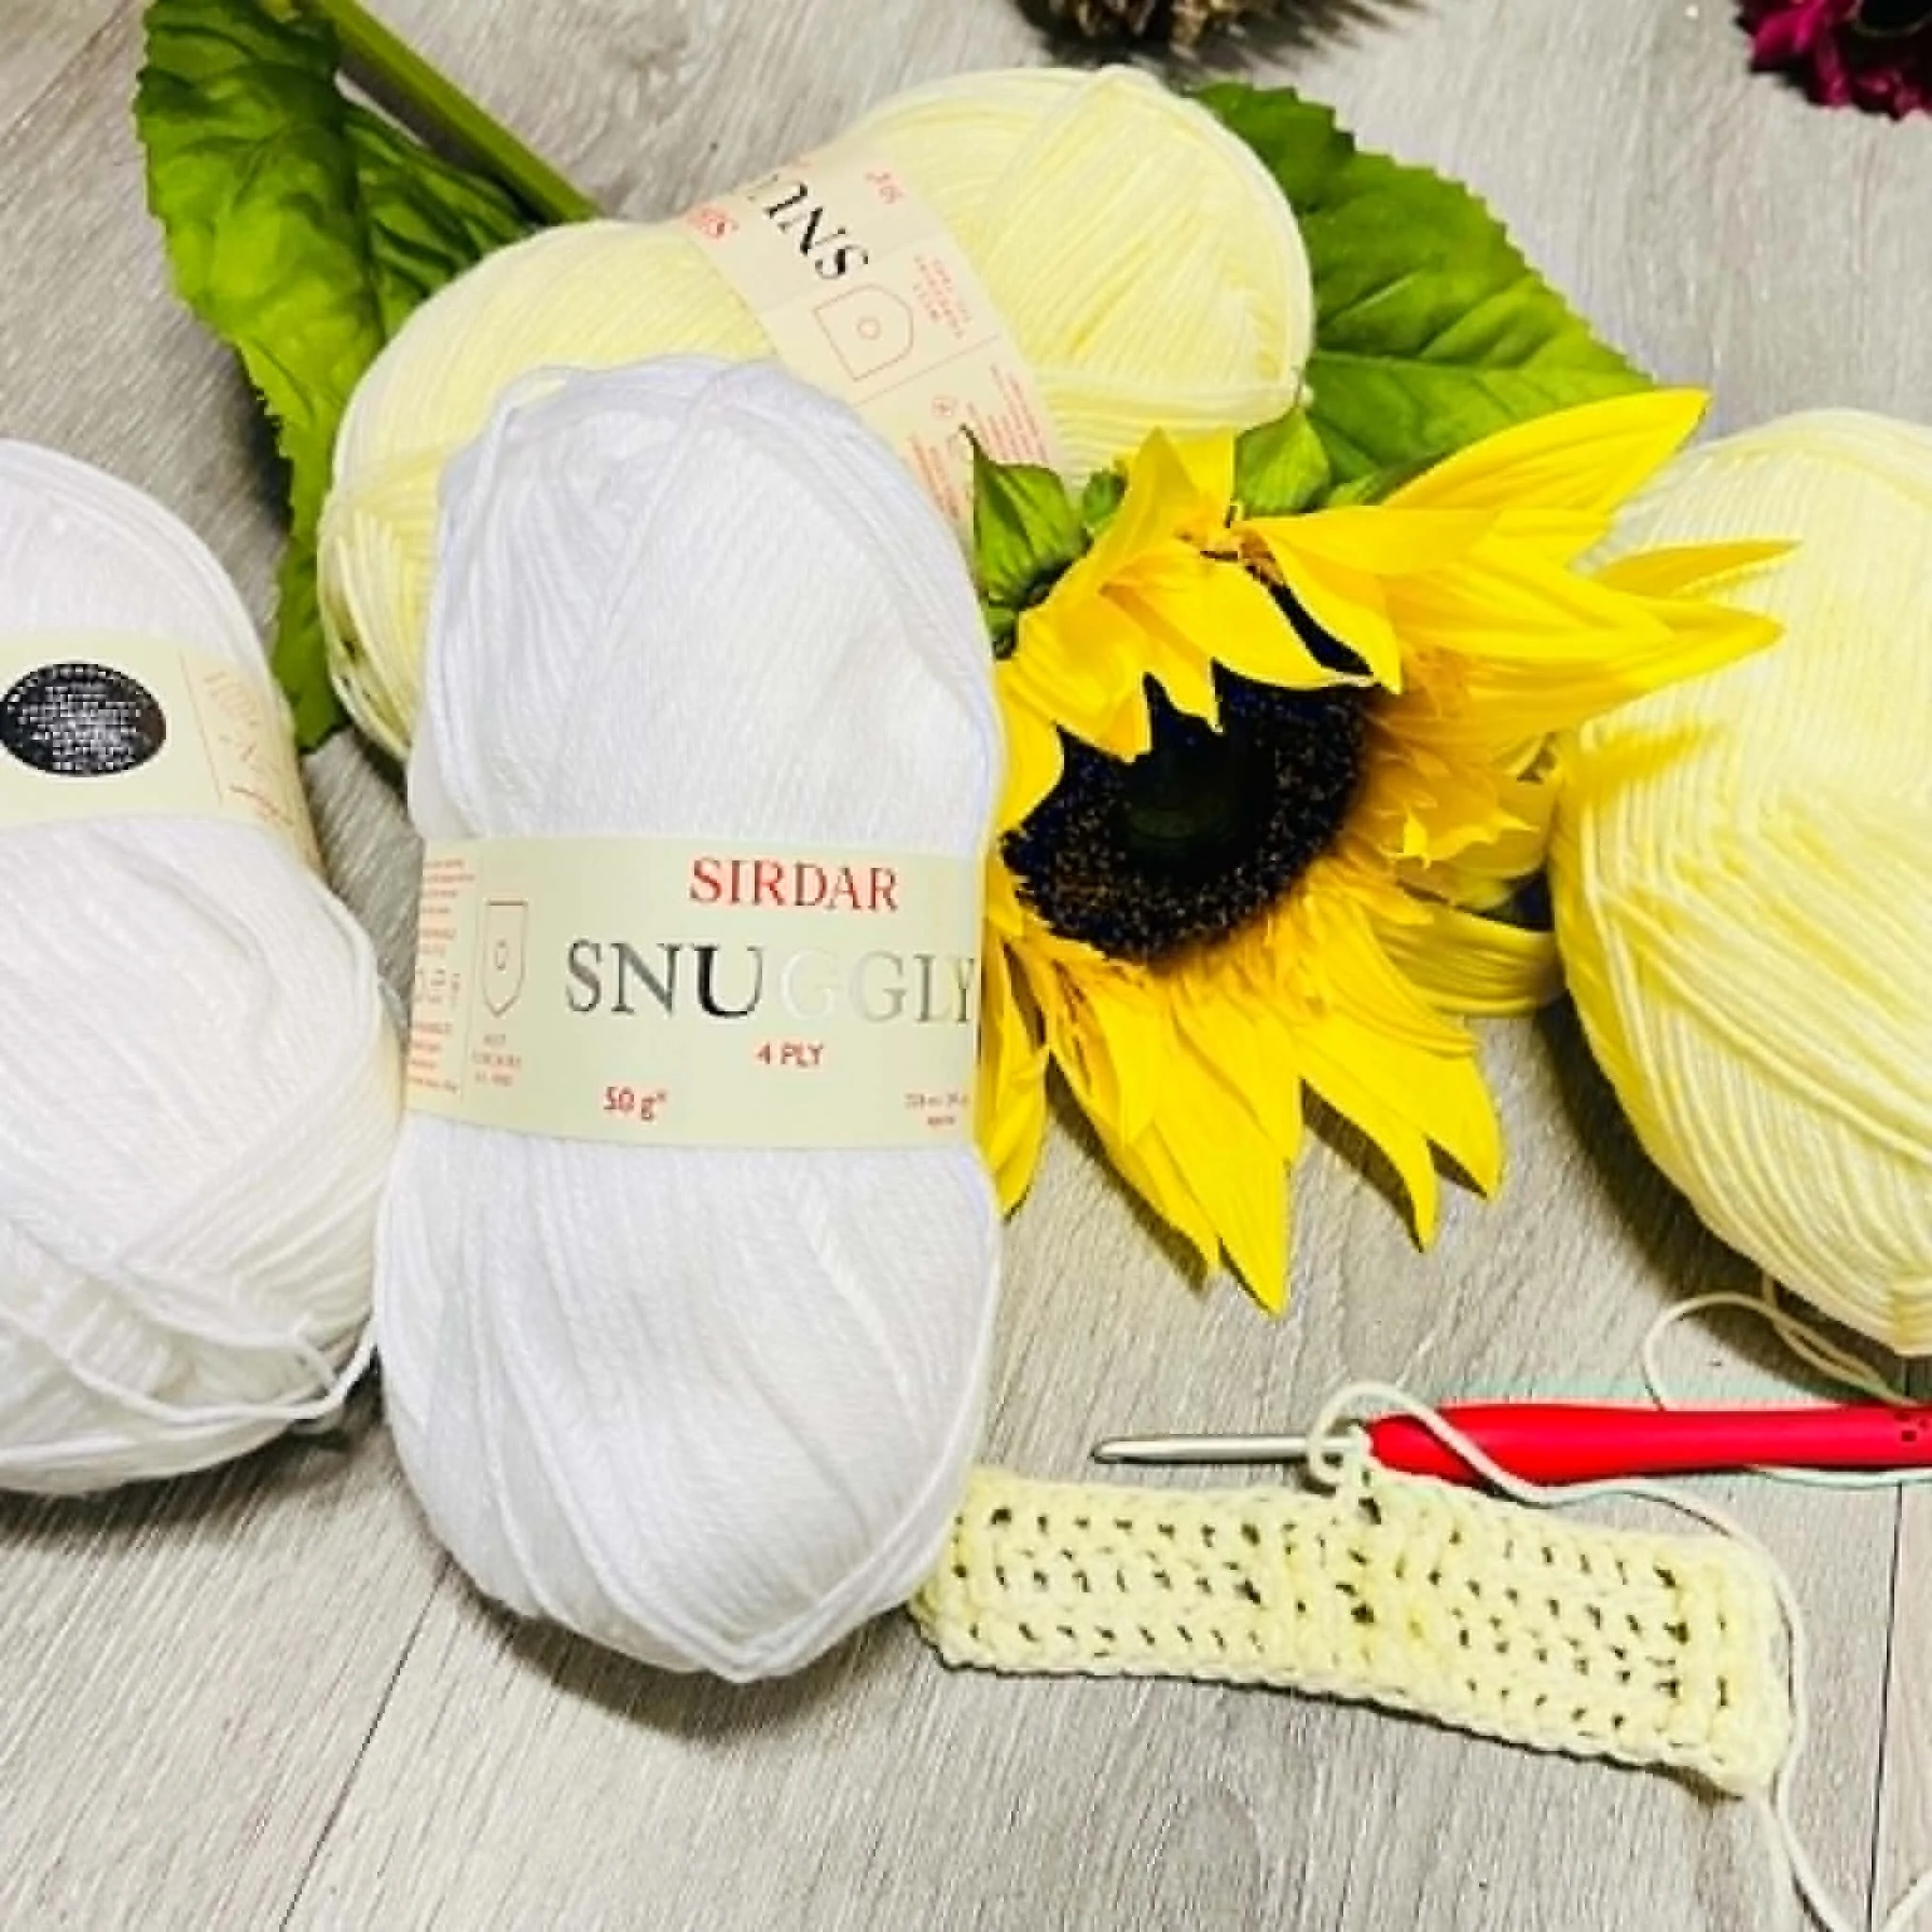
Materials: (scrap yarn).
Flower Centre: Chunky weight.
Petals: Aran weight for the inner petal and Dk weight for the edge.
Abbreviations:
Sc - Single Crochet
Dc- Double Crochet
Dtr- Double Treble
St- Stitch
Yo - Yarn Over
Slst- Slip Stitch
Notes:
Numbers in Red Italic represent the corresponding photograph.
Numbers at the end of the rows represent the stitch counts.
Flower Centre
Round 1:[1]Wrap the yarn around your finger 10 times. Remove the circle of yarn from your finger, keep the circle intact. [2]Insert your hook through the centre of the yarn circle. [3] Yo and pull up a loop. Yo and draw through both loops (doesn’t count as a St). [4]Work 12Sc into the circle. Slst to the first Sc to close the round. Cut yarn and fasten off. Leave a long tail for sewing the flower on. [12Sc]
Petals
Round 2: Turn the work over. Attach a different colour yarn with a Slst into any Sc.[5][Ch5 (counts as a Dtr).[6]Work 3Dtr into the same St as Ch5. [7] Ch5, Slst back into the same St. Slst across 2 Sc]x6 omitting one Slst in last rep. [8]Fasten off and cut yarn. Leave a long tail for sewing the flower on. [30Dtr]
Round 3:[9]Attach a different colour yarn with a Slst into any Slst between Petals on Round1. [10] [Ch5. Sc into the first Dtr of Round 2. [11] [2 Dc into next St]x2. [12]Ch5. Slst into next Slst of Round 1]x6. Fasten off and cut yarn. [12Sc, 24 Dc, 12 Ch5 lengths]
Sew on to your project using the long tails.
The Stem:
I usually use surface slip stitch for most items like this, but this time I wanted it to really stand out. This stem is sewn on.
I used the same Chunky yarn that was used for the centre of the flower.
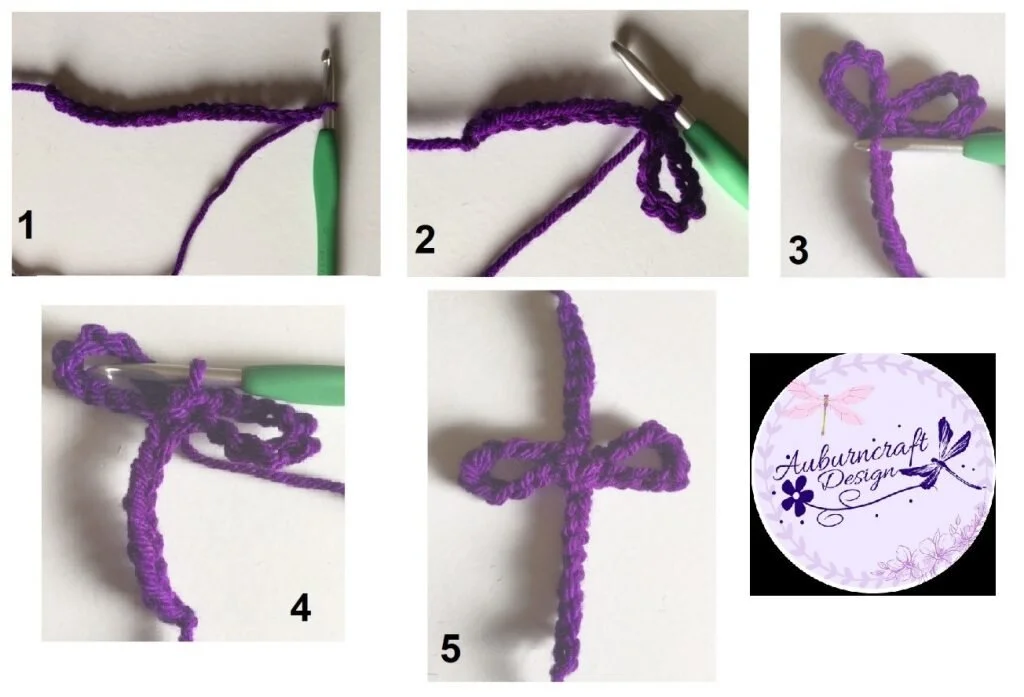
Steps to making a flower stem.
Direction of work.
[1]Ch20. [2]Slst into the 12th Ch from the Hk. Ch12.[3] Slst back into the same 12th Ch.[4] Slst to the top of the Sp between the 2 Loops. [5]Ch10. Cut yarn and Fasten off. Leave a long tail to sew the stem on. Sew on.
Now to the boring stuff!
Yes! This is free for your use but there are still some copyright legalities that come even with free!
You are welcome to sell items made from this pattern, but please credit me as the designer and add a link to purchase my pattern in your sale. You cannot manufacture and mass produce my designs for sale.
Many hours of work has gone into the designing and producing of this pattern.
This pattern is for personal use only. Please note my patterns and my images are copyright protected, please do not use my images to sell your items. No pattern or photograph may be reproduced or distributed — mechanically, electronically, or by any other means, including photocopying, without written permission of Auburncraft Design. Please do not copy, rewrite, or redistribute this pattern or any part of it as your own or otherwise. Just because you can copy does not mean you should. Please do not resell my patterns. This post may contain affiliate links.
Firstly, you may be wondering why I named this ‘The Paper Bag Hat’. I did so due to the way I have chosen to close the top of the hat. It reminded me of the old-fashioned brown paper bags from my days working in a local Supermarket.
I started as a Checkout Chick in my teens and the registers were all push button (but not in the digital sense). I would have to ask each customer if they would like a box, or a bag for their purchases. If they wanted a bag I would grab one from the pile of neatly stacked brown paper bags and open it up. The bags had a square bottom, and the sides had a concertina fold. So totally different from the tons of plastic bags that are in supermarket now. Know doubt many people over the years would also love me to put a paper bag over my head so now I can!
Materials: (click on any of the yarn names to source them)
Once you have your chains to start done, you can place themaround the head you are making the hat for and adjust if you think it will notbe the right size. The starting chains must be dividable by 3 sothe pattern will work.
It is a good idea to sew the ends in as you go and to eitheruse a stitch marker or count your stitches so you don’t lose one of them asthey are slippery little suckers and tend to hide.
Ch1 stitch to begin rounds does not count as a stitch.
If you find it too confusing on the rows that you work inthe round, you can just slip stitch each round closed. Doing the rows in the round as stated in thepattern will give a better look visually to the larger sections of sc.
Treble stitches on Round 31 which you place into the frontloops you made on Round 28 count as ast. Don’t make Treble stitches tootight.
Finished Circumference: Adult Small 20 ½’ 52cm, Medium 22’ 56cm, Large 24’ 61cm
Gauge: 24 rows to 10cm . 17 stitches to 10cm
Difficulty Level Intermediate
Abbreviations.
Ch. Chain
Sl St. Slip Stitch.
St. Stitch
Sts. Stitches
Bl- Back Loop
Scbl. Single Crochet Back Loop Only.
Notes: DO YOURSELF A FAVOUR AND READTHE NOTES
Once you have your chains to start done, you can place themaround the head you are making the hat for and adjust if you think it will notbe the right size. The starting chains must be dividable by 3 sothe pattern will work.
It is a good idea to sew the ends in as you go and to eitheruse a stitch marker or count your stitches so you don’t lose one of them asthey are slippery little suckers and tend to hide.
Ch1 stitch to begin rounds does not count as a stitch.
If you find it too confusing on the rows that you work inthe round, you can just slip stitch each round closed. Doing the rows in the round as stated in thepattern will give a better look visually to the larger sections of sc.
Treble stitches on Round 31 which you place into the frontloops you made on Round 28 count as ast. Don’t make Treble stitches tootight.
Hat
With C1. Ch 75 (81,87) Do not twist Chain. Slst to first chto form a ring.
Rnd 1: (Right Side): Ch1. Sc in same Ch asjoining and in each Ch around. Slst into back loop of first sc. Turn. – 75(81,87) sts.
Rnd 2: Ch1. Bl only, Sc in each st around.Slst to join. Turn. Fasten off and cutyarn.
Rnd 3: Attach C4 in same st as join. Ch1. Blonly, Sc in each st around. Slst to join. Turn.
Rnd 4:Bl only. Sc in each st around. Slst to join. Turn. Fasten off and cut yarn.
Back or hat.
Rnds 5-6: With C3, repeat Rnds 3-4.
Rnds7-8: With C4, repeat Rnds 3-4.
Rnds 9-10:With C2, repeat Rnds 3-4,
Rnds 11-12 With C4, repeat Rnds 3-4
Rnds 13-14 With C3, repeat Rnds 3-4
Rnds 15-16 With C4, repeat Rnds 3-4
Rnds 17-18 With C1. Repeat Rnds 3-4
Rnd 19: With C4. Sc Bl only into each Sc around. Do not cut or turn.
Rnd 20: Continue working in the round and usea marker to show where each row starts. Shift the marker after each round to the next row. Sc into both loops.
Rnds 21-22-23-24-25-26-. Repeat Rnd 20
Rnd 27: Sc into each St around. Close round with Slst.
Rnd 28: Ch1. * Scbl1, sc2* Repeat from *to * around. Close round with a Slst. Insert stitch marker 75(81, 87) sts.
Rnd 29: Ch1. Sc around. Close round with a Slst.
Rnd 30. Repeat round 29. Do not cut yarn
Rnd 31. Change to C3. Ch1, Sc1 into same st.Tr2tg the first part of this will go into the loop in Rnd 28 that has thestitch marker in it. The second partinto the next free loop. This counts asone st on row 31 (or the row you are working on). Sc2. *Tr2tg first part into same st as before and second part into the nextfree loop, sc2* Repeat from * to * around. Sc1. Close round with a Slst. Cutyarn. 25 (27,29) v’s
Rnd 32, 33, 34: Continue with C4. Ch 1. Sc in all stitches around. Do not close round, continue onto the next round with sc. (this round will work in a spiral. 75(81, 87) sts. Keep using a st marker to mark the start of each round.
Rnd 35: Sc around. Close this round with a Slst atStitch marker point.
Rnd 36: Repeat row 28
Rnds 37-38: Repeat row 29
Rnd 39: Using C2. Repeat row 31
Rnds 40-41-42: Continue with C4. Ch 1. Sc in all stitches around. Do not close round, (this round will beworked in a spiral). Continue onto the next round with Sc .75(81, 87) sts.Place a St marker at the end of the round.
Rnd 43: Continue with Sc around. Close this round with Slst at St marker.
Rnd 44: Repeat row 28
Rnds 45-46 :Repeat row 29
Rnd 47: Using C1 Repeat row 31
Rnd 48-49-50-51. Continue with C4. Ch1. Sc in all stitches around. Do not close round, continue onto the nextround with Sc. 75(81, 87) sts. Place aSt marker to show the end of each round. Fasten off and cut yarn.
Rnd 52-53-54: Attach C1. Sc in all stitches around. Do not close round, continue onto the next round with sc. Place a St marker to show the end of each round. Fasten off and cut yarn. 75(81, 87) sts.
Closing the top of the Hat:
Step One:Lay the hatflat and neatly folded into half. Measure in 3.5 “(3.”, 3.9’”inches) 9 (10, 10)cm.
Step one.
Step Two:
Tuck the measured section in on itself or folded in onitself.
Step two.
Step Three:
With your darning needle and C1. Use tacking stitches to hold the fold inplace for when you crochet around it.
Step three.
Step Four:
Repeat the last three steps on the other side.
Step Five:
Starting at a fold edge, attach yarn and slip stitch the twolayers of the fold together. Slst acrossthe middle top of the hat and onto the left-hand fold edge. Fasten off and cut.
Step five.
Step Six:
Done!!!
You will now have two folded edges remaining to do. Attach the yarn at one of them and Slstacross to close. Fasten off andcut. Attach yarn at other fold edge, slst across to close.
Sew in any ends.
A free Pdf version of this pattern is available on Ravelry (Click here). Please give some of my pattern some love if you visit and pop a few in your favourites.
Now for the Boring Stuff!!!
Many hours of work has gone into the designing and producing of this pattern, You are purchasing/downloading this pattern for personal use only. Please do not copy, rewrite, or redistribute this pattern as your own or otherwise. Please do not resell my patterns.
You are welcome to sell items made from this pattern, but please credit me as the designer and add a link to purchase my pattern in your sale.
Please note my patterns and my images are copyright protected, please do not use my images to sell your items.
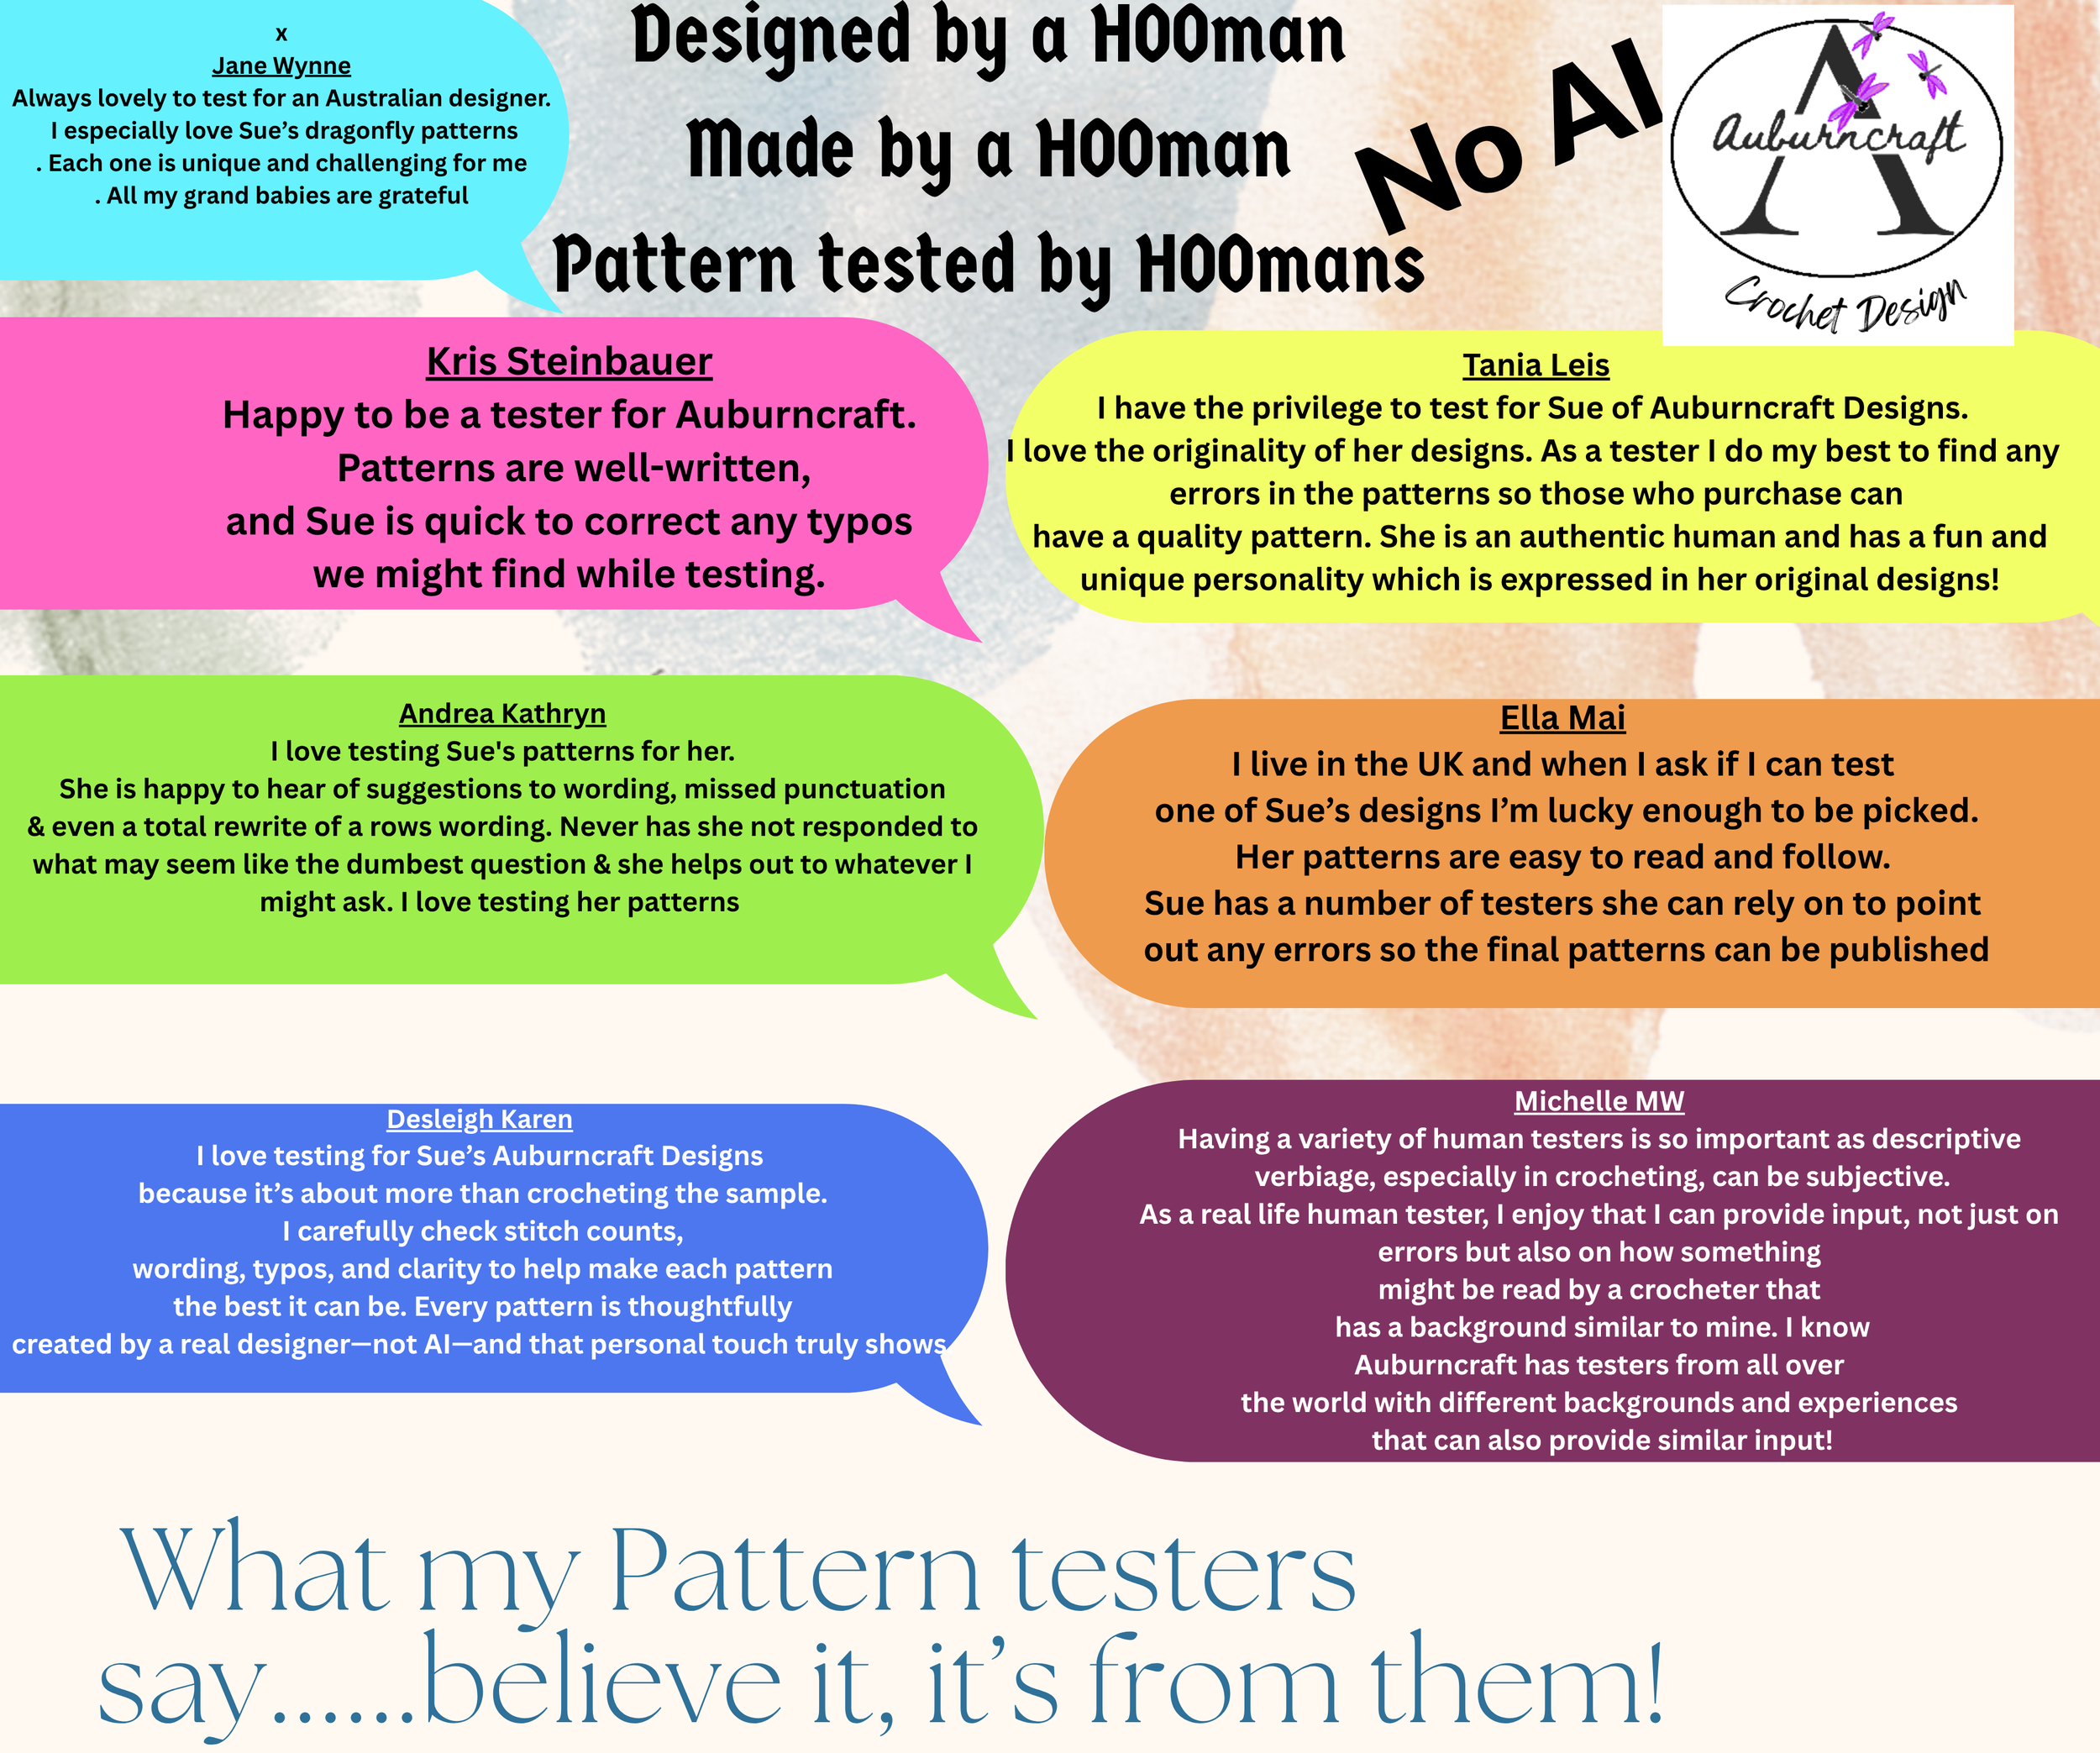
This pattern has been tested by a large group of pattern testers, with varying abilities in crochet.
If you are on Ravelry, please add your finished photos as projects as I love to see your finished work.
Velvet Scrunchies seem to be everywhere at the moment. I thought I would jump on the band wagon and do my own little version. These are something that I tend to wear often. They can be useful to keep my long hair out of the way when working out at the gym.
I don't know about anyone else, but sewing items together is not a huge favourite of mine. These Scrunchies pretty much a no sew item. That is of course if you don't count sewing in the tails created, but two tails I can cope with.
These are super easy! Super fast to make and super fun!!!
The free pattern is available below in USA terms. For Uk terms and a pdf version (also free), you can visit my ravelry store (click here) or my Love Crochet page (click here) and download it free!!! If you download from ravelry please give my patterns some love and add a few to your favourites!!!
Elastic Hair Tie(available at most pharmacies and many retail stores).
Needle tosew in ends.
Hair Elastic. Bernat Velvet
Notes:
This is worked in a continuous spiral.
Follow the instructions in Row 1 to prevent twisting of the starting chain.
Numbers in rows indicate corresponding photographs. Example [5]
Do not make the starting chain overly tight. A 6mm/I hook can be used for the starting chains or a foundation row can be substituted, if you find it necessary.
Add a stitch marker at the beginning of the row to easily count your rows.
Count your stitches each row.
Stitch counts appear at the end of each row. Example [20].
Gauge and finished measurements are not applicable for this project.
Abbreviations:
Ch- Chain.
Hk- Hook.
Yo- Yarn over.
St- Stitch.
Sc- Single Crochet.
Rs- Right Side.
Slst- Slip Stitch.
Row 1: [1]Ch10. Remove hook from Ch and insert Hk throughfirst Ch (furthest from hook) and working Ch. With both loops on Hk, Ch 35. Toclose the Ch and form a circle Yo and pull through both loops on Hk. [45]
Pictures 1 and 2
Row 2: [2]Ch1 (does not countas a St). Sc into same Ch and into eachCh around. Do not close round. Place a St marker to indicate beginning ofrounds. [45]
Row 3: Continue in a spiral. Sc into each St. Do not close round. [45]
Row 4: Sc into each St. Do not close round. [45]
Row 5: [3] Sc into each St. Donot close round. [45]
Pictures 3, 4, 5, 6
Row 6: [4] With RS facing,place elastic hair band to the back of the Scrunchie. [5] [6] Fold the Scrunchie over the elastic. Work 1 Scthrough Row 1 and Row 5 inserting hk through both and enclosing hair elastic. [7] Do not close round. [45]
Pictures 7 and 8
(Round 7 is optional to add picots)
Row 7: Ch4 (counts as Scand 3 Chs), Slst into third Ch from Hk (picot made). Sc into next 3 Sts. [Ch3, Slst into third Chfrom Hk. Sc into next 3 Sts]x13. Ch3, Slst into third ch from Hk. Slst to Ch1at beginning or round. Fasten off andcut yarn.
Sew in ends.
Now for the boring stuff!!!
This pattern is free and will remain free unless it is found that this is being abused. Even free patterns have copyright. To read about my last bad experience with a limited time free pattern, please go to my blog https://auburncraftcrochet.com/2019/03/26/crochet-pattern...
This pattern for personal use only. Please do not copy, rewrite, or redistribute this pattern as your own or otherwiss. This includes posting a copy of my PDF to your own web page or facebook group. Please do not resell my patterns.
You are welcome to sell items made from this pattern, but please credit me as the designer and add a link to purchase my pattern in your sale.
Please note my patterns and my images are copyright protected, please do not use my images to sell your items.
This pattern has been tested by my very capable band of testers. If you do find an error please let me know.
I had been playing around with Daffodils for a new bag design and decided to turn one of them into a bookmark. If you are looking for a quick and easy make, or maybe you need an end of year teachers gift, these work up fast and look great!
The free version of the pattern is below. A PDF copy is available for a small purchase amount on my ravelry page.
Daffodil Bookmark
USA terms are used.
Materials:
3.5mm/E hook
This is a perfect scrap buster project as only a small amount of each ball is used.
1 ball Cotton Dk in Orange = C1
1 ball Cotton Dk in Yellow = C2
1 ball Cotton Dk in Green = C3
Tapestry needle.
To cater for different size books, adjust the stem chain length.
2large beads with wide holes. I made mine from Polymer clay. Instructions aregiven if you wish to make your own.
Jewellery cap.
Small amount of craft glue.
Abbreviations:
Sc- Single crochet
Dc- Double crochet
Tr- Treble crochet
Slst- Slip stitch
Blsc- Back loop single crochet
Fl- Front loop
Lp- Loop
Ch- Chain
Measurements: 15 ½ inches/39.37cm from top of flower to endof tassel.
Notes:
Chains count as a stitch unless otherwisestated.
Gauge is not a necessity for this project.Size will be determined by hook and yarn selection.
Keep the orange yarn and stitch marker to thefront of your flower when working round 2.
Stitch counts and hints appear in purple.
Making your own polymer beads is optional. Ifpurchasing beads, be sure to buy ones with large holes.
This bookmark is sized for a medium book.Reduce the stem chains if you wish for a shorter bookmark. Increase the stemchains for a larger bookmark.
Flower head:
Round 1: With C1 make a magic circle. Ch1 into a magiccircle (does not count as a st). Sc15 intocircle. Slst to ch1. Remove hook and insert a st marker. Do not fasten off. [15]
Round 2:With C2. Attach yarn with a slst into any back loop of round 1 .*( Ch2, dc1,tr1) into same back lp. Ch3, slst intofirst ch (picot made). (Tr1, dc1,ch2, slst) into next back loop. Slst across next 2 back loop of sc* Rep from *to * 5 times in total. Slst to first ch2 to close round. Fasten off and cut yarn. [5 petals]
Round 3:Remove st marker from C1. Ch1. Sc into each Fl of round 1. Slst to ch1 toclose. [15]
Round 4:Ch1. Sc into each st around. Slst to ch1to close. [15]
Round 5:Ch1 does not count as a st. Place next sc into same sp). * Sc. Ch2, slst backinto first ch of ch2. Sc2tog over next 2 sts.* Rep from * to * around. Closewith a slst. Fasten off and cut yarn.
Stem:
With C3. Ch50. Scinto 2nd ch from hk. Sc acrossto last ch. Work 3sc into the lastch. Turn and work sc along the otherside of the ch. Work 2sc into the last ch. Fasten off and cut yarn leaving a long tail to sew to flower head. Using a tapestry needle sew one end securelyto the back of your flower. [48sc + 3sc + 48sc + 2sc]
Stem
Leaves: (make2)
Leaf make 2.
Using C3. Ch16.Slst into 2nd ch from hook. Sc into next ch. Hdc into next 2chs. Dc across to last 3 chs. Hdc intonext ch. Sc into next ch. Slst into last ch. Fasten off and cut yarn (leave a long tail for sewing). Sew the leaves to the stem, just above thebeads. [2sc,3hdc, 10dc]
Polymer Beads (optional):
Materials Needed
Polymerclay in any colours (available at most craft outlets: I used red for thisproject).
A rollingpin
5mmcrochet hook.
Acrylicgloss varnish.
Paintbrush
Step 1: If using more than one colour ofclay, combine these by working them together. Roll balls approx 10 to 15mm indiameter.
Step 2: Push ahole through the centre of each ball with a 5mm crochet hook end. Push the hookthrough several times from each end of the hole. This ensures the hole is even.
Step 3:Place your beads on an oven tray and bake in a slow oven for approximately 10 to 15 minutes. Allow to cool. Note: It is a good idea to place foil over your beads and tray, prior to baking. This helps keep any smell from the clay contained.
Step 4: Paint with Acrylic Gloss varnishmaking sure to brush out any bubbles. Allow to dry.
Adding Beads and Jewellery cap:
Thread your beads onto the stem end, not attached to the flower. Place a small amount of craft glue inside thejewellery cap and push the stem end onto it. Allow to dry.
Tassel:
1. Wrap yarn 10times around an iPhone or a piece of cardboard approx 3 inches/7.5cm wide.
2. Thread adarning needle with 15cm/5.90inches of yarn and tie the top of the tasseltightly, leaving the tail to tie to your jewellery cap.
3. Remove the yarn from the iPhone/cardboard.
Diagram showing the making of the tassel (above) is from another project. The same technique applies. Wrap yarn around iPhone or cardboard 10 times as per the instructions.
4. Thread adarning needle with approx 20cm/7.87inches of yarn and wrap around the tassel6-8 times tightly. Knot and push the needle down through the wrapping so it canbecome part of the ends.
This week has had good and bad. I released a pattern (Billy Thunder Tote) and it made it to number one on ravelry, which is pretty darn awesome. I was dancing around like I had just won the yarn lottery and got free yarn for a year.
Unfortunately, this had a damper put on it due to a copyright issue.
You may be thinking, 'What has this to do with free patterns.' A lot!
I decided to list this pattern for one month free. I did this to try and get interest in the pattern, and it certainly has worked. Did I mention it made number one on ravelry? (Yes I am blatantly bragging.)
To have a pattern get to number one is super fantastic as you never know what designs are going to gel with people. Ones you think will go well, may not and visa versa. So it is a real buzz when it happens.
Number one in whats hot now.
Then we get to the unfortunate side of things!
I discovered simply by accident that one of the Facebook Crochet Groups here in Australia had put my pattern up as a PDF in their group. It was made worse by the fact that an administrators of this group was the person who had put it up.
You may think, 'what does it matter? Its free isn't it'. And yes it was free at the time, but with a clear deadline for the end of this. The group in question has almost 7,000 members. So by putting up my pattern as a PDF in a file on their group, they were basically removing any future sales I may get from it. I was getting absolutely no advertising or credit from this as it was just my PDF, no write up, nothing, not even my name beside the PDF.
Most Designers offer free patterns to:
Draw attention to their other patterns.
Attract people to their blogs and web pages etc. Some have affiliate links which reimburse them slightly for the free pattern, by clicks.
So people can try a pattern and see that it is well written. This leads to sales.
Many people seem to be of the opinion that designers make a fortune out of patterns. They visualise them sitting in a room surrounded by money, throwing it in the air and chuckling over their sales. I wish!
Yeah sure I have some affiliate links on my blog, but you can count in cents the amounts I get out of it, so what I wanted for this pattern was future sales once that month was up. I was not going to get these from the 7,000 people who now had access to this pattern. This is pretty much stealing!!!
Another Designer I have been conversing with put it like this:
A free pattern does not mean that the designer has waved all rights to it, and you can do what you want with it. You must have express permission from the designer to share the pattern as anything other than a link to their own page. Free patterns are still copyright.
This Tote was a lot of work.
From design idea, to completion, is a major process. Getting it to the stage that others can remake it with a legible working pattern is huge. Then it has to find its way through testing. I have another design in testing at present that has been 3 years from idea to now. I found the receipt for the yarn I purchased for it in 2016. So I will have to think carefully just how I will launch this. I doubt I will put it up for free after this experience!
So, if you see any of my patterns offered as PDF or any other form not linked to my ravelry, etsy, love crochet or blog. Please let me know. And I am sure other designers would appreciate the same. Copyright still applies to patterns, even if they are free! PDF downloads are for PERSONAL USE!
Rant over. You may now go back to your crochet and enjoy and I will go back to my money room, and throw my millions around. (I use the stuff as wallpaper you know). Chuckling all the while of course. NOT!
Footnote:
I am adding a footnote to this post due to things that have transpired in the last few days. The group in question that put my pattern up as a PDF has now blocked many designers who questioned them for having their patterns up as PDFs without their permission. My pattern was not the only one, but there was hundreds of designers patterns, many had clearly on them that they were not to be distributed via PDF (including mine).
They have now also posted a long response to their members (who have no idea of what has gone on.) This explanation of theirs is something out of a fairytale and does not stick to the truth at all. The designers are being painted as a problem and the admin as victims. This is sad in the extreme. The admins are being thanked by the members for keeping them safe, from the evil ones who dare to complain that they are misusing their property. They have also stated publicaly that they may start up offering free patterns again in the future. My only hope is that they see sense and post links only, and not PDF's. Admins of a group this large should know about copyright laws!
An apology to the designers with a promise to respect their intellectual property in future would have gone a long way. I am saddened by the inability for the admins of this group to take responsibility for their mistakes and own them. I guess saying sorry and telling their members what actually happened is too hard.