I bounced out of bed this morning knowing that today was a pattern launching sort of day.
I had a spring to my step that can only be achieved when a pattern has made its way through testing and is ready to leave home and find its way to places like ravelry and etsy. I put the finishing touches on my pdf and kissed 'Not For Summer Keyhole Head Warmer' goodbye and pressed the publish button.
So now for the tedious task of getting it out there on social media.If you would like to save 20% off the cost of the pattern, join the facebook group 'Two Redheads Crochet' (Click here) as I am designer of the month and only those members have access to the code.If you see my baby (Not For Summer Keyhole Head Warmer) making its way around some of the social groups and looking a little lost, please give it some encouragement. It's a big world out there and it is only a baby!
Easy Level
Adding to my collection of Keyhole Head Warmers and introducing, Not For Summer Keyhole Head Warmer. This is the Fourth Head Warmer in the Collection.
This is a unique design featuring the Keyhole.
This can be made from varying yarns due to the nature of the pattern. Size is determined by the length of the ribbed band and the amount of rows worked. The pattern comes with separate copies for Uk terms and USA terms. It has many photos to help along the way.
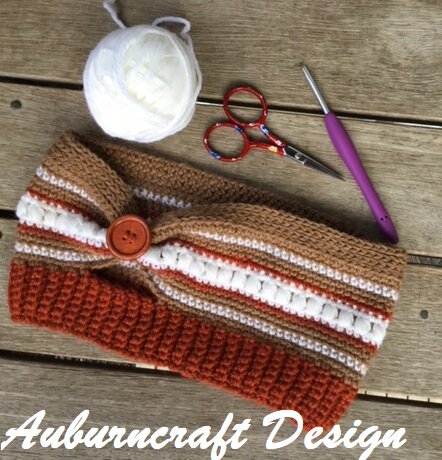
Suggested Materials: 4mm/G hook C1=1 x Rare Essentials Cocoon Persimmon Alpaca and Merino Dk 50g ball. Approx 70m/76yd used C2=1 x The Homeground Collection in Dye free Alpaca Dk 50g ball. 100m/110yd. Approx 70m/76yd used. C3= 1 x Cleckheaton Country Dk White approx 35m/38yd used. Tapestry Needle 1 x 40mm/1.5-inch Button Scissors Stitch Markers
While any Dk weight yarn can be used for this project, I found an Alpaca yarn to be a great option. This is another available substitute to the suggested yarn, King Cole Baby Alpaca Dk (click here).
My pattern testers as usual did a Fab-U-LOUS job and produced some really lovely Head Warmers. A huge thanks to them for their efforts!
Right top and Right Bottom: Test Head Warmers by Sheri DeBacker Mc Crork. : Made using Lion Brand Wool-Ease in Dk lakeside. Paintbox Dk in Midnight Blue and Duck egg. Top Left: Test Head Warmer by Shaunna Hallon. Made from Lion Brand Ice-Cream Scoop and Bernat Softee Baby. Right Bottom: Test Head Warmer made by Sharon Heard. Made using Panda Magnum 8ply Centre Bottom: Test Head Warmer made by Tammy Taylor. Made using Magic Lite Dk Centre: Test Head Warmer made by Jane Wynne. Made using Moda Vera Florentine
TO FIND SOME OF THE YARNS MY TESTERS USED CLICK ON THE NAMES BELOW:
You are welcome to sell items made from this pattern, but please credit me as the designer and add a link to purchase my pattern in your sale.
Many hours of work has gone into the designing and producing of this pattern.
You are purchasing/downloading this pattern for personal use only. Please note my patterns and my images are copyright protected, please do not use my images to sell your items. No pattern or photograph may be reproduced or distributed — mechanically, electronically, or by any other means, including photocopying, without written permission of Auburncraft Design. Please do not copy, rewrite, or redistribute this pattern as your own or otherwise. Just because you can copy does not mean you should. Please do not resell my patterns
Firstly, you may be wondering why I named this ‘The Paper Bag Hat’. I did so due to the way I have chosen to close the top of the hat. It reminded me of the old-fashioned brown paper bags from my days working in a local Supermarket.
I started as a Checkout Chick in my teens and the registers were all push button (but not in the digital sense). I would have to ask each customer if they would like a box, or a bag for their purchases. If they wanted a bag I would grab one from the pile of neatly stacked brown paper bags and open it up. The bags had a square bottom, and the sides had a concertina fold. So totally different from the tons of plastic bags that are in supermarket now. Know doubt many people over the years would also love me to put a paper bag over my head so now I can!
Materials: (click on any of the yarn names to source them)
Once you have your chains to start done, you can place themaround the head you are making the hat for and adjust if you think it will notbe the right size. The starting chains must be dividable by 3 sothe pattern will work.
It is a good idea to sew the ends in as you go and to eitheruse a stitch marker or count your stitches so you don’t lose one of them asthey are slippery little suckers and tend to hide.
Ch1 stitch to begin rounds does not count as a stitch.
If you find it too confusing on the rows that you work inthe round, you can just slip stitch each round closed. Doing the rows in the round as stated in thepattern will give a better look visually to the larger sections of sc.
Treble stitches on Round 31 which you place into the frontloops you made on Round 28 count as ast. Don’t make Treble stitches tootight.
Finished Circumference: Adult Small 20 ½’ 52cm, Medium 22’ 56cm, Large 24’ 61cm
Gauge: 24 rows to 10cm . 17 stitches to 10cm
Difficulty Level Intermediate
Abbreviations.
Ch. Chain
Sl St. Slip Stitch.
St. Stitch
Sts. Stitches
Bl- Back Loop
Scbl. Single Crochet Back Loop Only.
Notes: DO YOURSELF A FAVOUR AND READTHE NOTES
Once you have your chains to start done, you can place themaround the head you are making the hat for and adjust if you think it will notbe the right size. The starting chains must be dividable by 3 sothe pattern will work.
It is a good idea to sew the ends in as you go and to eitheruse a stitch marker or count your stitches so you don’t lose one of them asthey are slippery little suckers and tend to hide.
Ch1 stitch to begin rounds does not count as a stitch.
If you find it too confusing on the rows that you work inthe round, you can just slip stitch each round closed. Doing the rows in the round as stated in thepattern will give a better look visually to the larger sections of sc.
Treble stitches on Round 31 which you place into the frontloops you made on Round 28 count as ast. Don’t make Treble stitches tootight.
Hat
With C1. Ch 75 (81,87) Do not twist Chain. Slst to first chto form a ring.
Rnd 1: (Right Side): Ch1. Sc in same Ch asjoining and in each Ch around. Slst into back loop of first sc. Turn. – 75(81,87) sts.
Rnd 2: Ch1. Bl only, Sc in each st around.Slst to join. Turn. Fasten off and cutyarn.
Rnd 3: Attach C4 in same st as join. Ch1. Blonly, Sc in each st around. Slst to join. Turn.
Rnd 4:Bl only. Sc in each st around. Slst to join. Turn. Fasten off and cut yarn.
Back or hat.
Rnds 5-6: With C3, repeat Rnds 3-4.
Rnds7-8: With C4, repeat Rnds 3-4.
Rnds 9-10:With C2, repeat Rnds 3-4,
Rnds 11-12 With C4, repeat Rnds 3-4
Rnds 13-14 With C3, repeat Rnds 3-4
Rnds 15-16 With C4, repeat Rnds 3-4
Rnds 17-18 With C1. Repeat Rnds 3-4
Rnd 19: With C4. Sc Bl only into each Sc around. Do not cut or turn.
Rnd 20: Continue working in the round and usea marker to show where each row starts. Shift the marker after each round to the next row. Sc into both loops.
Rnds 21-22-23-24-25-26-. Repeat Rnd 20
Rnd 27: Sc into each St around. Close round with Slst.
Rnd 28: Ch1. * Scbl1, sc2* Repeat from *to * around. Close round with a Slst. Insert stitch marker 75(81, 87) sts.
Rnd 29: Ch1. Sc around. Close round with a Slst.
Rnd 30. Repeat round 29. Do not cut yarn
Rnd 31. Change to C3. Ch1, Sc1 into same st.Tr2tg the first part of this will go into the loop in Rnd 28 that has thestitch marker in it. The second partinto the next free loop. This counts asone st on row 31 (or the row you are working on). Sc2. *Tr2tg first part into same st as before and second part into the nextfree loop, sc2* Repeat from * to * around. Sc1. Close round with a Slst. Cutyarn. 25 (27,29) v’s
Rnd 32, 33, 34: Continue with C4. Ch 1. Sc in all stitches around. Do not close round, continue onto the next round with sc. (this round will work in a spiral. 75(81, 87) sts. Keep using a st marker to mark the start of each round.
Rnd 35: Sc around. Close this round with a Slst atStitch marker point.
Rnd 36: Repeat row 28
Rnds 37-38: Repeat row 29
Rnd 39: Using C2. Repeat row 31
Rnds 40-41-42: Continue with C4. Ch 1. Sc in all stitches around. Do not close round, (this round will beworked in a spiral). Continue onto the next round with Sc .75(81, 87) sts.Place a St marker at the end of the round.
Rnd 43: Continue with Sc around. Close this round with Slst at St marker.
Rnd 44: Repeat row 28
Rnds 45-46 :Repeat row 29
Rnd 47: Using C1 Repeat row 31
Rnd 48-49-50-51. Continue with C4. Ch1. Sc in all stitches around. Do not close round, continue onto the nextround with Sc. 75(81, 87) sts. Place aSt marker to show the end of each round. Fasten off and cut yarn.
Rnd 52-53-54: Attach C1. Sc in all stitches around. Do not close round, continue onto the next round with sc. Place a St marker to show the end of each round. Fasten off and cut yarn. 75(81, 87) sts.
Closing the top of the Hat:
Step One:Lay the hatflat and neatly folded into half. Measure in 3.5 “(3.”, 3.9’”inches) 9 (10, 10)cm.
Step one.
Step Two:
Tuck the measured section in on itself or folded in onitself.
Step two.
Step Three:
With your darning needle and C1. Use tacking stitches to hold the fold inplace for when you crochet around it.
Step three.
Step Four:
Repeat the last three steps on the other side.
Step Five:
Starting at a fold edge, attach yarn and slip stitch the twolayers of the fold together. Slst acrossthe middle top of the hat and onto the left-hand fold edge. Fasten off and cut.
Step five.
Step Six:
Done!!!
You will now have two folded edges remaining to do. Attach the yarn at one of them and Slstacross to close. Fasten off andcut. Attach yarn at other fold edge, slst across to close.
Sew in any ends.
A free Pdf version of this pattern is available on Ravelry (Click here). Please give some of my pattern some love if you visit and pop a few in your favourites.
Now for the Boring Stuff!!!
Many hours of work has gone into the designing and producing of this pattern, You are purchasing/downloading this pattern for personal use only. Please do not copy, rewrite, or redistribute this pattern as your own or otherwise. Please do not resell my patterns.
You are welcome to sell items made from this pattern, but please credit me as the designer and add a link to purchase my pattern in your sale.
Please note my patterns and my images are copyright protected, please do not use my images to sell your items.
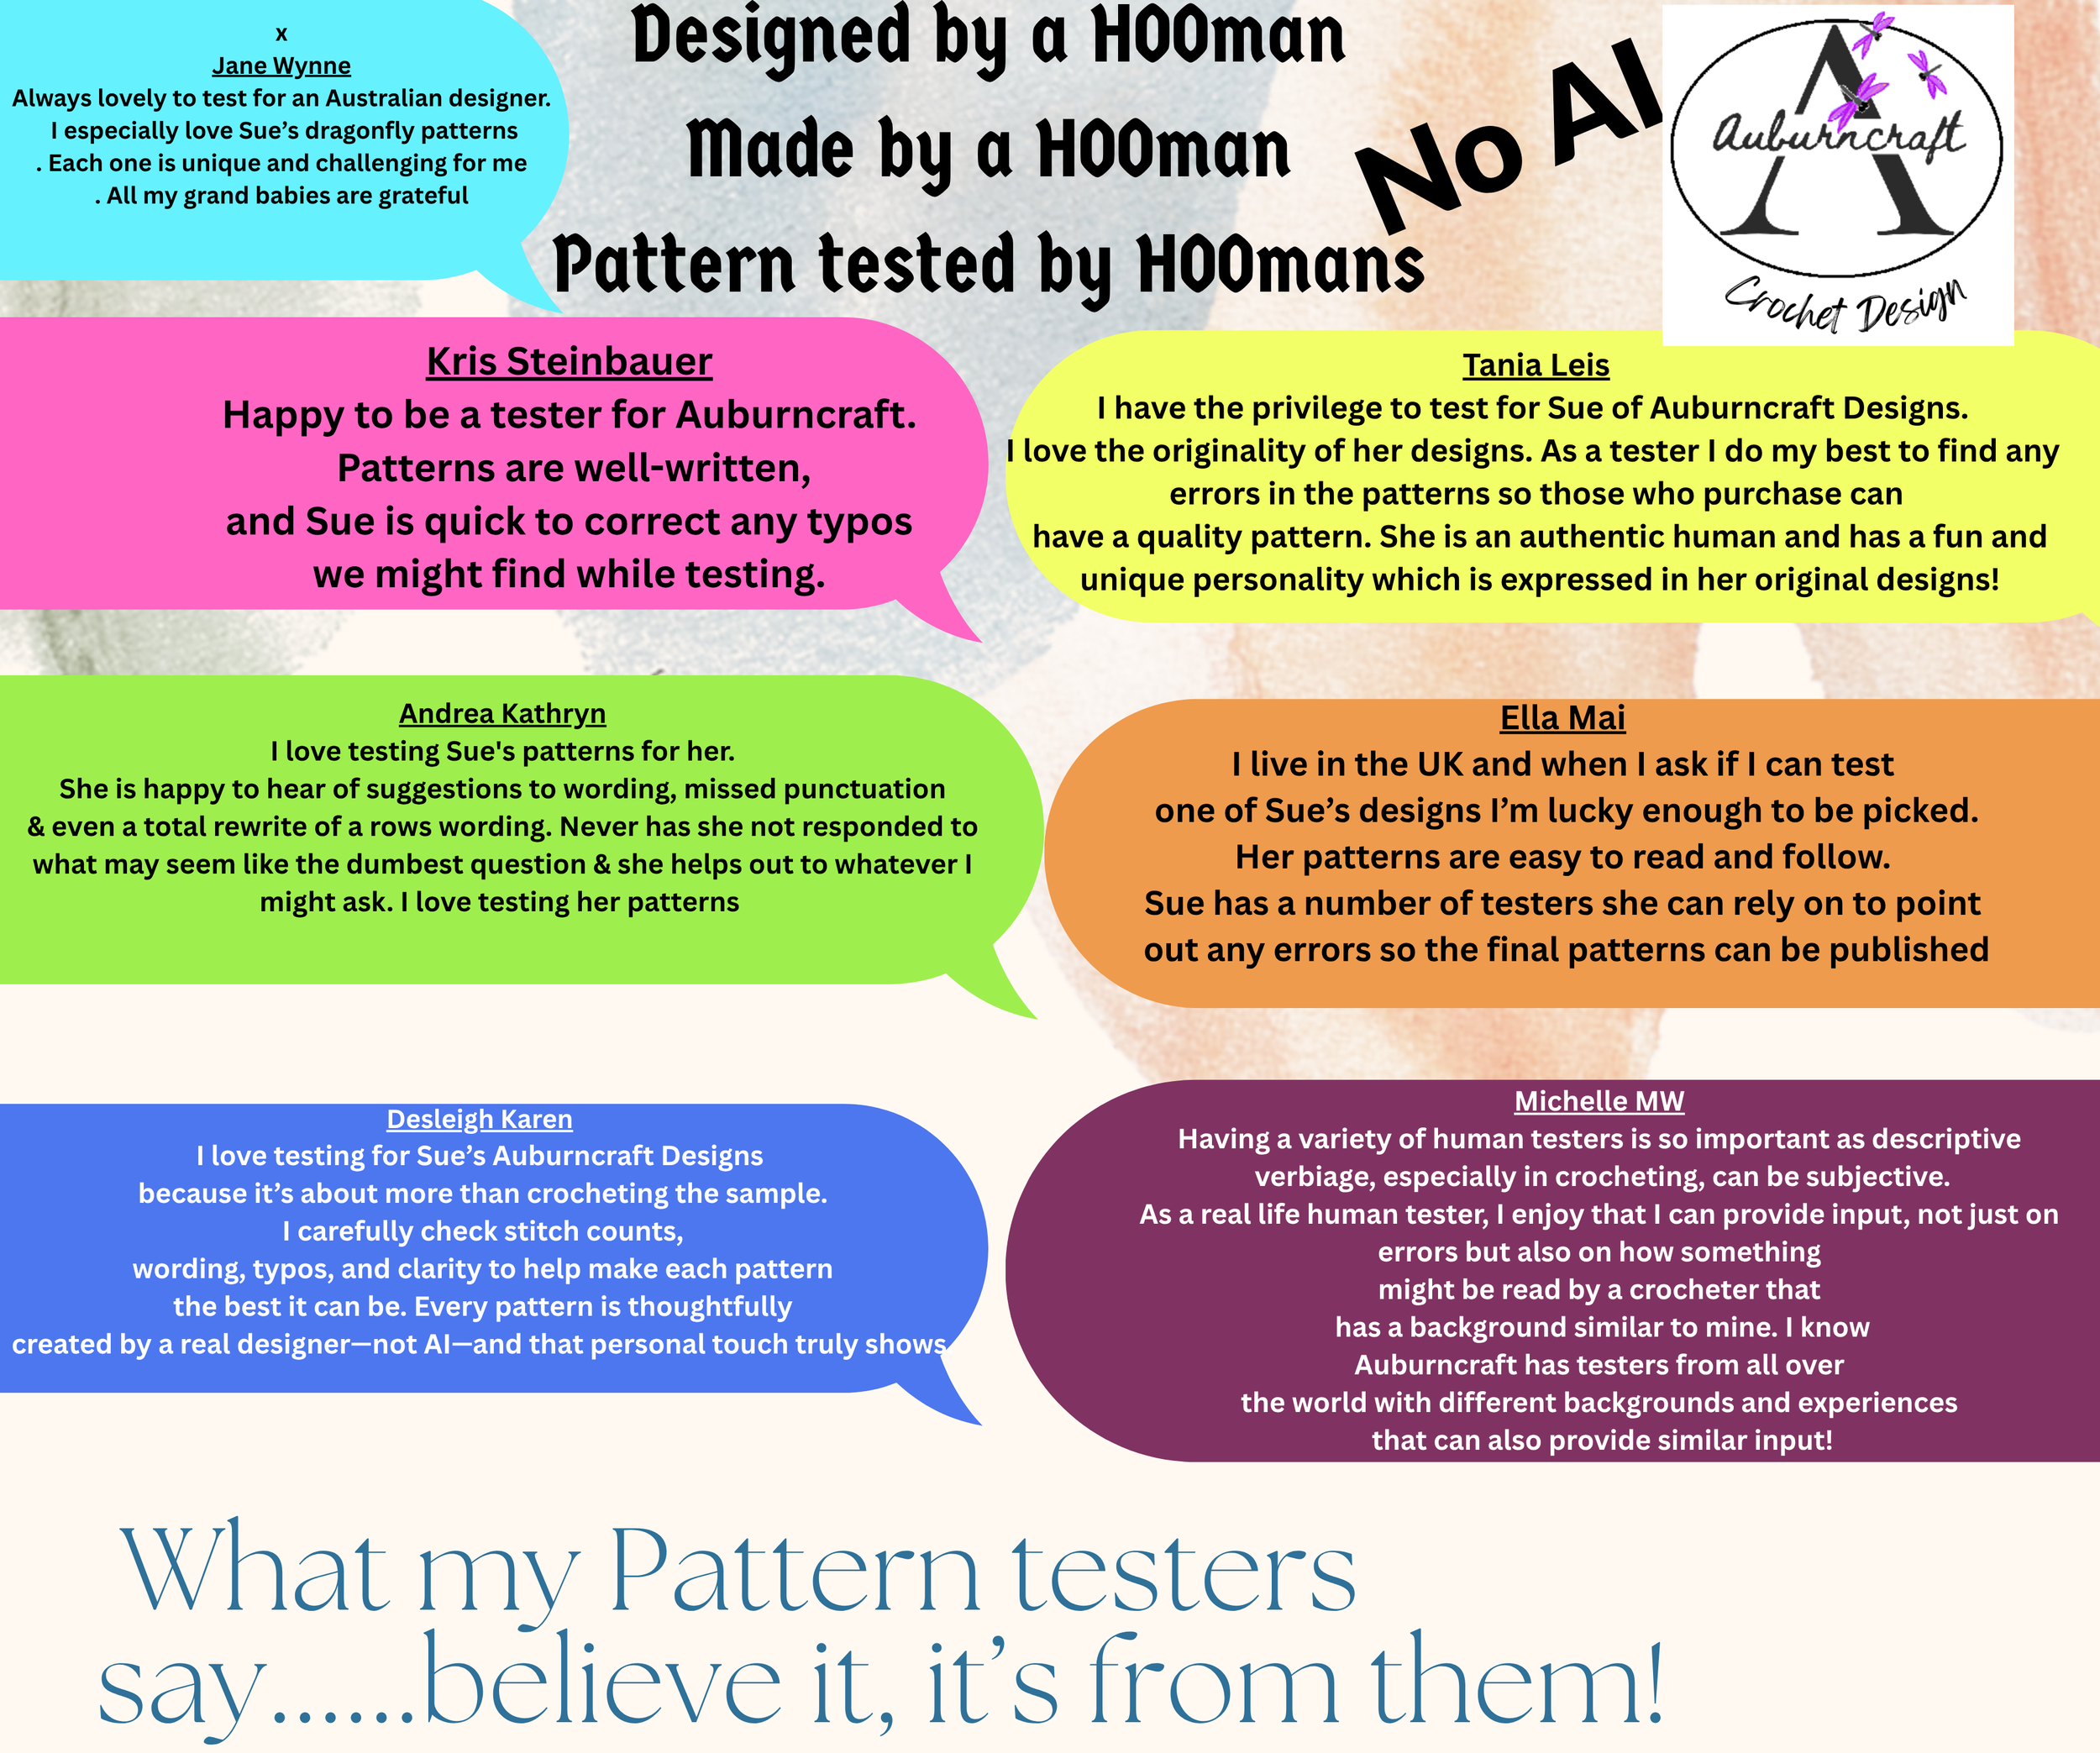
This pattern has been tested by a large group of pattern testers, with varying abilities in crochet.
If you are on Ravelry, please add your finished photos as projects as I love to see your finished work.
This is a paid pattern but will be available on ravelry free for 2 days, ending 27th June Midday Australian Time. The code to use on ravelry is at the bottom of this post. PLEASE GIVE THIS POST A LIKE AND PERHAPS CONSIDER FOLLOWING MY BLOG. This helps me to keep offering free patterns and discounts. So please do not just grab the code and run as this is a small request. The like button for this post is at the bottom of the page.
I love different things!
I especially love things that are colourful and unique! Yes, I would wear this hat if I had made it in Adult size, but this time I decided to stick with just the three sizes. Babies, Toddlers and Children, have all the fun!
My Very Own Daisy Hat
This is a fun hat for Babies, Toddlers and Children.
Do you ever find yourself watching a show and getting inspired to grab your hook? I do!I have been binge watching Frankie Drake Mysteries of late and just loving the 1920's fashion. Really lovely trousers and dresses. But oh, the hats! I found myself in love with them. Next thing I knew I had my hook in my hand.I am pretty happy with the results and would like to think that Frankie would rock this hat!The hat is out with my long-suffering testers at present and will be published in the next few weeks.This uses a 5mm hook and an Aran or Chunky Yarn. Whichever makes gauge. I made this one with Lincraft Balmy. The hat is one size only. Circumference is 22 inches. Larger or smaller could be achieved using a larger or smaller hook. Or adjusting the yarn thickness.The embellishments on the hat are made using Surface Slip Stitch and the band is done with a length of Ribbon.Watch this space for an update when published.
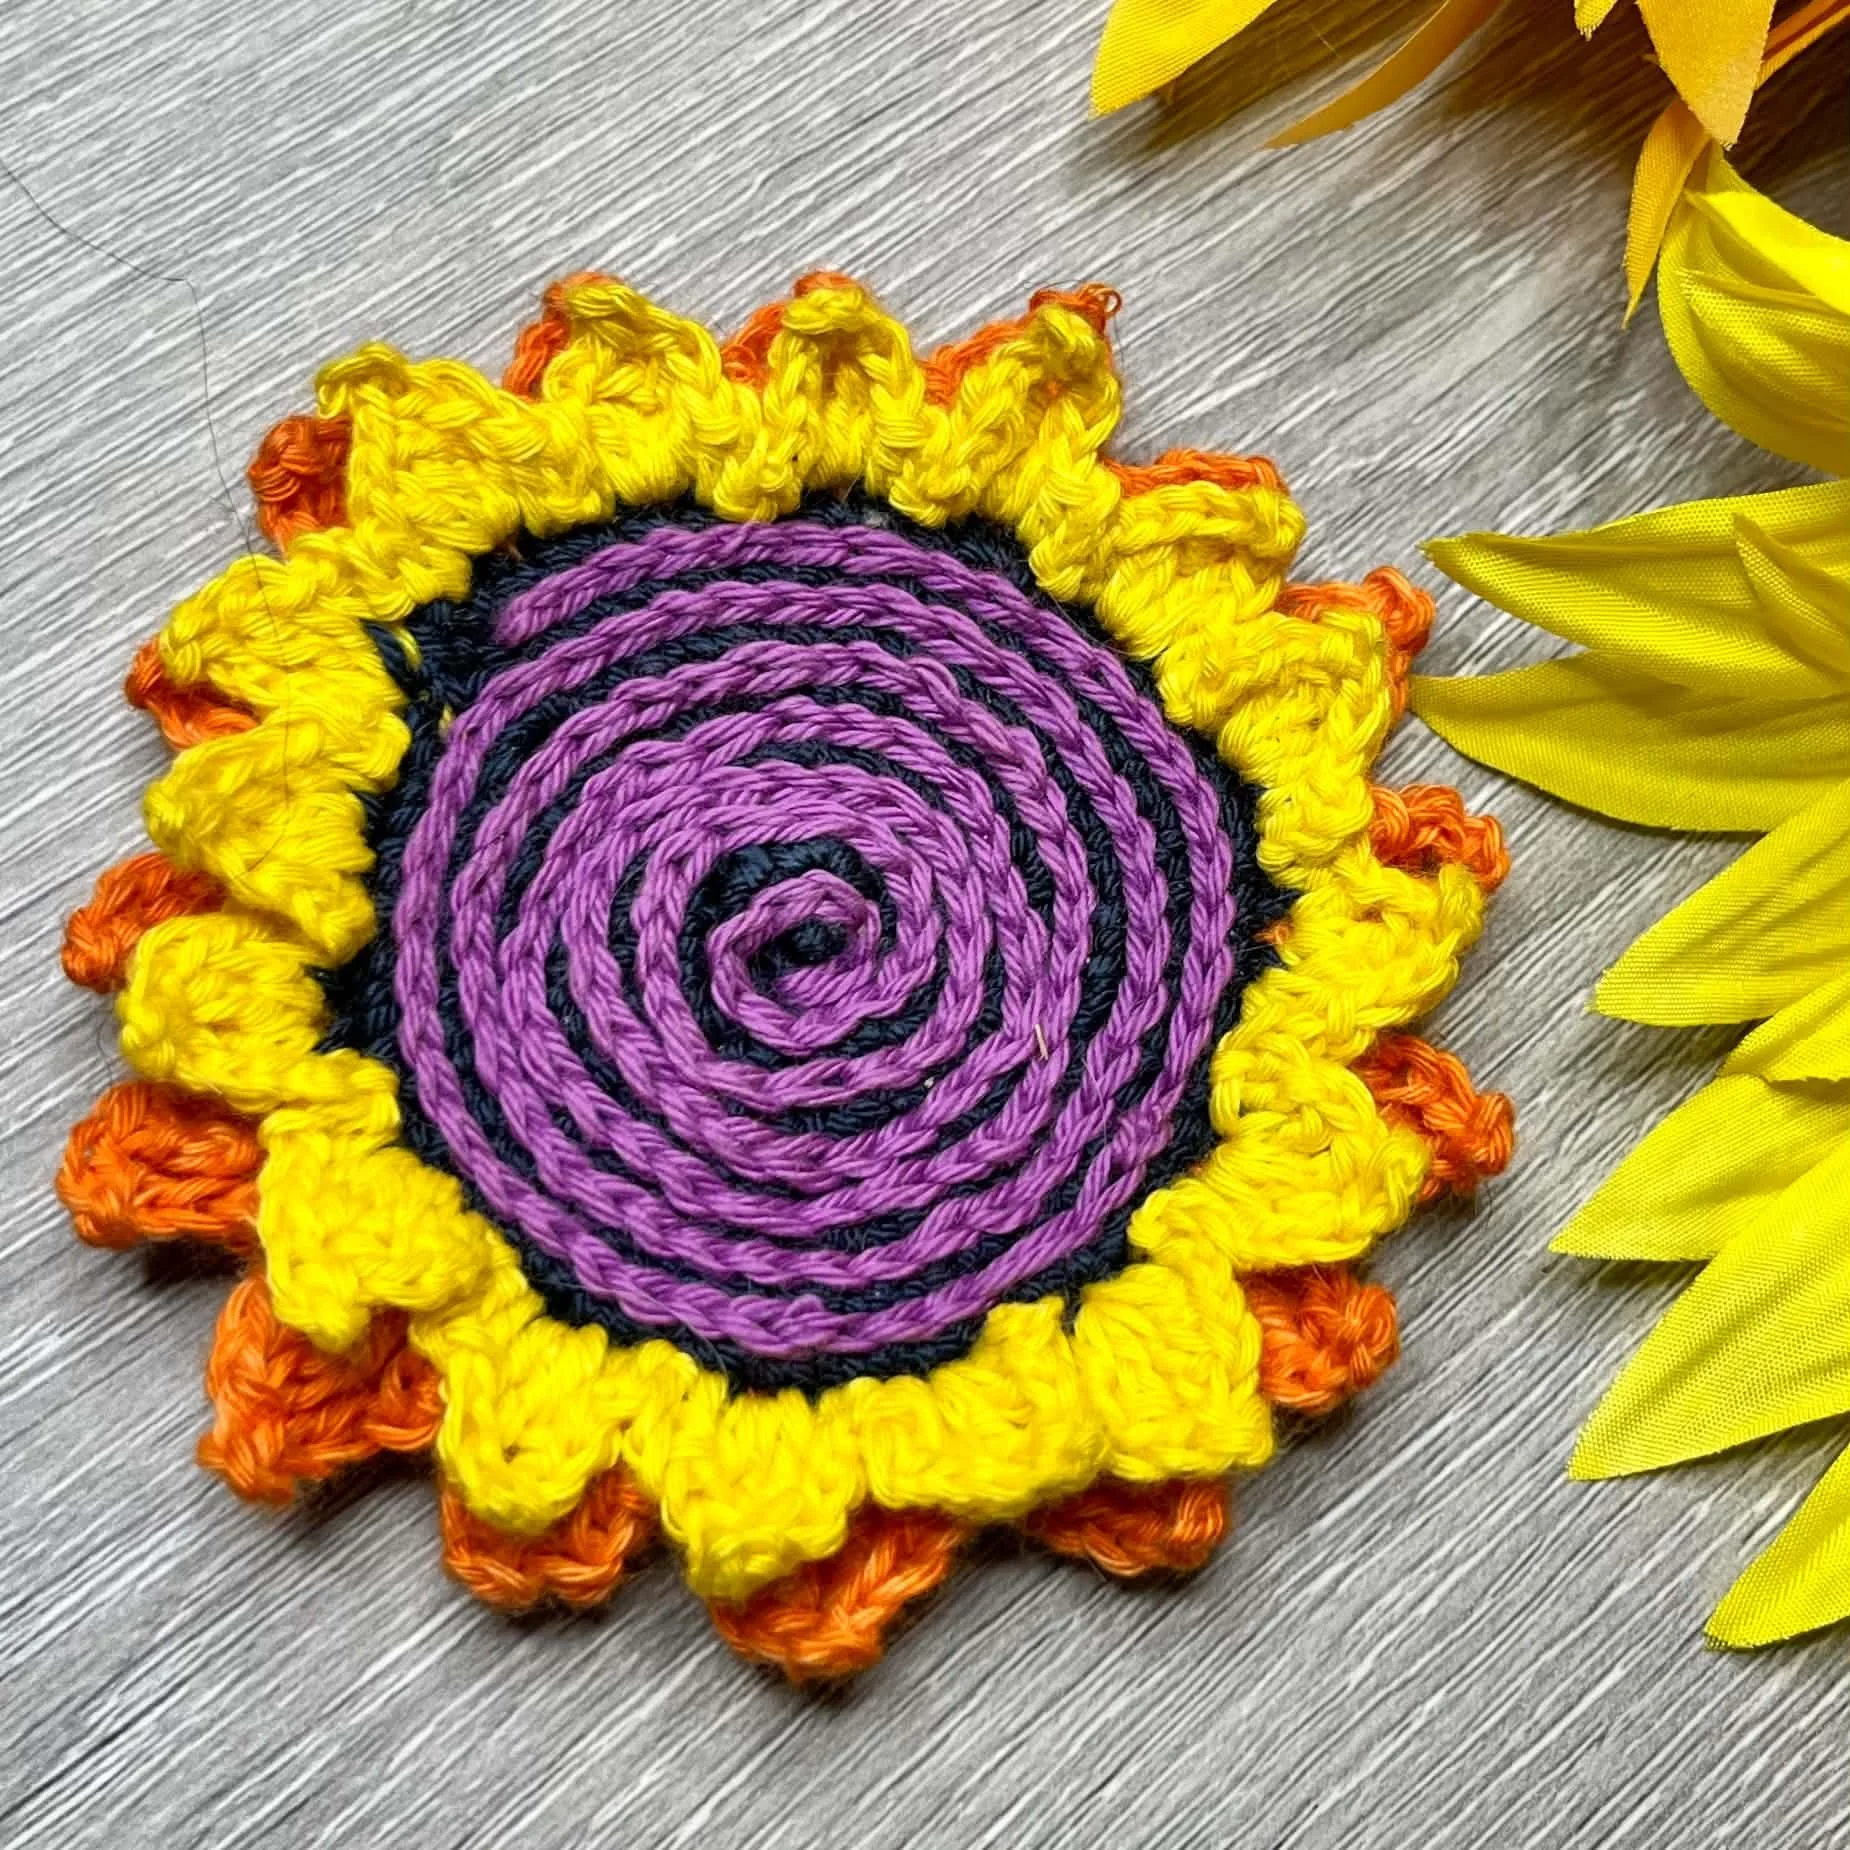
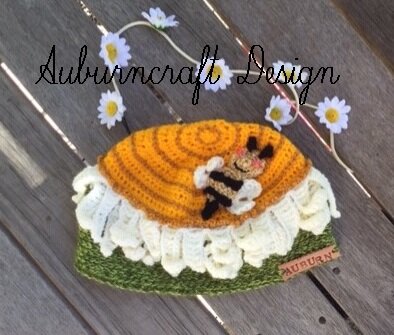
I Love Flowers!I Really Love Sunflowers!Sunflowers make you smile!So who doesn't want to walk around with a Sunflower on their head?My testers and I had fun with this one. Fun to make and fun to wear.This is available in several sizes:
4mm HookMade from Stylecraft Special DkThe band is Half Double/Treble Crochet worked into the 3rd Loop.Crocodile Stitch is used to form the Petals.A small amount of Surface Slip Stitch is done on the Flower centre.This is a written pattern with some photos to help along the way.The pattern is in written form Uk and USA terms.This is a paid pattern and available on Ravelry, Etsy , Craftsy This Post May Contain Affiliate links
I have been in the process of a new design (aren't I always). It started out simple enough as, a child hat pattern. Then of course it grew. Before I knew it I had done calculations for 5 sizes.I got the child size made and was working on an Adult version, when I ran out (or thought I had) of Stylecraft Special DK in Sunshine.Getting towards that last little bit of yarn, I crossed my fingers, crochet twice as fast, made my work a little tighter, but all in vain. I needed another ball!I looked through the Stash. Nope! None to be seen!I glared at the hat. I glared at the yarn stash, but it made no difference. So, with huge haste and a pout on my face (which really is quite silly, as the pout won't help and it still takes about 10 days to get a delivery no matter how fast I order) I ordered another ball.A couple of days passed and then I remembered. That cushion I started and grouped the yarn for! I am sure it had a ball of Sunshine in it!After a small search I had Sunshine in my hand ( and the room did seem to brighten a bit on my finding it).So I have a yarn order on the way I don't really need (and yes, of course I added more yarn to the order than, that one ball) and I have a hat to finish.Note to self: I must downsize my stash, so it is manageable and I must organise my stash, so yarn cannot get eaten up by it.Wonder if anyone else's stash, eats their yarn?
Find a person, with a head and wrap it in material. There, done!No, not really, just kidding!INTRODUCING MALLORY!Mallory has recently signed on, to do some modelling for Auburncraft Designs.I carried out some extensive interviews, as I am rather particular, as to who works for me. Mallory was the successful applicant. Now I know that we are not meant to discriminate and I did try hard not to. But just quietly some of the other applicants were not all that attractive (ebay has a massive amount of different heads, with different shapes). So I took my time and waited patiently till Mallory applied for the position.I am finding working with her a dream. She is rather a bit on the quiet side, but she does exactly as I ask first time and is willing to work extended hours for nothing more than a warm, crochet hat, as payment.Nothing is too much trouble. Turn that way! Hold still! Stay that way for an hour or so! And I hope you don't mind if I cover your head with Glue?Where else could I get such dedication!Now, if only she could do some of those pesky Math Calculations (that have been plaguing me lately) for my crochet. I did ask her if she would, but she refused to answer!So if you are looking for a model for your Hats, Scarves etc. And you don't want to pay an arm and a leg for one. The 'how to' is below!
HOW TO COVER YOUR OWN FOAM HEAD
Get a Foam Head (I bought my head on Ebay. There were so many different shaped heads to choose from, but I liked this one. They are only a few dollars).
Modge Podge. (This is a water based glue. I think the MATTE, would possibly give a better result, but I had some Gloss on hand so mine was done in that. Most large craft places have it, or buy online)
A paintbrush
Scissors
Some scrap material ( I had some batik material leftover from making the Hygge Shawl Cal last year)
A bowl of water to dip your brush into
Step 1. Cut the material into approx 2 inch squares.Step 2. Using your paintbrush, cover an area on the head ready to attach the material.Step 3. Place a square of material onto the Head.Step 4. Dip your brush into the water and damp the material slightly.Step 5. Add some more Modge Podge to cover the piece of material.Continue adding pieces of material till the head is covered. Allow to dry.Give the Head a Name!
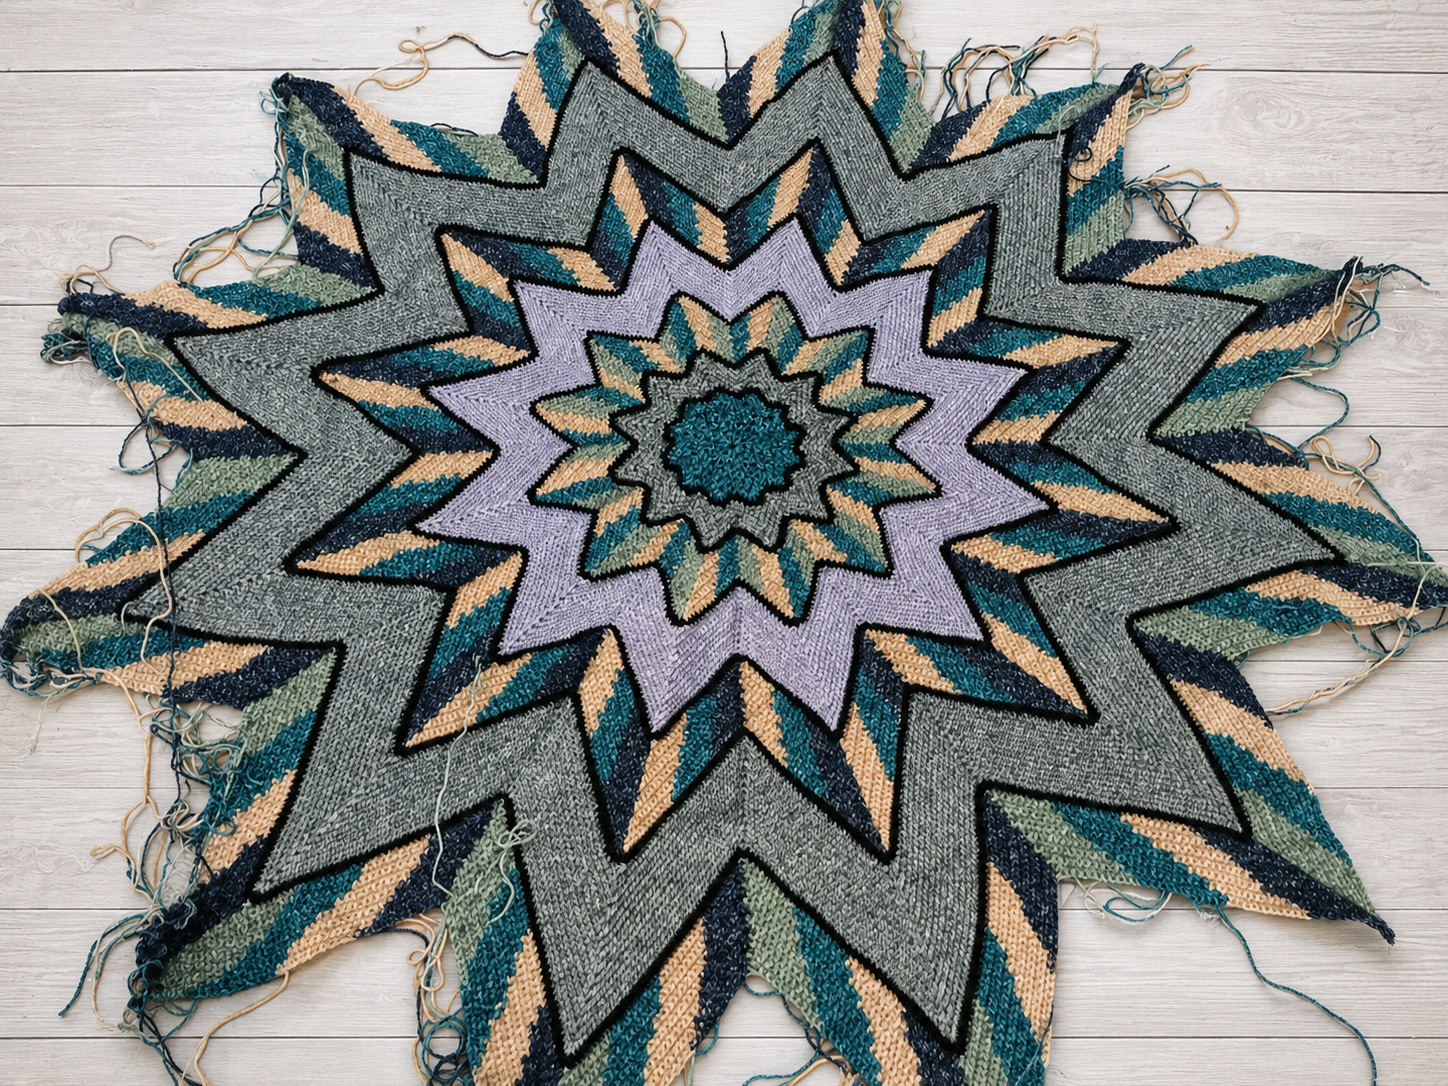
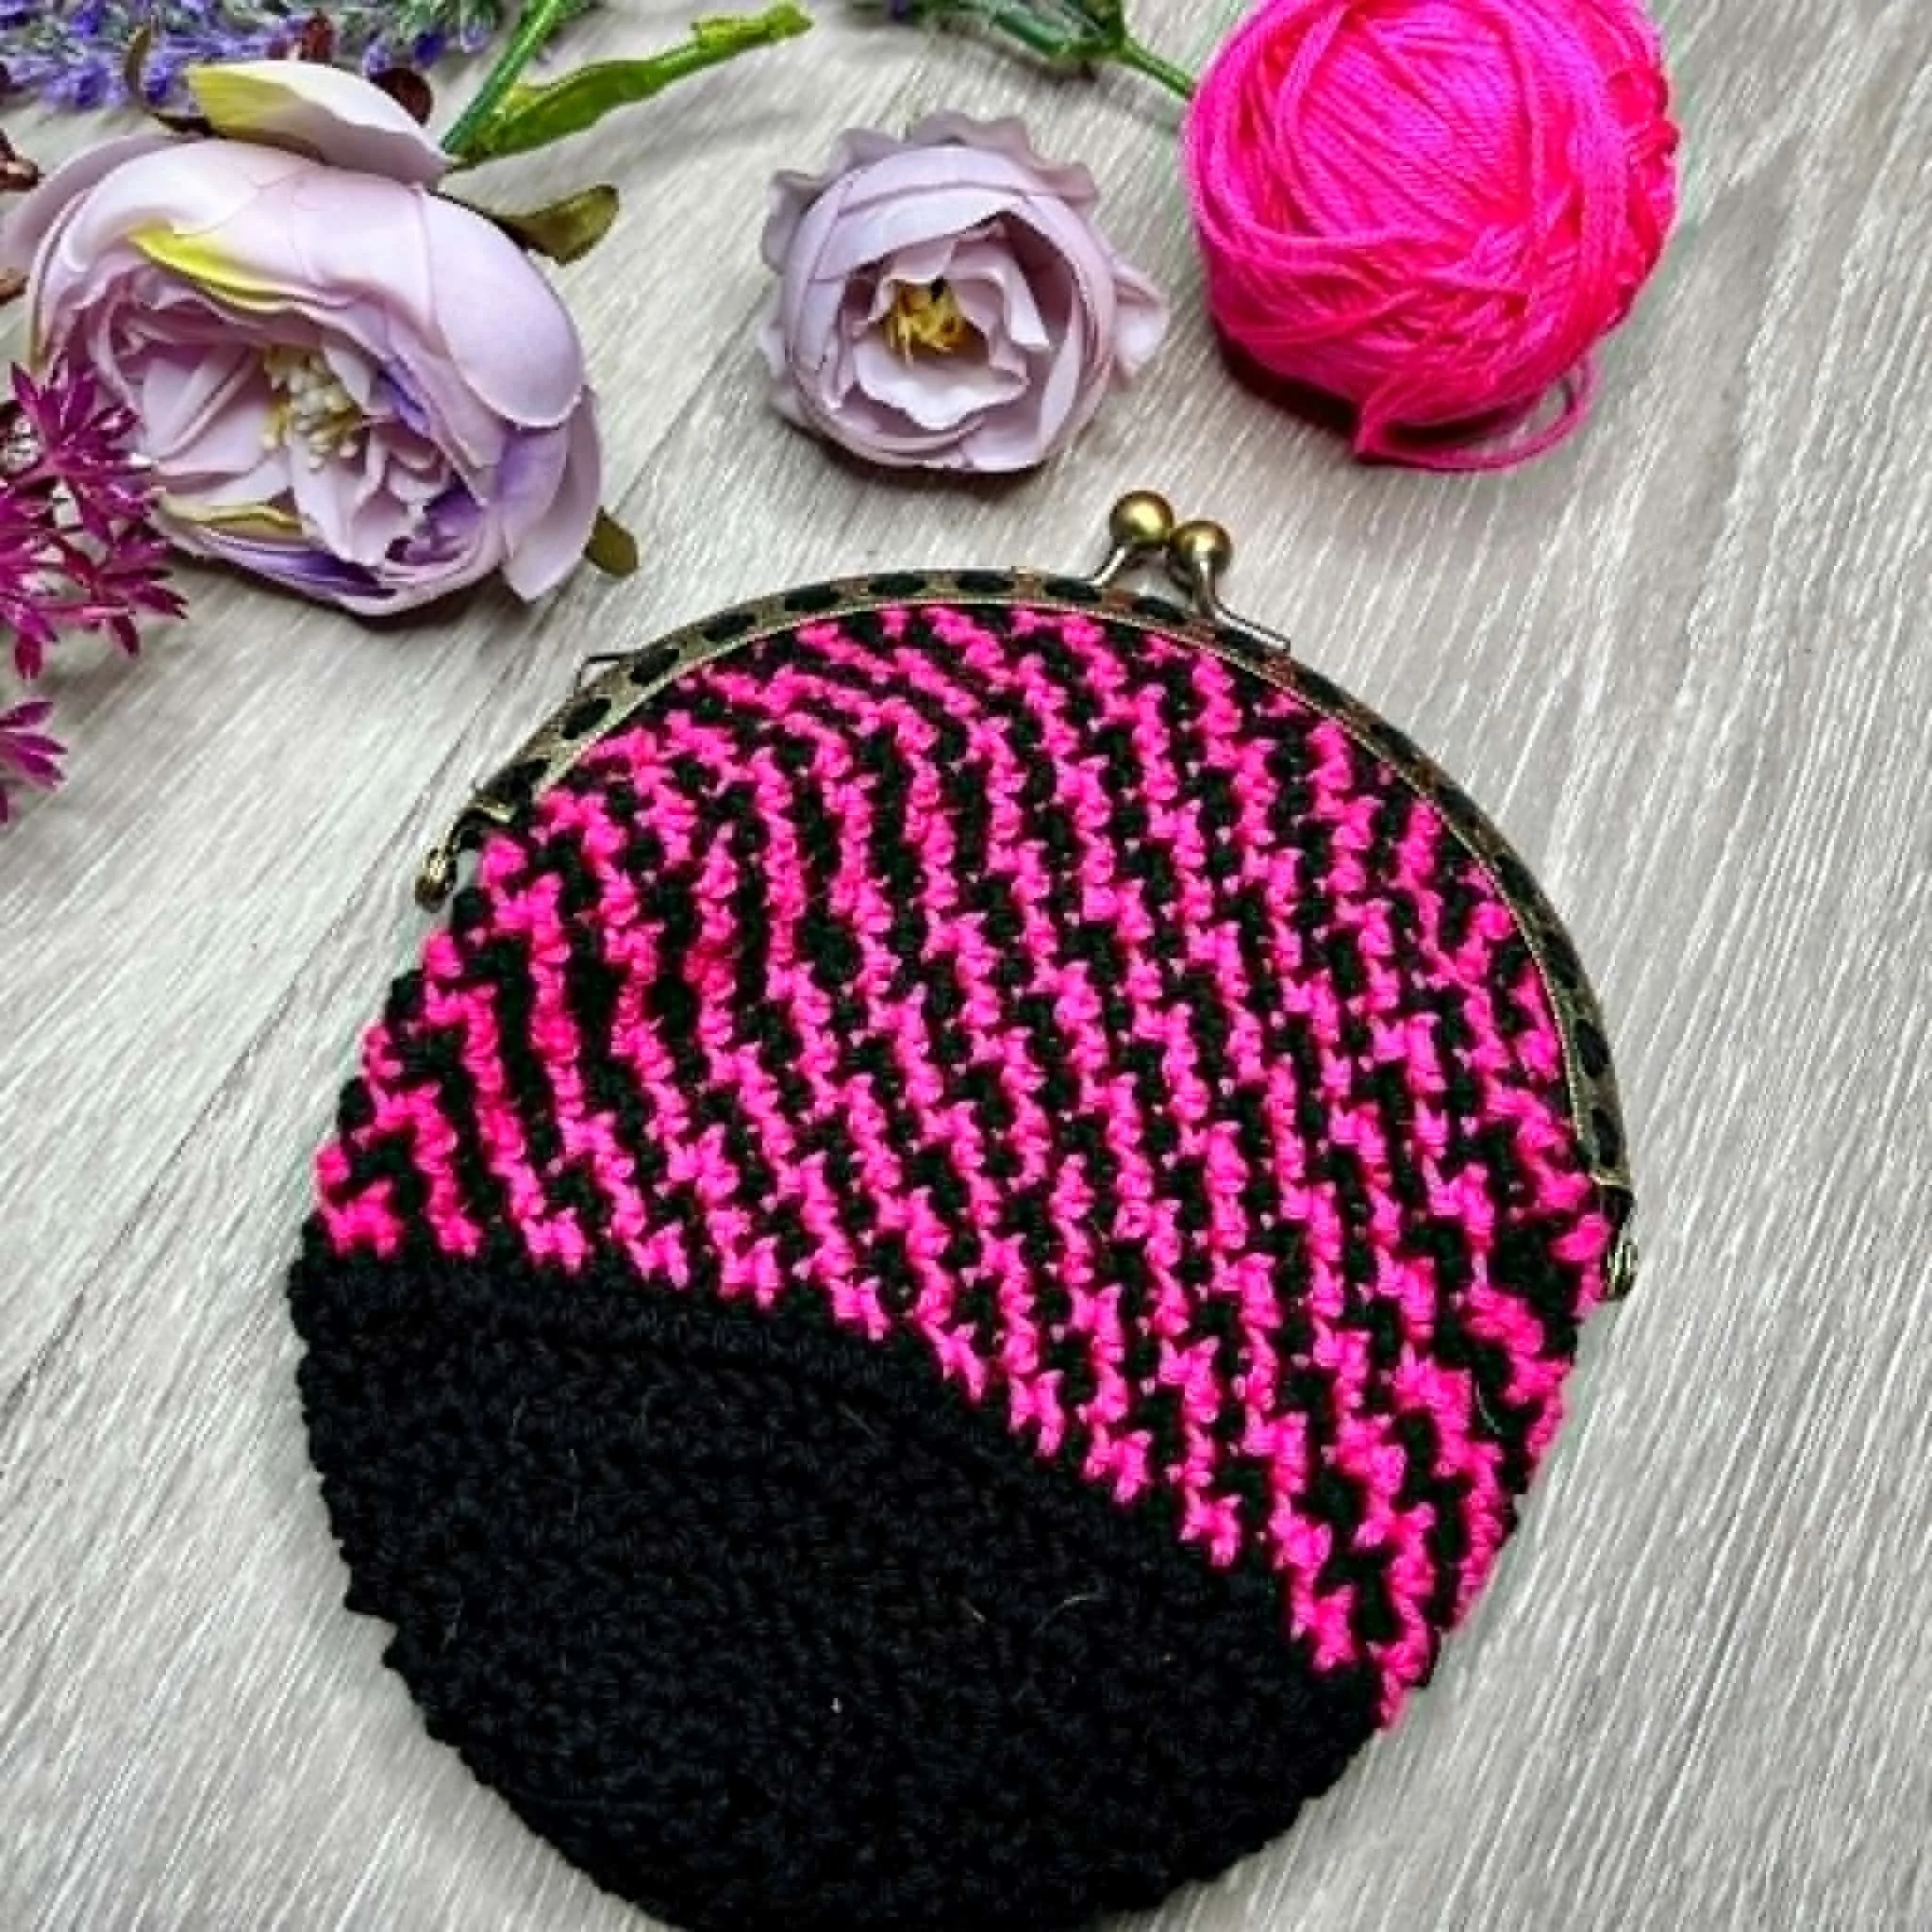
I think that Crocheting is kind of addictive!You start one project and that is good. Then you see another and just have to start that one. Before you know it, you have a room, cupboard, shed, house full of W.I.P.SDesigning for me is pretty much the same! If I stop to count how many W.I.P.S I have, it would take me all day to get a proper number.Two reasons for that. First one is that math is not, my strongest point and second, I have way too many W.I.P.SDon't get me wrong. Like many, who started school in the 60's, I can recite my times tables by rote and I can add and subtract basic percentages, in my head.Butttttttttt..... when you are talking about designing crochet, at times there is a ton of calculations. If you happen to be designing something that has several sizes, then ooh, my goodness.Starting chains for each size and you have to take into account the first stitch makes two.Decreases and increases for each size. Odd numbers and even number and numbers, numbers, numbers! ARrGh!I get there in the end. I often find myself going between the calculator, a sheet of paper and then I resort to drawing it out, to try and make certain I have it right. My testers at times, find that I am not right and then I have to sit in the naughty corner, for a bit.Yesterday I was doing calculations for a new fun hat design. My head was slowly turning to flummery. I thought about sending out a life line, by phoning a friend. I did message a designer friend and ask for her brain. It's okay, I said I wanted it in a non Zombie like way.Yes, back with the Zombies again! I love shows like 'The Walking Dead'. So Zombies are going to creep (or stagger) into the conversation sooner or later.At times when I am all tangled up in a Math haze, I ponder if the design is really worth it. I do have to say, I am pretty pleased with how this is turning out. Hopefully it will be ready for the testers within the next week.I just have a few more CALCULATIONS to do!!!Stay Tuned for the Reveal SOOON! Image at top of page is a sneak peek!This is made from Stylecraft Dk Yarn. Available on Love Crochet


 Do you ever find yourself watching a show and getting inspired to grab your hook? I do!I have been binge watching Frankie Drake Mysteries of late and just loving the 1920's fashion. Really lovely trousers and dresses. But oh, the hats! I found myself in love with them. Next thing I knew I had my hook in my hand.I am pretty happy with the results and would like to think that Frankie would rock this hat!The hat is out with my long-suffering testers at present and will be published in the next few weeks.This uses a 5mm hook and an Aran or Chunky Yarn. Whichever makes gauge. I made this one with Lincraft Balmy. The hat is one size only. Circumference is 22 inches. Larger or smaller could be achieved using a larger or smaller hook. Or adjusting the yarn thickness.The embellishments on the hat are made using Surface Slip Stitch and the band is done with a length of Ribbon.Watch this space for an update when published.

 Step 1. Cut the material into approx 2 inch squares.Step 2. Using your paintbrush, cover an area on the head ready to attach the material.Step 3. Place a square of material onto the Head.Step 4. Dip your brush into the water and damp the material slightly.Step 5. Add some more Modge Podge to cover the piece of material.Continue adding pieces of material till the head is covered. Allow to dry.Give the Head a Name!