


A world filled with flowers is a beauty to behold!
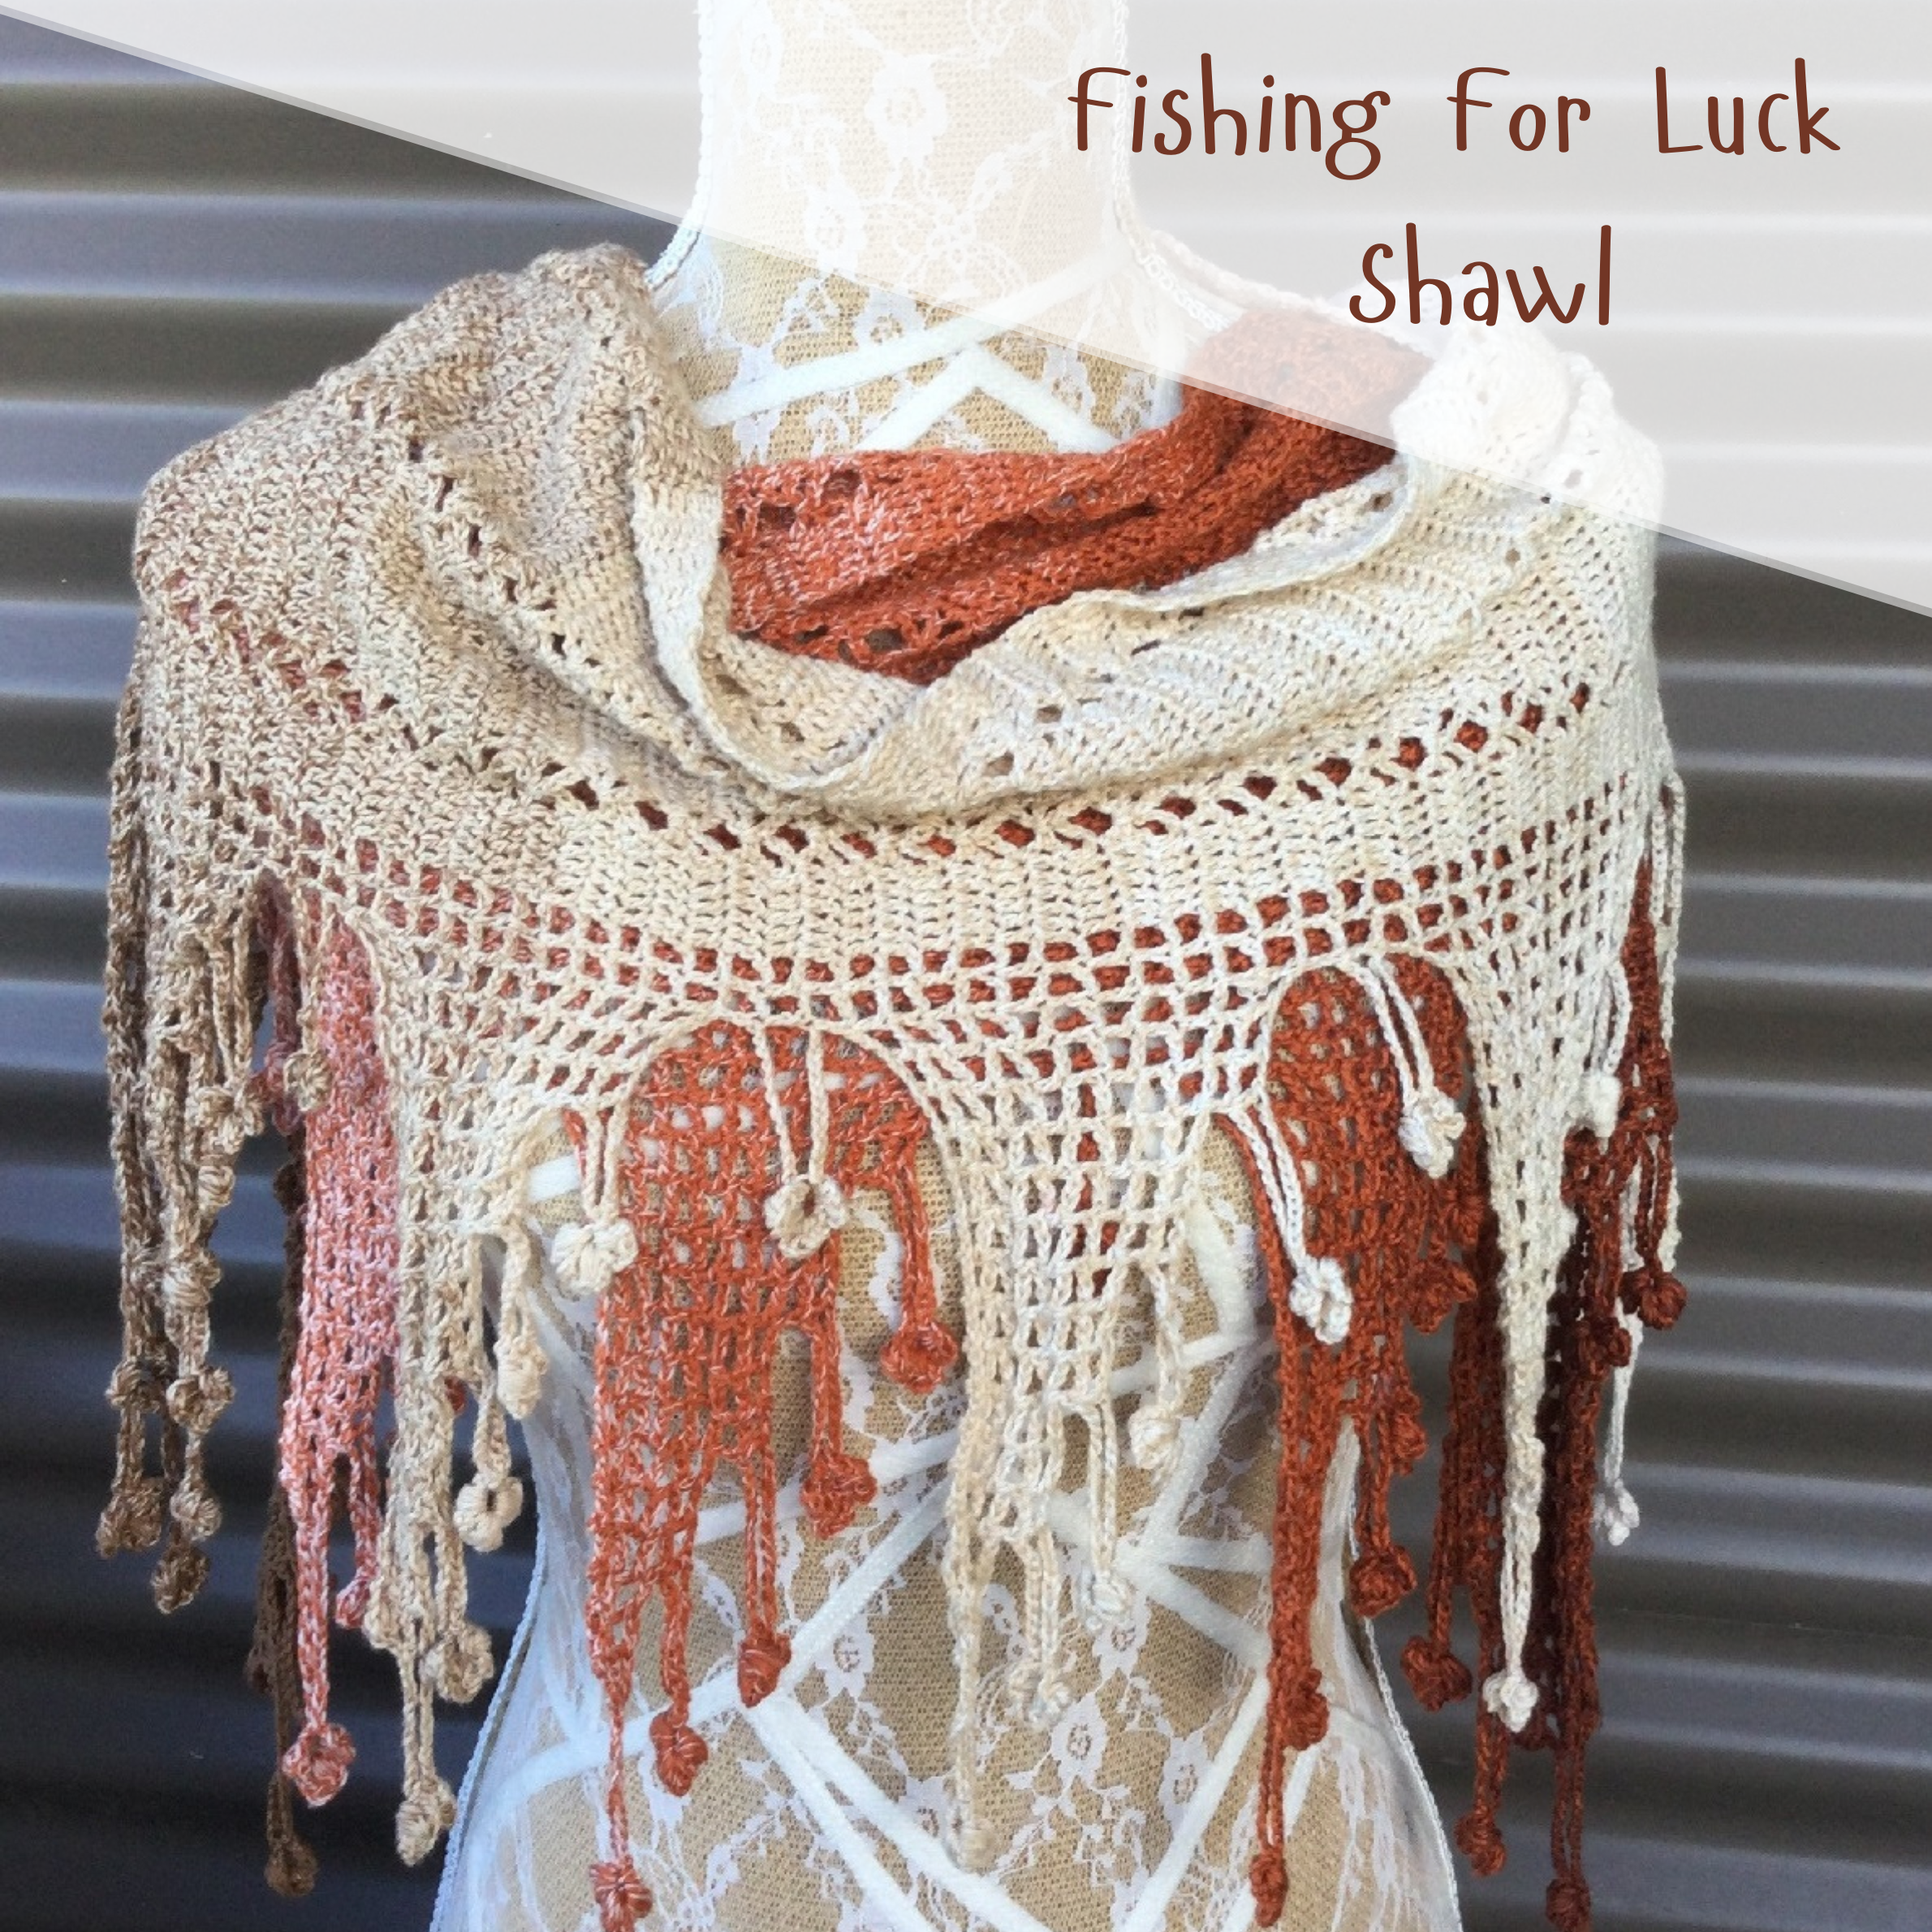
I have been making shawls and blankets of late. Occasionally I have added a few bandana cowls to mix it up, but I needed a break from the blanket I have been working on.
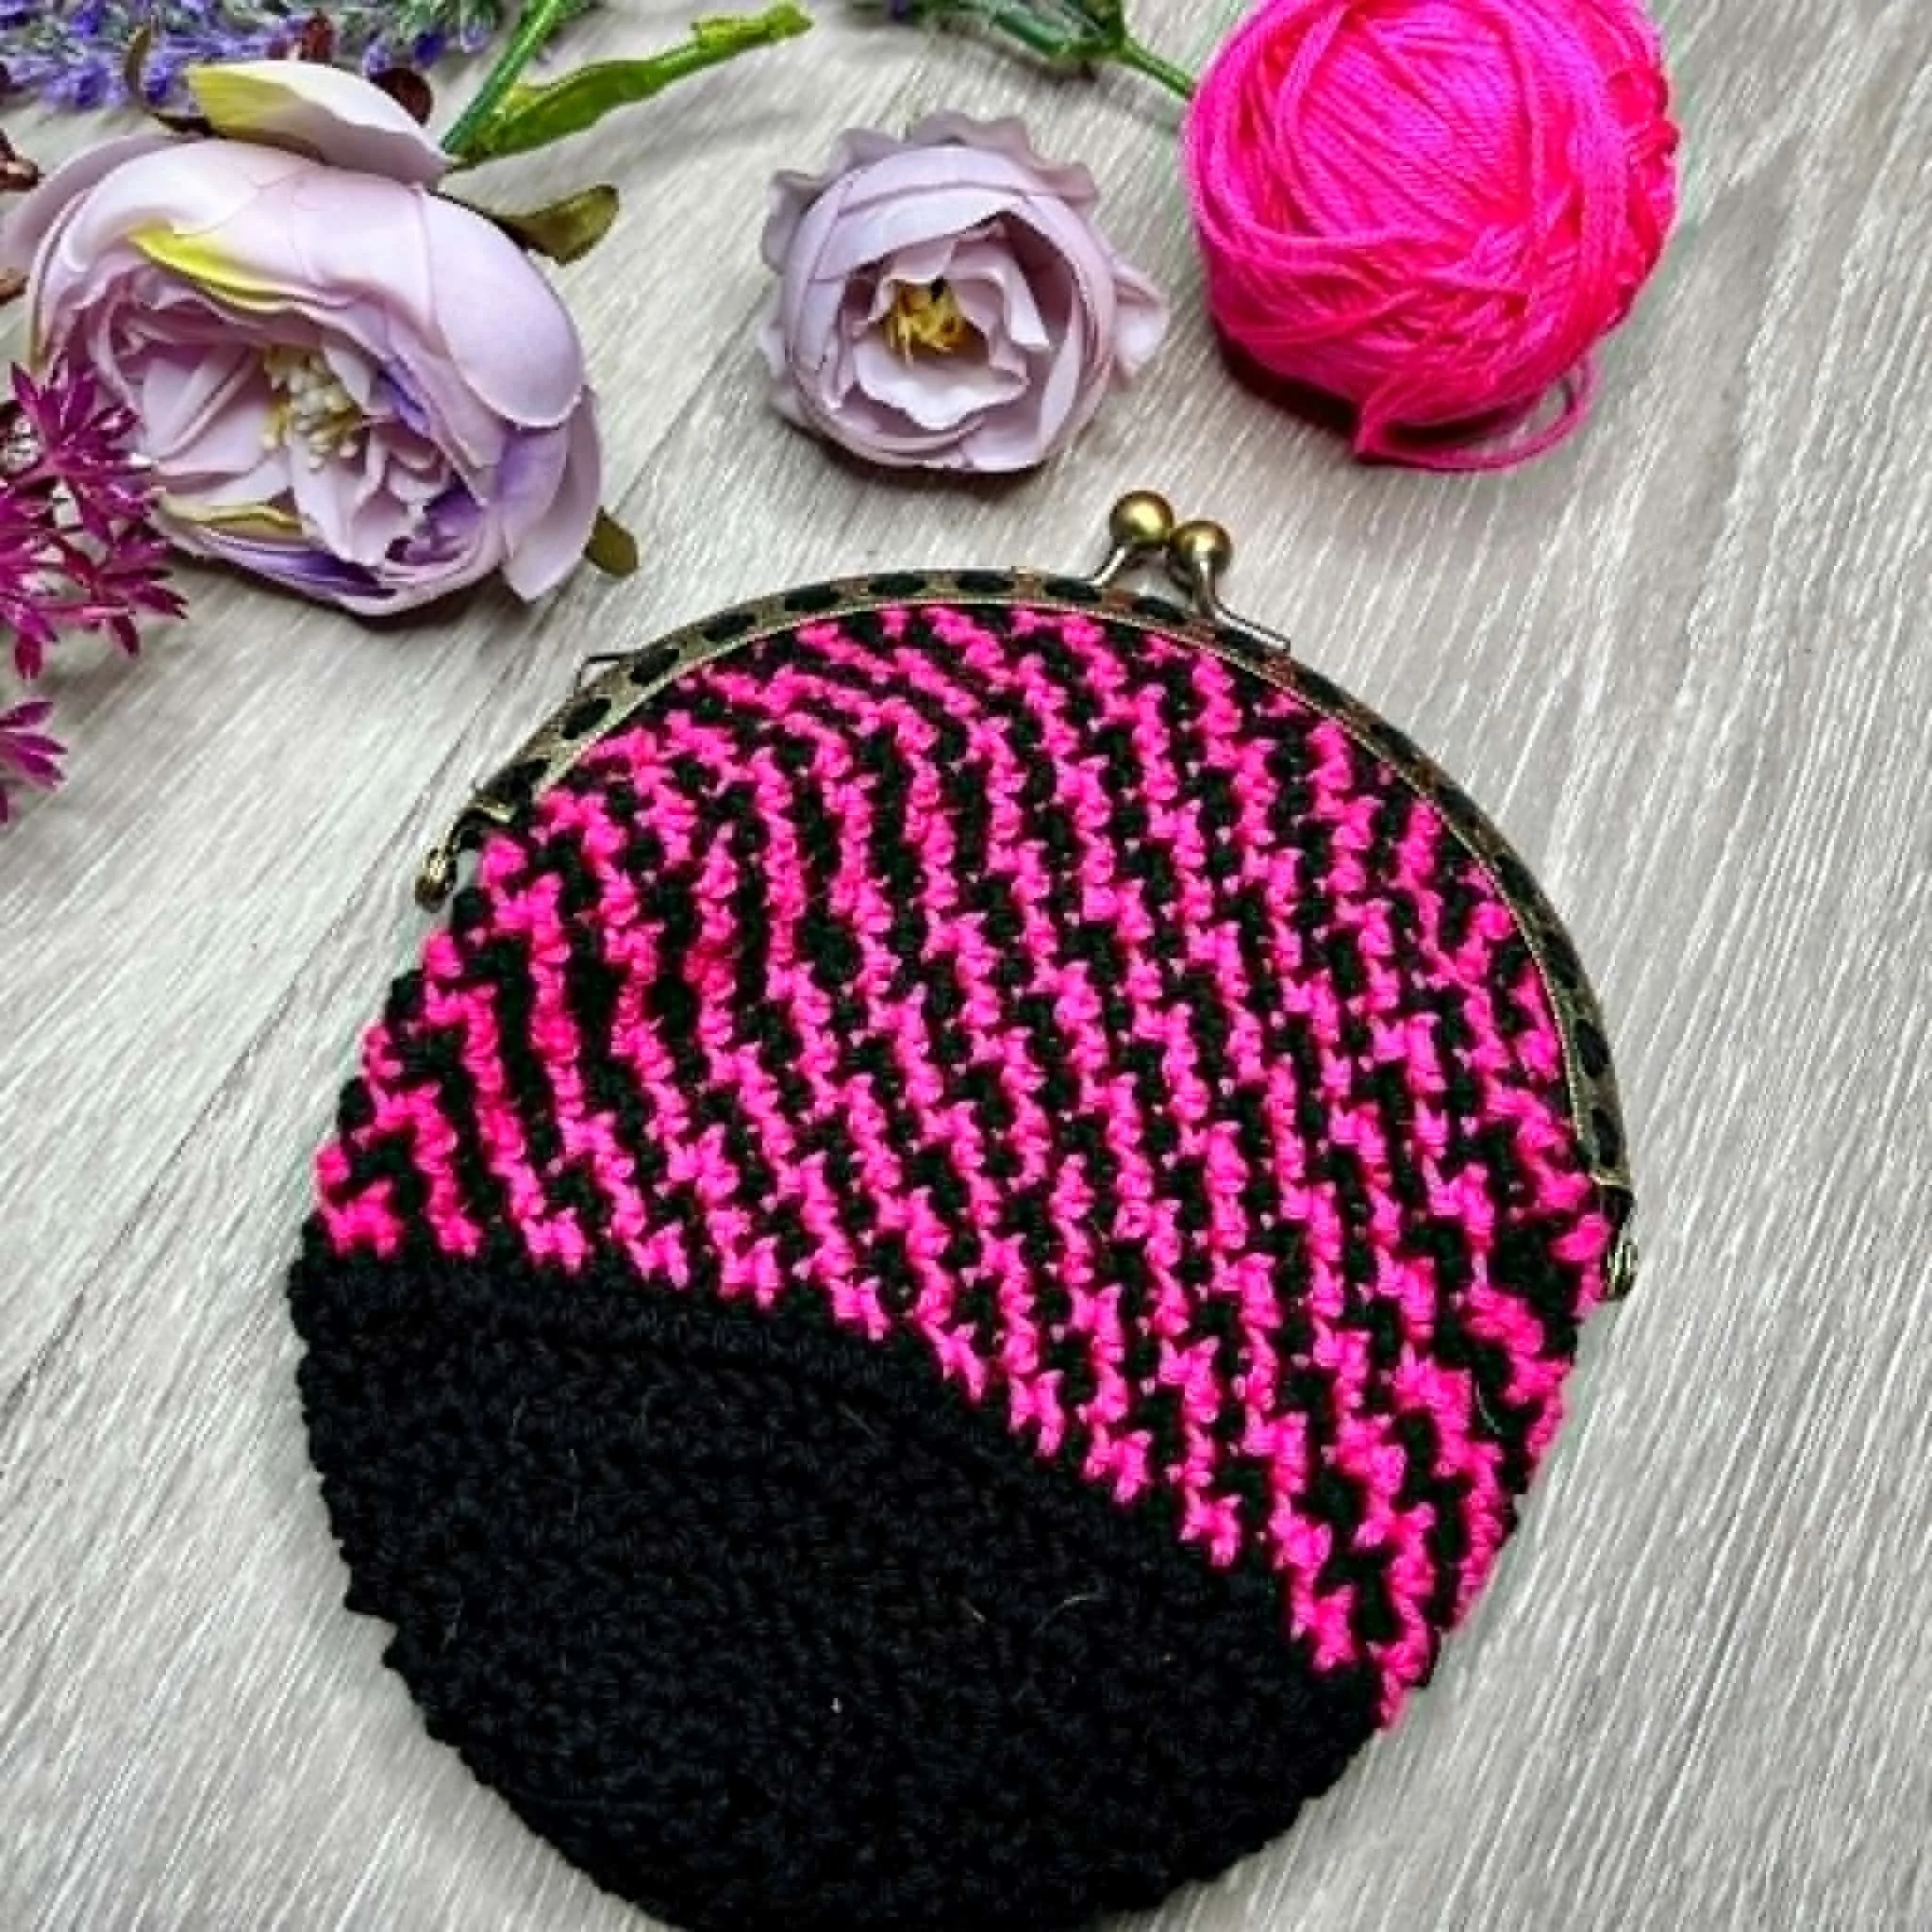
On looking around the room where I store my yarns, I viewed the mountain of what I would consider scrap yarns and decided I should make a bag out of scraps.
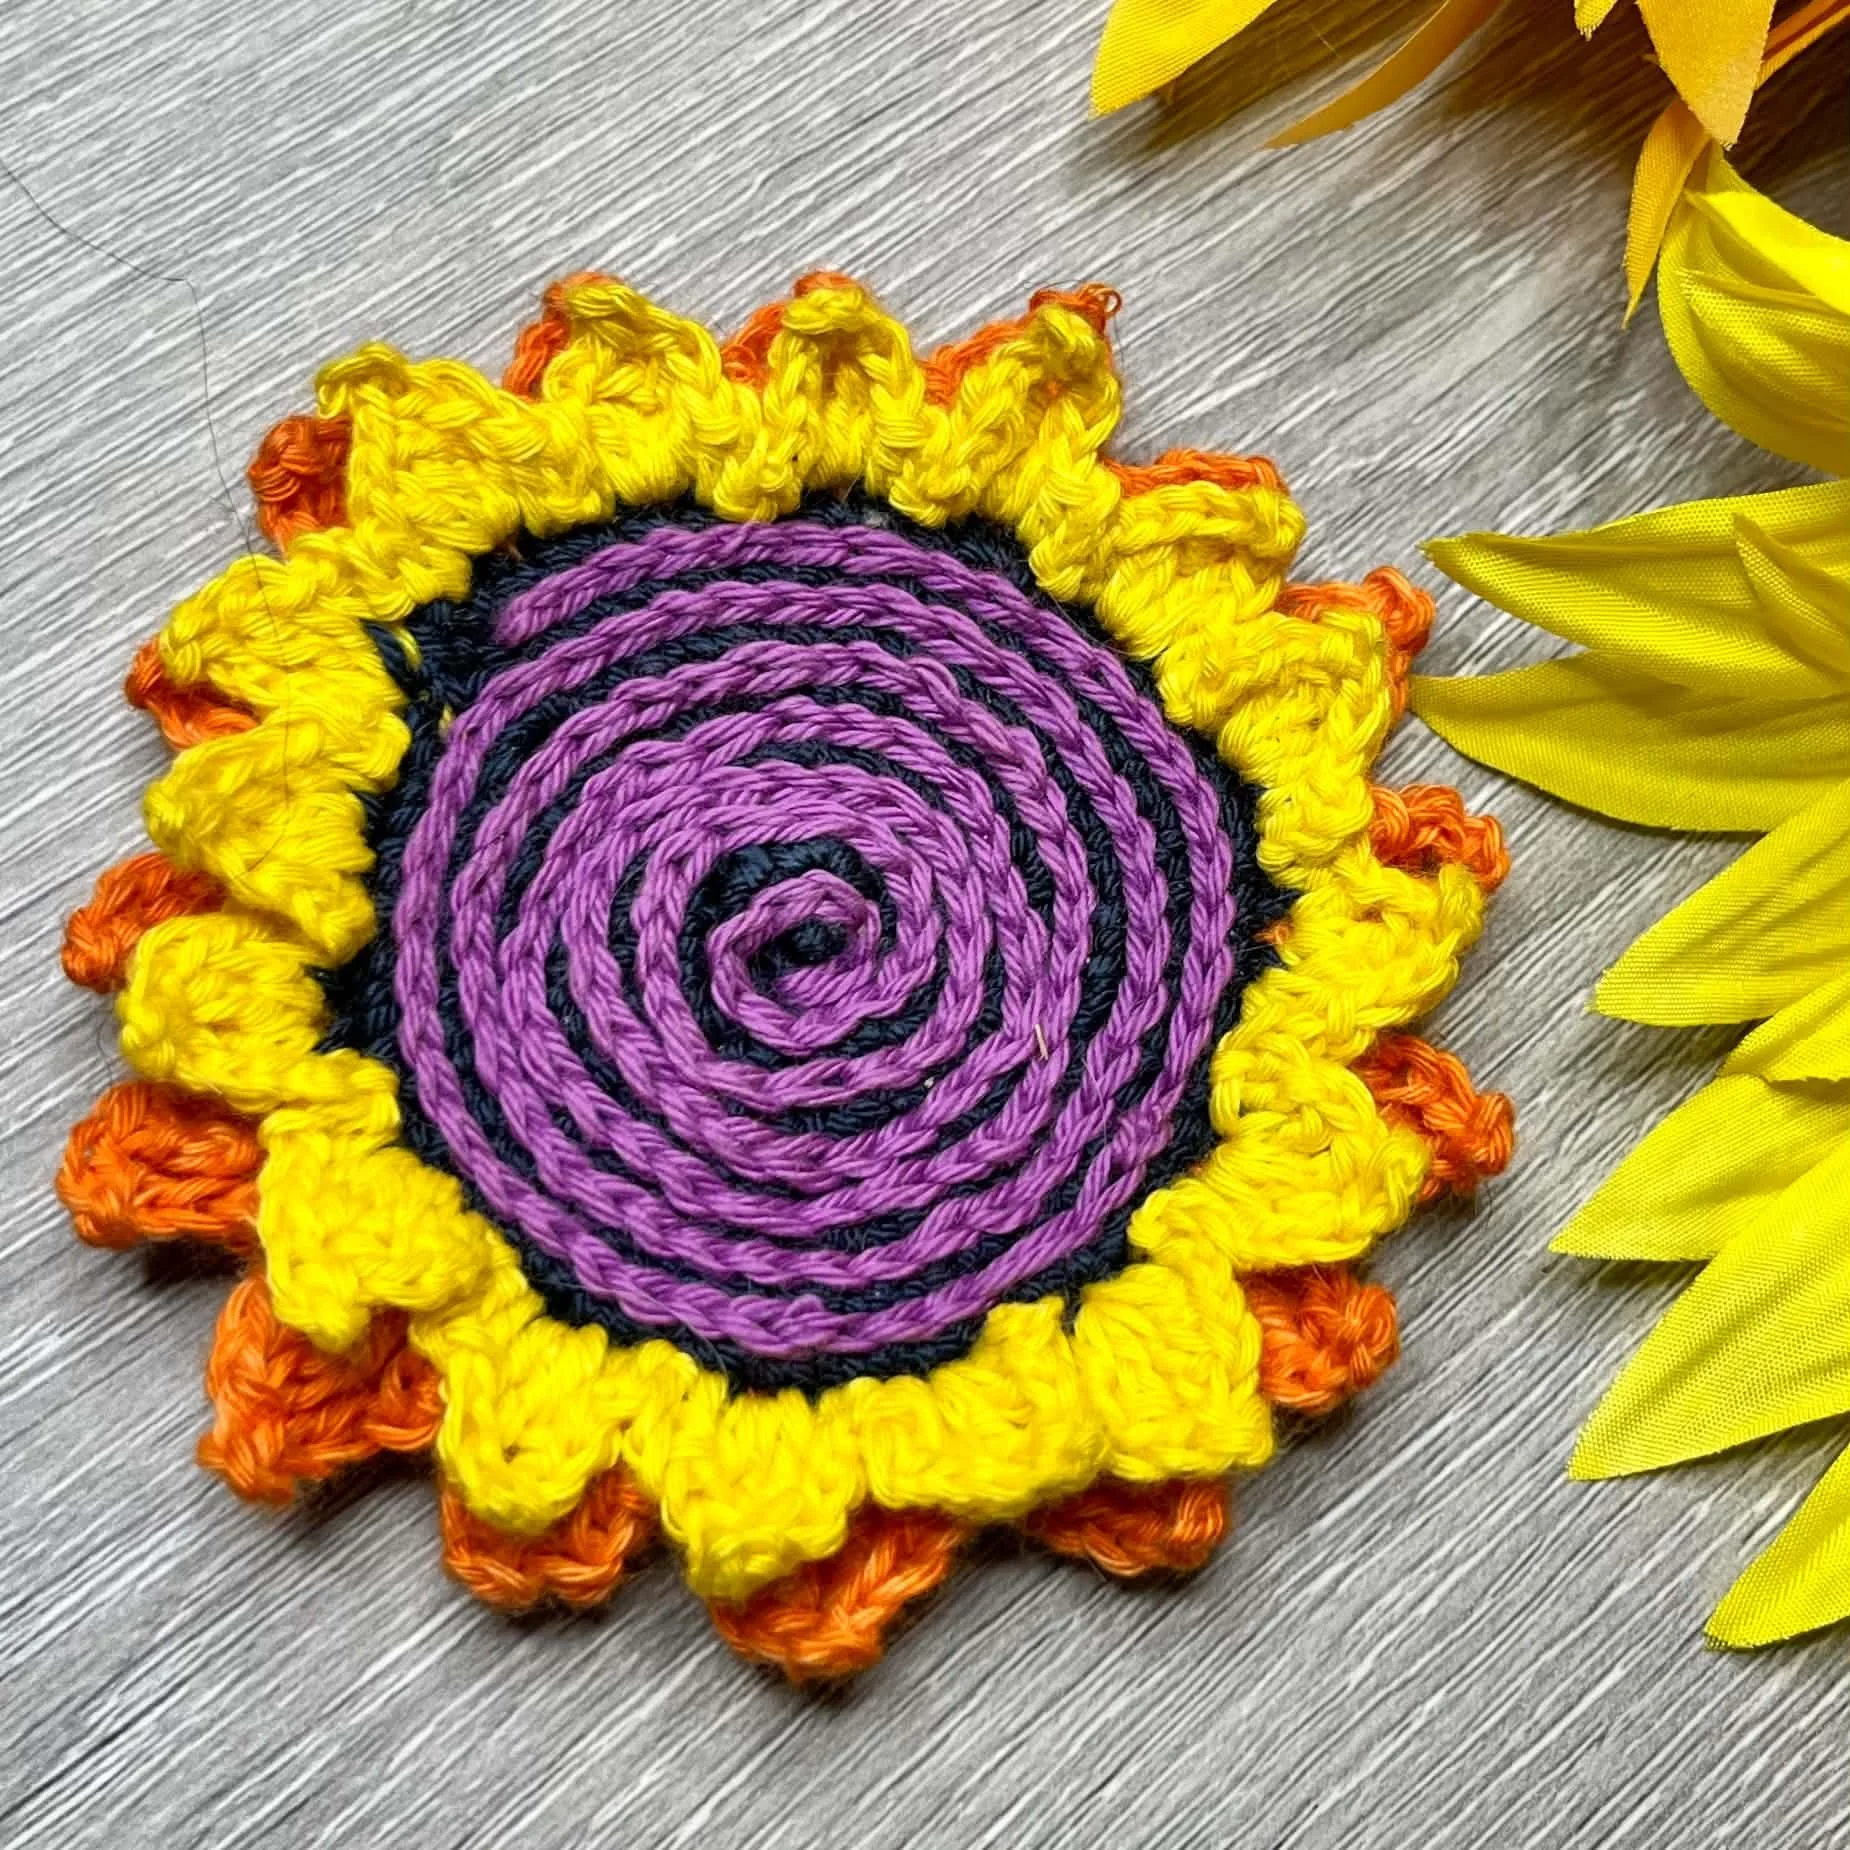
The bag on completion really needed a flower. This little flower is the result!
This has a raised centre for that 3D look.
US terms are used for this pattern:
Materials: (scrap yarn).
Flower Centre: Chunky weight.
Petals: Aran weight for the inner petal and Dk weight for the edge.
Abbreviations:
Sc - Single Crochet
Dc- Double Crochet
Dtr- Double Treble
St- Stitch
Yo - Yarn Over
Slst- Slip Stitch
Notes:
Numbers in Red Italic represent the corresponding photograph.
Numbers at the end of the rows represent the stitch counts.

Flower Centre

Round 1:[1]Wrap the yarn around your finger 10 times. Remove the circle of yarn from your finger, keep the circle intact. [2]Insert your hook through the centre of the yarn circle. [3] Yo and pull up a loop. Yo and draw through both loops (doesn’t count as a St). [4]Work 12Sc into the circle. Slst to the first Sc to close the round. Cut yarn and fasten off. Leave a long tail for sewing the flower on. [12Sc]

Petals
Round 2: Turn the work over. Attach a different colour yarn with a Slst into any Sc.[5][Ch5 (counts as a Dtr).[6]Work 3Dtr into the same St as Ch5. [7] Ch5, Slst back into the same St. Slst across 2 Sc]x6 omitting one Slst in last rep. [8]Fasten off and cut yarn. Leave a long tail for sewing the flower on. [30Dtr]
Round 3:[9]Attach a different colour yarn with a Slst into any Slst between Petals on Round1. [10] [Ch5. Sc into the first Dtr of Round 2. [11] [2 Dc into next St]x2. [12]Ch5. Slst into next Slst of Round 1]x6. Fasten off and cut yarn. [12Sc, 24 Dc, 12 Ch5 lengths]
Sew on to your project using the long tails.
The Stem:
I usually use surface slip stitch for most items like this, but this time I wanted it to really stand out. This stem is sewn on.
I used the same Chunky yarn that was used for the centre of the flower.
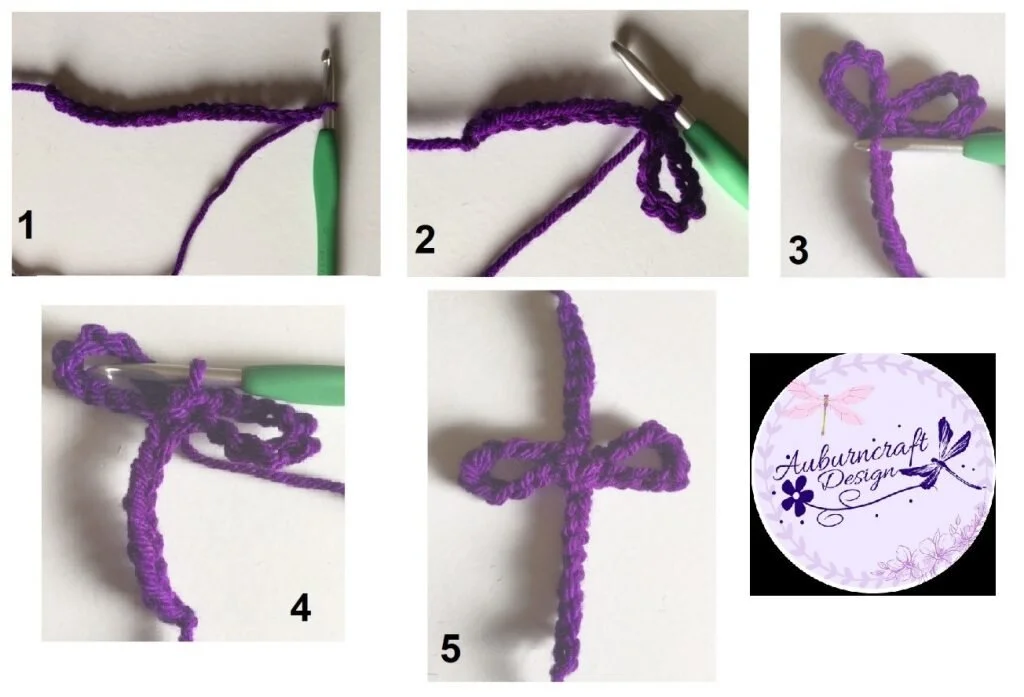
Steps to making a flower stem.

Direction of work.
[1]Ch20. [2]Slst into the 12th Ch from the Hk. Ch12.[3] Slst back into the same 12th Ch.[4] Slst to the top of the Sp between the 2 Loops. [5]Ch10. Cut yarn and Fasten off. Leave a long tail to sew the stem on. Sew on.
Now to the boring stuff!
Yes! This is free for your use but there are still some copyright legalities that come even with free!
You are welcome to sell items made from this pattern, but please credit me as the designer and add a link to purchase my pattern in your sale. You cannot manufacture and mass produce my designs for sale.
Many hours of work has gone into the designing and producing of this pattern.
This pattern is for personal use only. Please note my patterns and my images are copyright protected, please do not use my images to sell your items. No pattern or photograph may be reproduced or distributed — mechanically, electronically, or by any other means, including photocopying, without written permission of Auburncraft Design. Please do not copy, rewrite, or redistribute this pattern or any part of it as your own or otherwise. Just because you can copy does not mean you should. Please do not resell my patterns. This post may contain affiliate links.


 Some Pluses for Freeform:Uses up a heap of leftover yarn.If you made a mistake, it never happened.You don't have to count your stitches, as it really doesn't matter.If you are a beginner at crochet. You can just call your work Freeform and dare anyone to say it isn't right.You end up with a piece of work that is totally original to you.If you run out of a colour of yarn, it doesn't matter.You don't have to check gauge.

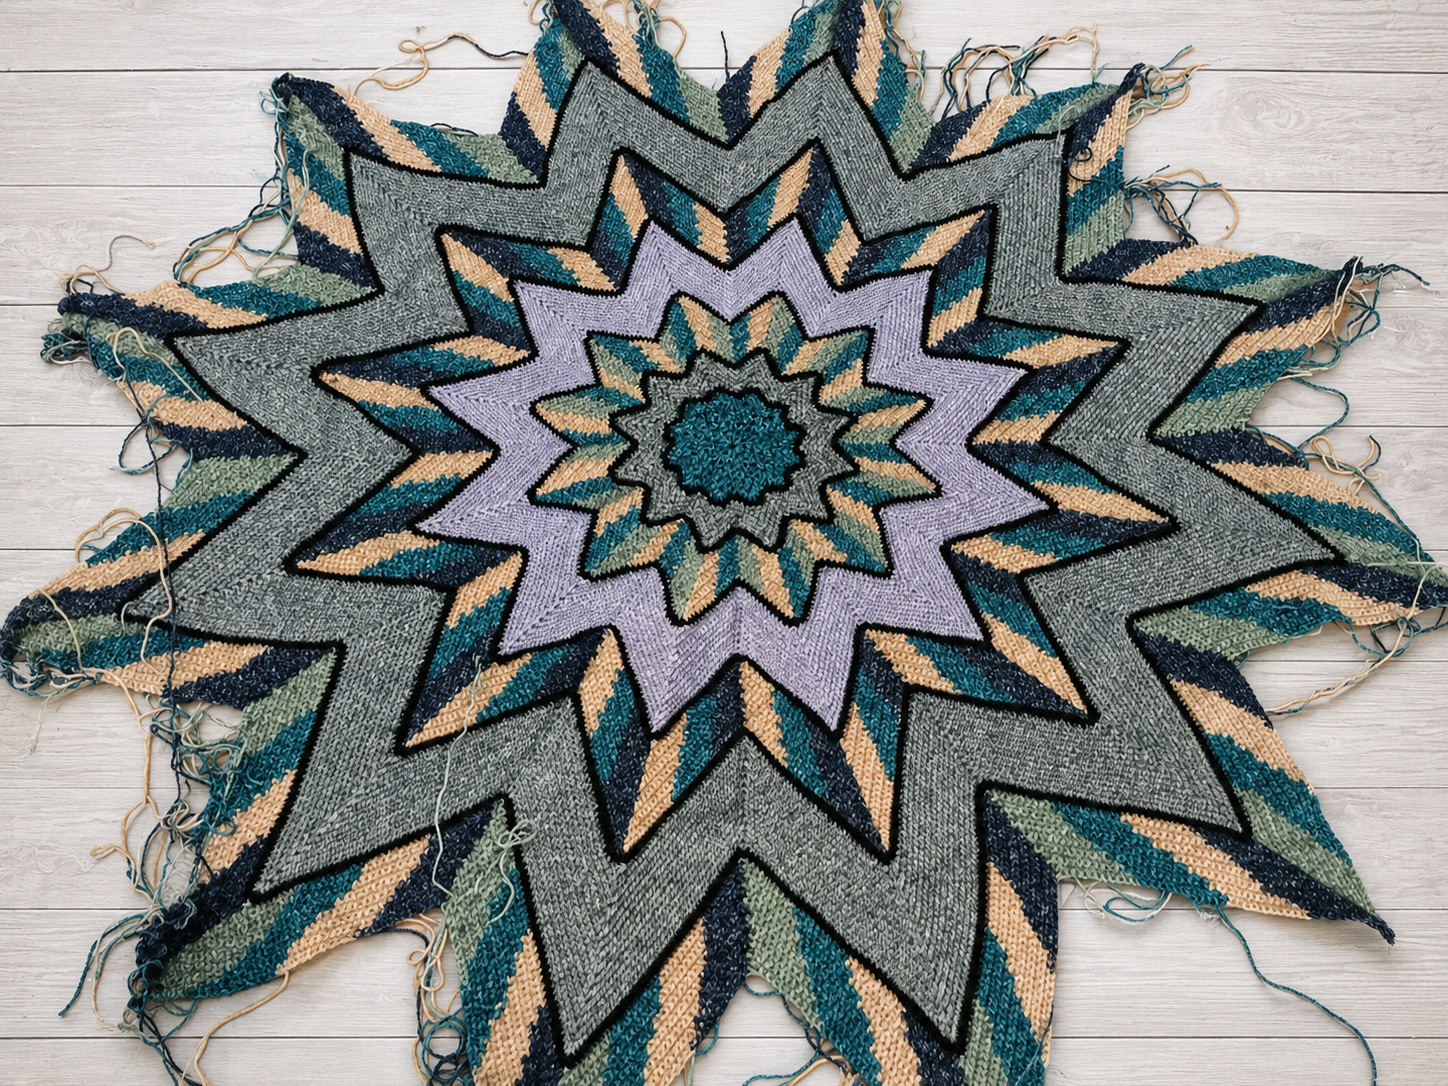
 Use stitch markers to keep track of decrease rows.Ch25.Row 1. Sc into 4th ch from hook. Sc in each ch across. Turn (23)Row 2. Sc Dec. Work 1 sc in next 19 st’s. Sc Dec. Turn (21)Row 3. And every alternate Row from here. Ch1. Sc in each st across. Turn.Row 4. Sc Dec. Work 1 sc in next 17 st’s. Sc Dec. Turn (19)Row 6. Sc Dec. Work 1 sc in next 15 st’s. Sc Dec. Turn (17)Row 8. Sc Dec. Work 1 sc in next 13 st’s. Sc Dec. Turn (15)Row 10. Sc Dec. Work 1 sc in next 11 st’s. Sc Dec. Turn (13)Row 12. Sc Dec. Work 1 sc in next 9 st’s. Sc Dec. Turn (11)Row 14. Sc Dec. Work 1 sc in next 7 st’s. Sc Dec. Turn (9)Row 16. Sc Dec. Work 1 sc in next 5 st’s. Sc Dec. Turn (7)Row 18. Sc Dec. Work 1 sc in next 3 st’s. Sc Dec. Turn (5)Row 20. Sc Dec. Work 1 sc in next 1 st’s. Sc Dec. Turn (3)Row 22. Sc3tog. Fasten off and cut yarn.Sew in ends.Block Triangles so they sit flat. This will make them easier to join.The main picture is a little teaser of what I am making from these. It is going to beFAB-U-LOUS!!!!!
  The cynic in me thinks they do it on purpose. It's someones idea of a cruel joke. Whoever thought the colour choices up are probably a frustrated Hooker, cackling in glee that they made me frog another project.What I am currently working on, happens to be made from
  The pattern is available on:
 The pattern for the flower is available for free on my
  One day I may write the pattern for the dress up. But at this stage there is only the pattern for the flower.


 Step 1. Cut the material into approx 2 inch squares.Step 2. Using your paintbrush, cover an area on the head ready to attach the material.Step 3. Place a square of material onto the Head.Step 4. Dip your brush into the water and damp the material slightly.Step 5. Add some more Modge Podge to cover the piece of material.Continue adding pieces of material till the head is covered. Allow to dry.Give the Head a Name!
 Main Picture is of my good friend Erin modelling for me.