What is Crochet1?

I guess the answer to that is in the eye of the beholder!The Dictionary says this: 

Crochet is a handicraft in which yarn is made up into a textured fabric by means of a hooked needle. "a crochet hook".

Some who don't like or get Crochet may answer like this:

"Crochet is a complete waste of time and money".

But to those of us who know the true secret of Crochet and the wonder of creating it is much more.

You see, you get (or are maybe given) this magic wand (crochet hook).  You wave this wand and incredible things appear.  Well, that is what is meant to happen.  Sometimes there is a lot of frustration along the way.  A lot of Frogging and the occasional swear word all added into the mix.

We crochet because we enjoy creating something of beauty.  We crochet to help avoid stress.  To keep our minds active.  To create that item for our loved ones, that is unique and special.

And to those who don't get the need to Crochet I say "Full Speed Ahead and damn the torpedoes.  Hooks (or wands), Charge!!!"

poodles 1

poodles 1

Crochet Sizing Chart for Hats, Scarves and Blankets!

A while back I started a sizing chart, just for my own records, so I could reference it at a later date and easily see just what sizes I had used, for things like blankets, scarves and hats.

I decided to put the information from my own crochet experiences, into a reduced smaller chart.

So while some of these sizes may not be exactly what other charts may say, these are what works for me.

Screenshot (34)

Screenshot (36)

Screenshot (32)

Freeform Crochet! Where is that Pattern?

Freeform Crochet is about letting go and throwing all those rules and patterns out the window!If you are like me,  you only ever read instructions on anything (and I mean anything), if there is no other choice.In Freeform, there are no rules, no instructions. If I want to put that stitch there I just will.  So what, if I have 20 stitches this side and 22 on the other side. Who cares!  I did count them, but I know I didn't need to!I find sites that offer tutorials etc, on how to make a particular item using freeform amusing.  So you are offering me a guide, or maybe you can use the term 'pattern' on how to make a freeform piece?  And mine will come out the same as yours?  Sort of ruins the whole idea of it!Sure, look up suggested ideas, such as spirals or shells done using bullion stitch, surface slip stitch. Read up on Scrumbling (which in normal speak, just means making some odd motifs and joining them together). And get the lowdown on various  techniques used.  But once you are done researching, grab your hook and some yarn and get stuck into something.  Let your imagination go wild.Freeform offers you the chance to make something unique to you.  Each year a trend starts and pictures start popping up of the same crochet piece made over and over and over.   I know as a designer I would love to be the one who designed something that just everybody has to make.  BUT! After a while of seeing the same thing over and over I do get a little bored.  What is the answer?  Yep, FREEFORM!!!The picture for this post, is a coat I started over a year ago.  One day I may even finish it.  It's just a whole pile of flowers and a few spirals, stuck together in a random sort of way. The gaps are filled in with random stitches.  I love it!  It is going to be a rather thick coat when done and will sit just below the knees.I got sidetracked along the way and so it has been shoved in the WIP box.  I promise I will finish it, one day!Like most people who crochet or craft with yarn, I have a truck load of part balls of the stuff.  Freeform is the answer to this.freeform
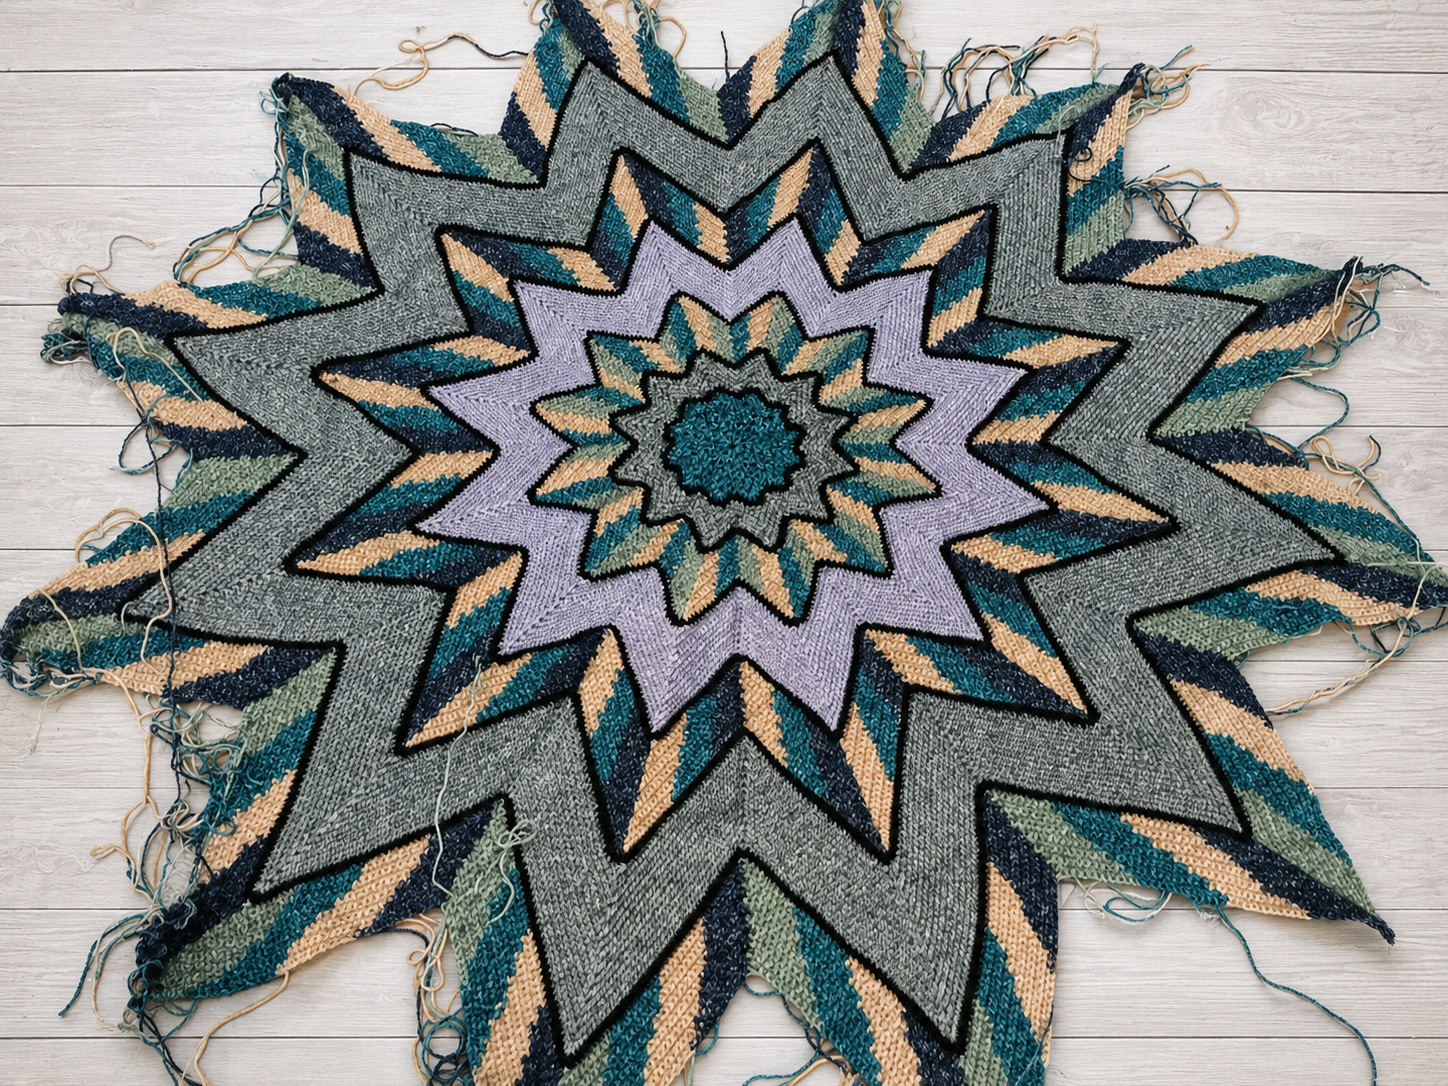
Some Pluses for Freeform:Uses up a heap of leftover yarn.If you made a mistake, it never happened.You don't have to count your stitches, as it really doesn't matter.If you are a beginner at crochet. You can just call your work Freeform and dare anyone to say it isn't right.You end up with a piece of work that is totally original to you.If you run out of a colour of yarn, it doesn't matter.You don't have to check gauge.


 Time to start saving those leftovers and putting them to use. There is no right or wrong way to do Freeform! Just give it a go!    

DD Crochet Cowl/Neckwarmer

 A very good friend asked me to make a Cowl for her. I had been playing around with Star Stitch at the time and so felt it was a good idea to use it in this Cowl.  I also named this after my friend. Sometimes in life, if you are lucky enough you have a person who is always there for you, no matter what. Deb is that person for me!At the time I did not really think this would be a popular pattern.  Just goes to show you can never tell what people will love. This pattern is often downloaded more than 450 times in a month.I often tend to do things a little different and the cowl is one of these things.  It is made with 2 strands of Aran weight yarn (double).  Any Aran could be used Aran weight yarn used.  The one pictured was made from Bendigo Woollen Mills Luxury 10 ply.  It is so very soft. This is an Australian Yarn and can be purchased online via their web page.  A good alternative to this yarn would be King Cole Merino Blend Aran.   The same results could be achieved using a Chunky Yarn with one strand.This is a free pattern and can be found in my Ravelry Store and on Love Crochetdd_neckwarmer.pngThis post may contain affiliate links 

PATTERN PERMISSIONS

This is a FREE pattern (download is available on ravelry), and by using it, you’re agreeing to the following conditions.You’re welcome to sell what you make with it; for online listings, please link back to my blog (or ravelry) using something like this:

Pattern byAuburncraftAuburncraftcrochet.com
What is not allowed:
  • Do not resell the pattern, altered or in its original form.
  • Do not copy and paste the pattern onto your own blog, in a Facebook group, or anywhere else. Link to this page instead (or my ravelry). Doing anything else is copyright theft.
  • Do not use any of my photos from this site (or any of my other sites) to promote yourself or your crochet business on your own blog, Facebook page, or anywhere else.
  • Do not post a translation of the pattern anywhere – this is copyright theft. If you would like to help make a translation available, please contact me.
  • Do not make a video tutorial of this pattern (or any of my patterns).

Nice Words For Sale! Going Cheap!

Maybe it is just me. Who knows! But being a Crochet Designer I wonder what a nice word or comment costs?Does it cost an arm and a leg?  Will people be punished and have their crochet hooks confiscated for a week, if they leave a nice comment and do they get bonus points if they find (or think,) they find an error and leave a comment about it (without bothering to send a message to see if they are right?) And are Ravelry and Etsy in on this.It does get a little disheartening to spend huge amounts of time creating, testing and publishing crochet patterns, for sale or for free and have quite a few downloaded only have the odd person comment that sees a full stop in the wrong place.So if you get a pattern for free, or if you buy one,  post a nice comment and make the designer feel they are doing a good job.  I promise it will not cost anything, and it will put a smile on their face.

My Very Own Sunflower Crochet Hat

I Love Flowers!I Really Love Sunflowers!Sunflowers make you smile!So who doesn't want to walk around with a Sunflower on their head?My testers and I had fun with this one.  Fun to make and fun to wear.This is available in several sizes:

  •   Baby 17-inch circumference• Toddler -18-inch circumference• Child -19.5-inch circumference• Teen- 21- inch circumference• Adult Small- 22.5-inch circumference• Adult Large- 24-inch circumference

4mm HookMade from Stylecraft Special DkThe band is Half Double/Treble Crochet worked into the 3rd Loop.Crocodile Stitch is used to form the Petals.A small amount of Surface Slip Stitch is done on the Flower centre.This is a written pattern with some photos to help along the way.The pattern is in written form Uk and USA terms.This is a paid pattern and available on Ravelry, Etsy ,   Craftsy This Post May Contain Affiliate links

Don't You Hate it When Snakes Stop You Crocheting!

What a day! Got home from the gym and intended to do the last two rounds of the third and final colour change on my Leadlight Blanket.  I have been working on this solid for ages trying to get this section done.  96 Bobbins on the go at once.  I could see the finish line ahead with such a small amount left to do and intended to spend the afternoon working on it.The world had other ideas!Got in the door and number 2 child spots a snake in the house.   Call the snake catcher, and he comes and cannot find it. $125 call out fee. About an hour later I spot the snake and so the snake catcher comes again. He still cannot find the snake.Number 2 child goes to the loo and as he is stepping through the doorway spots Mr Snake curled up at the back of the loo. So he slams the door shut. On the phone to the snake guy again who says he is 15 minutes away. I stand on the stairs to keep an eye on the loo door in case the snake tries to escape. About 10 minutes in Mr Snake popped his head and about a foot of his body out from under the door. So I start jumping on the stairs, as they hate the noise. He darts back inside the loo. Snake man phones to say he had to swing past another place to grab a brown snake that was in someones yard. So I spent the next 20 minutes tap dancing on the stairs till the snake guy arrived. He brought the brown snake with him for a sort of play date with my snake.  No not really that stayed in a bag, in the back of his car. Thankfully he was able to catch our snake. Another $125 and no crochet done today! I did get some dancing in, but was pretty put out with Mr Snake for spoiling my crochet time!!!!!

Clover Crochet Hooks and A Bit of Whirl!

I truly love my Clover Hooks.  They are easily my hook of choice.BUT... I do have one minor gripe about them.  Why don't they separate the colours just slightly better? I have lost count of the times I have had to frog a project, due to picking up the 3.5mm instead of the 3mm.They are both RED! Yes, different shades of Red, but still Red. It is so annoying!I am sure that they could mix it up a little. Put some Polka Dots on one. Or some Stripes.whirl dot
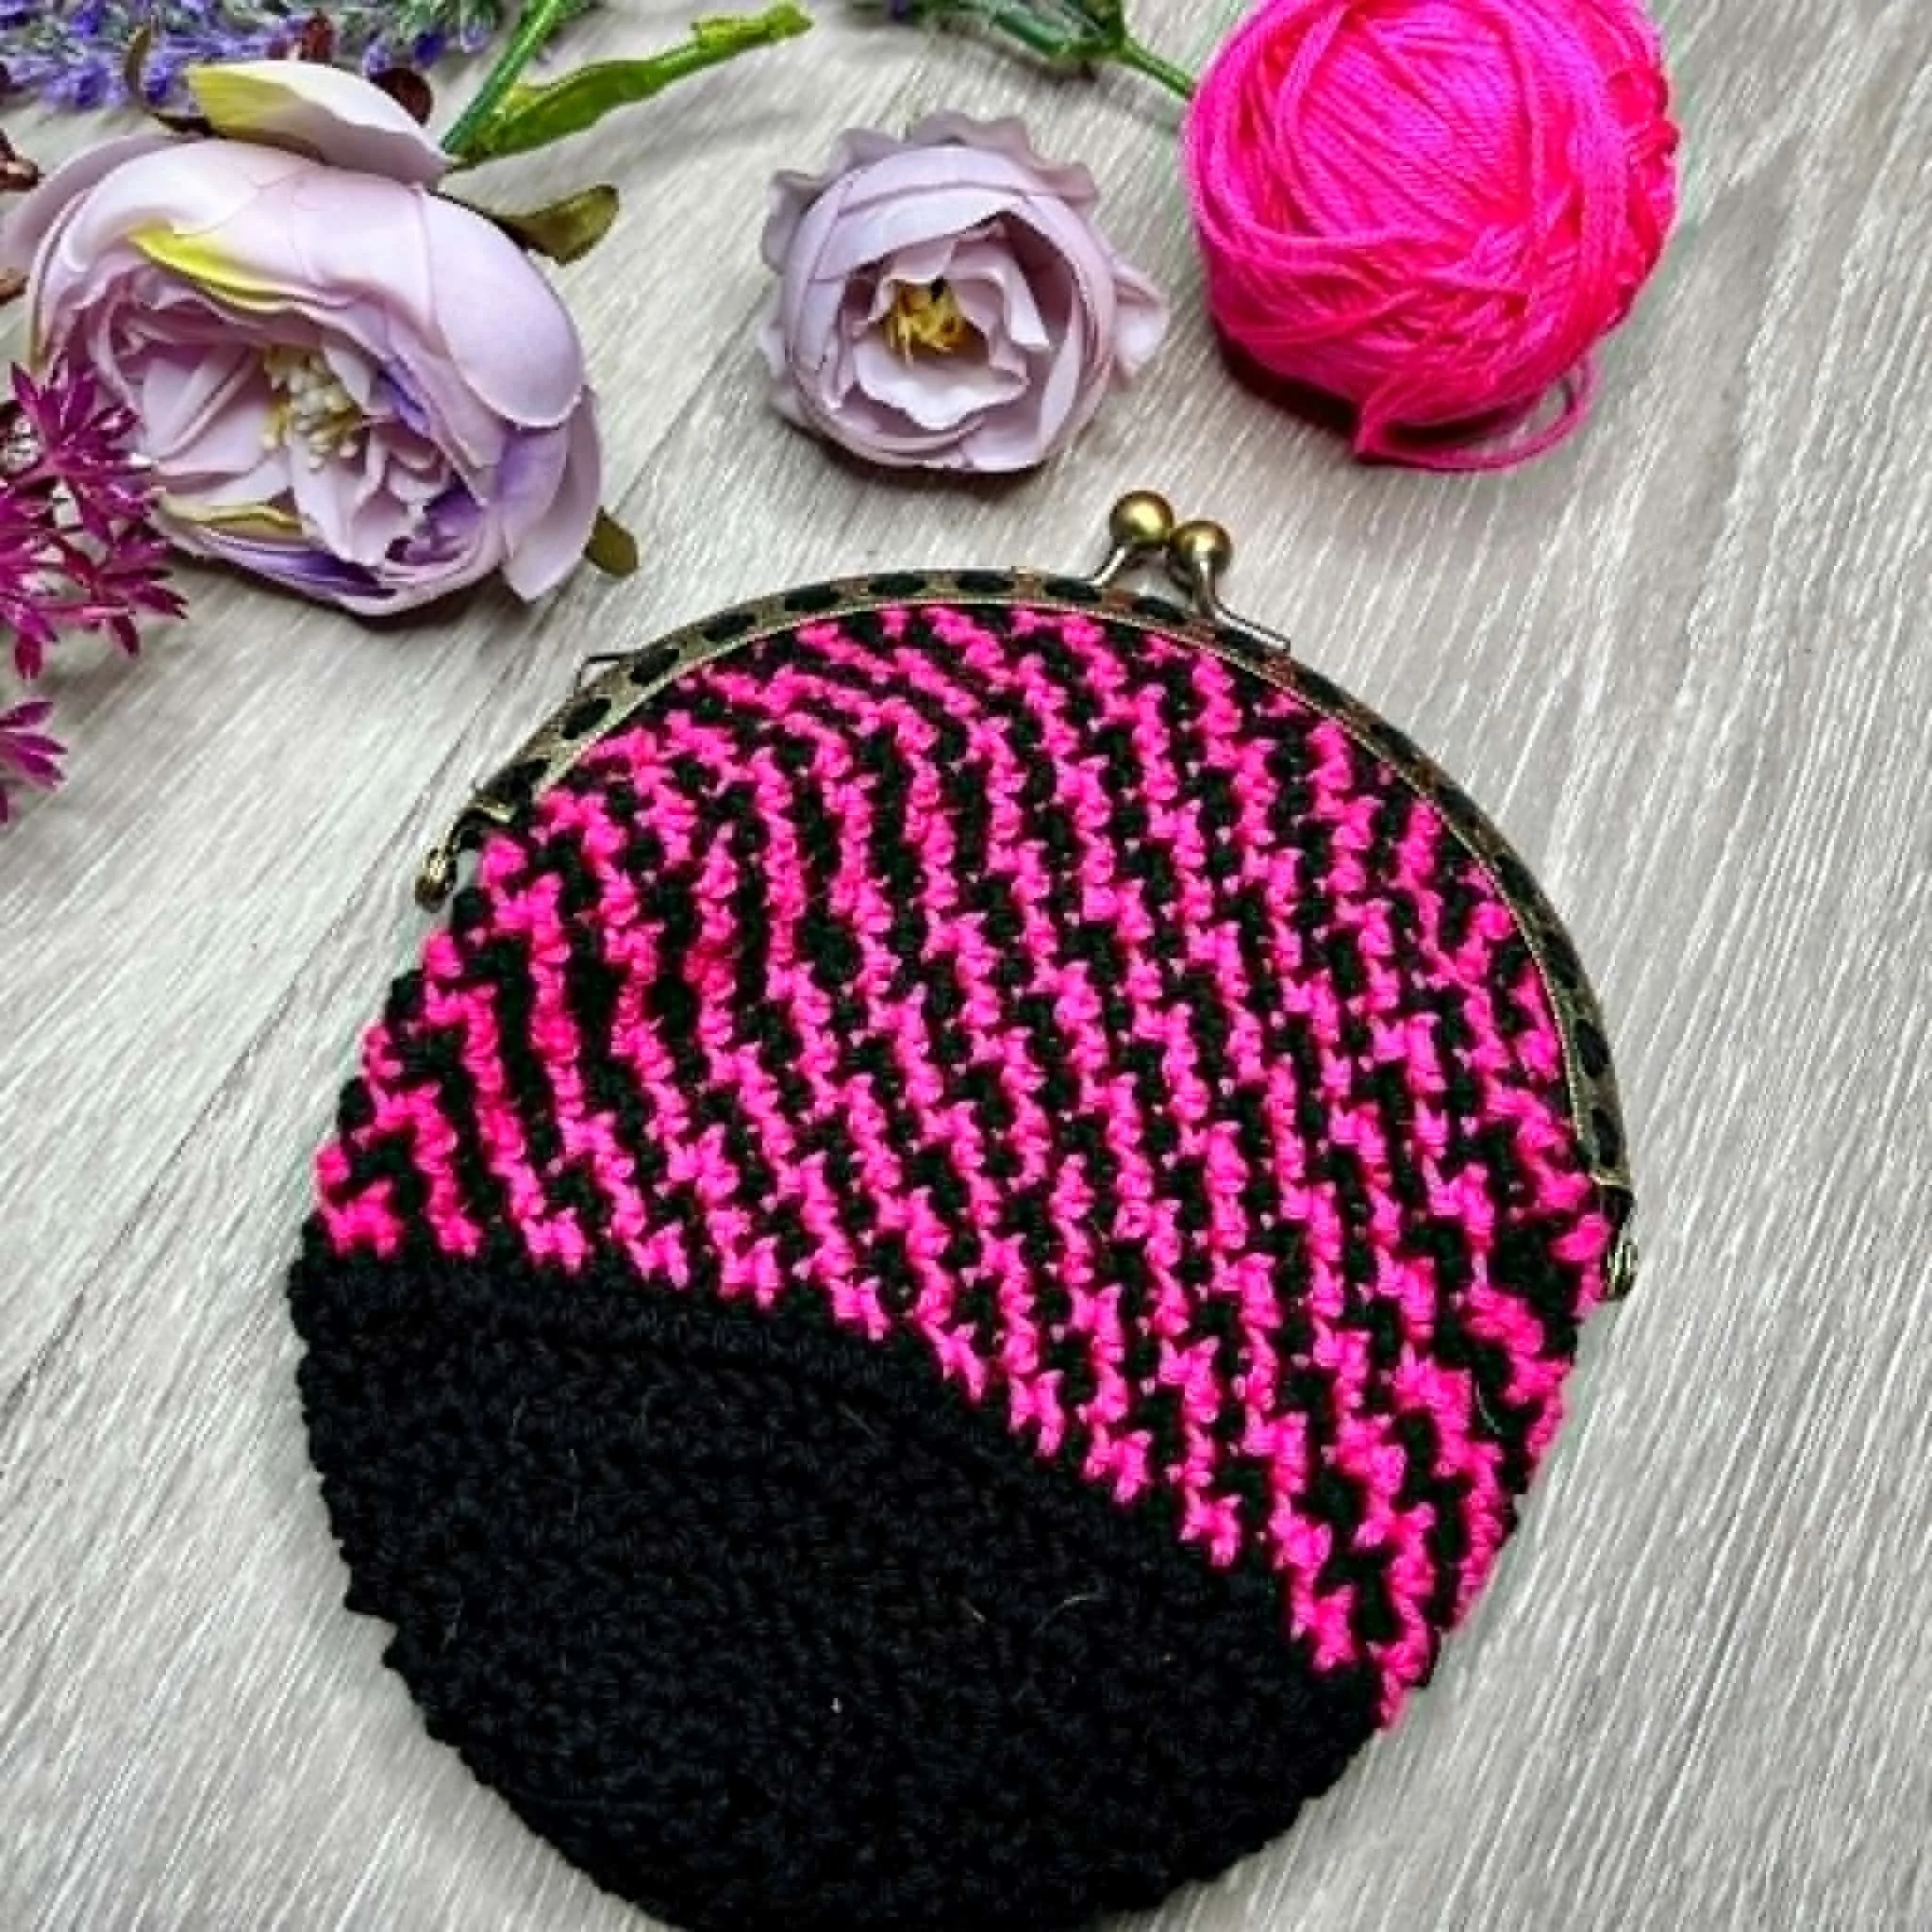
The cynic in me thinks they do it on purpose.  It's someones idea of a cruel joke. Whoever thought the colour choices up are probably a frustrated Hooker, cackling in glee that they made me frog another project.What I am currently working on, happens to be made from Scheepjes Whirl, in Lavenderlicious. Have you ever tried frogging that? To add to the disaster of it all, I always intend to rewind as I frog but often it doesn't happen. Tangled Whirl is a nightmare!As I was untangling my Whirl,  I had the thought, ' If I throw a Whirl, does it become a whirling, Whirl?'Just maybe Scheepjes and Clover got together and decided to make the hook sizes most used for this yarn the same colour.  It is their evil plan for world frogging domination! How sinister is that!But hey! My latest Design is going to be FAB-U-LOUS in my Lavenderlicious.  Two Squares done and a heap of them to go!Disclaimer;  This post may contain Affiliate links.

What The Heart Wants Crochet Scarf

Filet Hearts in a line.  Colour is added with chain lengths, threaded through the holes.Throw in a Pompom or two, and you have a fun Boho Scarf that is unique to you.  Choose the colours that suit you, and you want to spice up your look.This is a great project to use up some of that scrap yarn that has been piling up.The main Body of the Scarf uses two balls of Stylecraft Special Dk Yarn in Graphite but any dk yarn could be used.If you don't have any leftover yarn (Hah! Sure!), I used part of a ball of Magenta in the Stylecraft and a Gold I had.This is an Easy Project, using simple stitches, Double/Treble Crochet and Chains to create a Filet Crochet Technique.  It works up quickly!4mm hook.The pattern comes in Uk and USA terms.Finished size: 148cm/58.5’ x 22cm/8.5’heart photo 5 a.jpg 
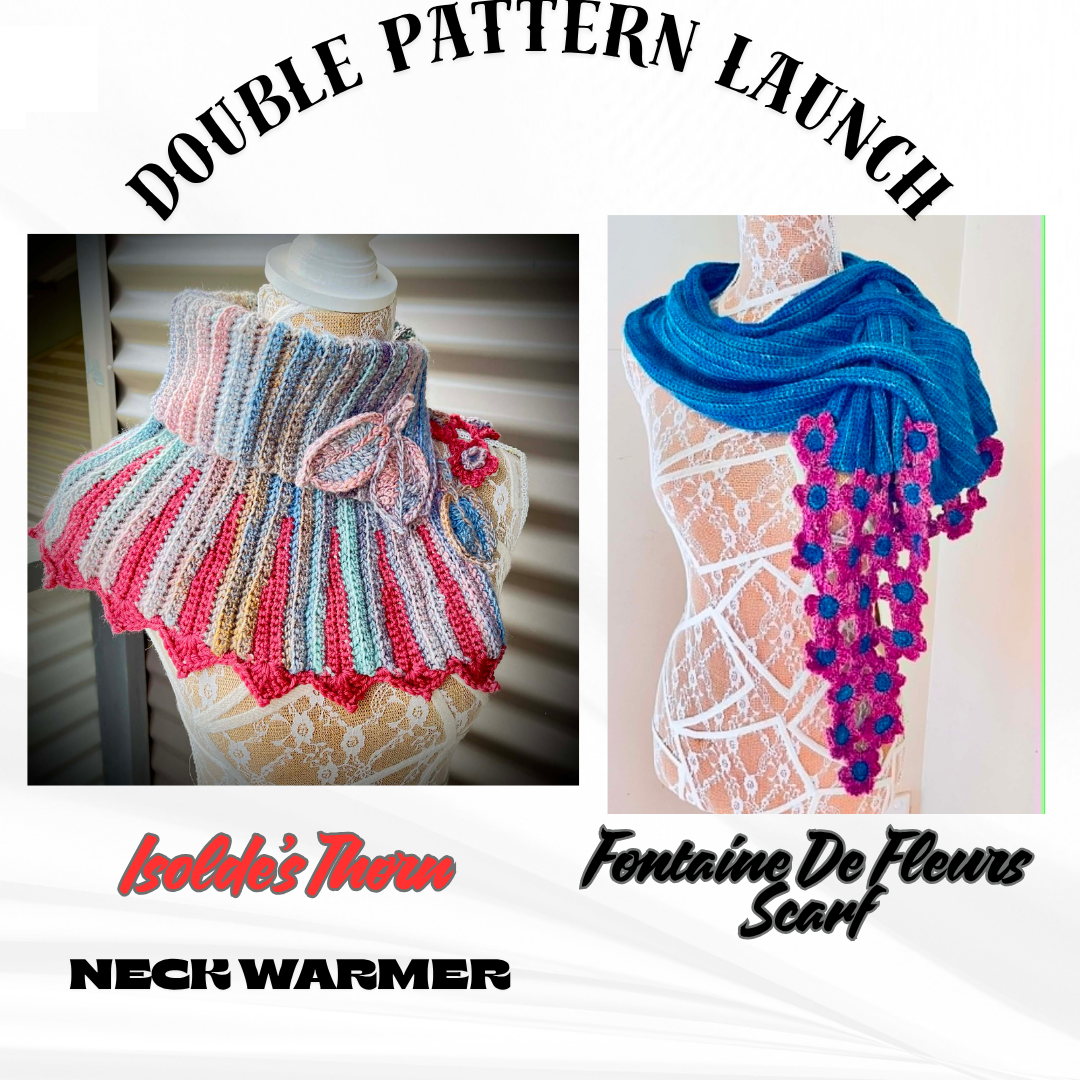
The pattern is available on:CraftsyLove CrochetAnd Ravelry

The Mystery of Surface Slip Stitch!

I can do anything with a Big Ball of String, or yarn, as the case may be!We all have our favourite or 'go-to' things.   I know I do.   I have several design techniques that I tend to default to, when working up a new design.I like to work borders for Blankets, one side at a time.  I also like throwing in a bit of Surface Slip Stitch, in many of my designs.Surface Slip Stitch can turn a simple single/double Crochet into a work of art!  A masterpiece of epic proportions!That plain cushion cover can become interesting or fluffy (depending upon yarn choice).It's also a great way to use up left over balls of yarn in your stash.   It is so easy to do too!The main photo shows my Shaggadelic Vest.  This turned out fluffy and warm, using Drops Melody  for the Surface Slip Stitch.Also, my  Wish Upon A Star Cushion.   This uses Paint Box Simply Chunky   I just love the look.Lastly my Dragonflies in Spring Blanket, made from dk Cotton yarn.  The Surface Slip Stitch on this just makes the pattern pop.Three different items and three different looks. How to Complete a Surface Slip Stitch

  • If beginning your Surface Slip Stitch at an edge, Slip Stitch to attach your yarn.  If your Surface Slip Stitch begins in the middle of your work or elsewhere, I just start right from step 2 and leave a long tail to sew in later
  • Insert hook through face of work
  • Pull up a loop from the back of work, through to front of work and through loop on hook.
  • Insert hook into next st. Repeat.

 collages sslst butterfly

The Yarn Stash, Swallowed My Sunshine!

I have been in the process of a new design (aren't I always).    It started out simple enough as, a child hat pattern.  Then of course it grew.  Before I knew it I had done calculations for 5 sizes.I got the child size made and was working on an Adult version, when I ran out (or thought I had) of Stylecraft Special DK  in Sunshine.Getting towards that last little bit of yarn, I crossed my fingers, crochet twice as fast, made my work a little tighter, but all in vain.  I needed another ball!I looked through the Stash.  Nope! None to be seen!I glared at the hat.  I glared at the yarn stash, but it made no difference.  So, with huge haste and a pout on my face (which really is quite silly, as the pout won't help and  it still takes about 10 days to get a delivery no matter how fast I order) I ordered another ball.A couple of days passed and then I remembered.  That cushion I started and grouped the yarn for!  I am sure it had a ball of Sunshine in it!After a small search I had Sunshine in my hand ( and the room did seem to brighten a bit on my finding it).So I have a yarn order on the way I don't really need (and yes, of course I added more yarn to the order than, that one ball) and I have a hat to finish.Note to self:  I must downsize my stash, so it is manageable and I must organise my stash, so yarn cannot get eaten up by it.Wonder if anyone else's stash, eats their yarn? 

Pumpkin Spice Crochet Hat

I had a ball of Bendigo Woollen Mills Luxury, that had been begging me to use it.  So the name of the hat comes from the Colour of the yarn used. 'Pumpkin Spice".King Cole Merino Blend Aran is a good match if you can't get your hands on some BWM Luxury but trust me you would love it.  It is just as the name says.I guess designing is a lot about trial and error and I sure found it to be the case designing this hat.I have written about the journey to design this, previously on my blog.  It did test me to the limits. a number of times.Getting the stitches right took quite some time.  Too loose, too tight,  the pattern running with a slant on it.  Some days it was a case of 'this hat just hates me!'   And then I ran out of cream yarn!!!!!!!!!!!So dejected, but not defeated I had to wait for another ball of yarn to arrive.So I am happy to say that it is now Published on Love Crochet Ravelry , Etsy and  Craftsy a

Crochet Metallic Flower

 I had a wedding to attend earlier this year and I was very excited at the prospect of attending.   I wanted to (hopefully) look nice.I am one of those people, who go and try on a dress and just cannot find anything I like. I also do not want to spend a million dollars on a dress (if I had a million dollars, I would not spend it on a dress anyway).  I have to also say that I do have my own style.  What I rather like, may not be something others would wear, but that's okay and I will own it!I had some ideas for a dress, swishing around in my head and so I took a trip to my local yarn store.  I walked away with a number of balls of Madame Tricot Metallic Gold yarn (full disclosure, I also grabbed a few other squishy lovelies that were calling my name.  We all know you can never have enough!).I set to and began making my dress.  I wanted a yoke with flowers around it.  After trying several different flowers and a lot of frogging,  I finally, settled on this design.Metallic flower.jpg
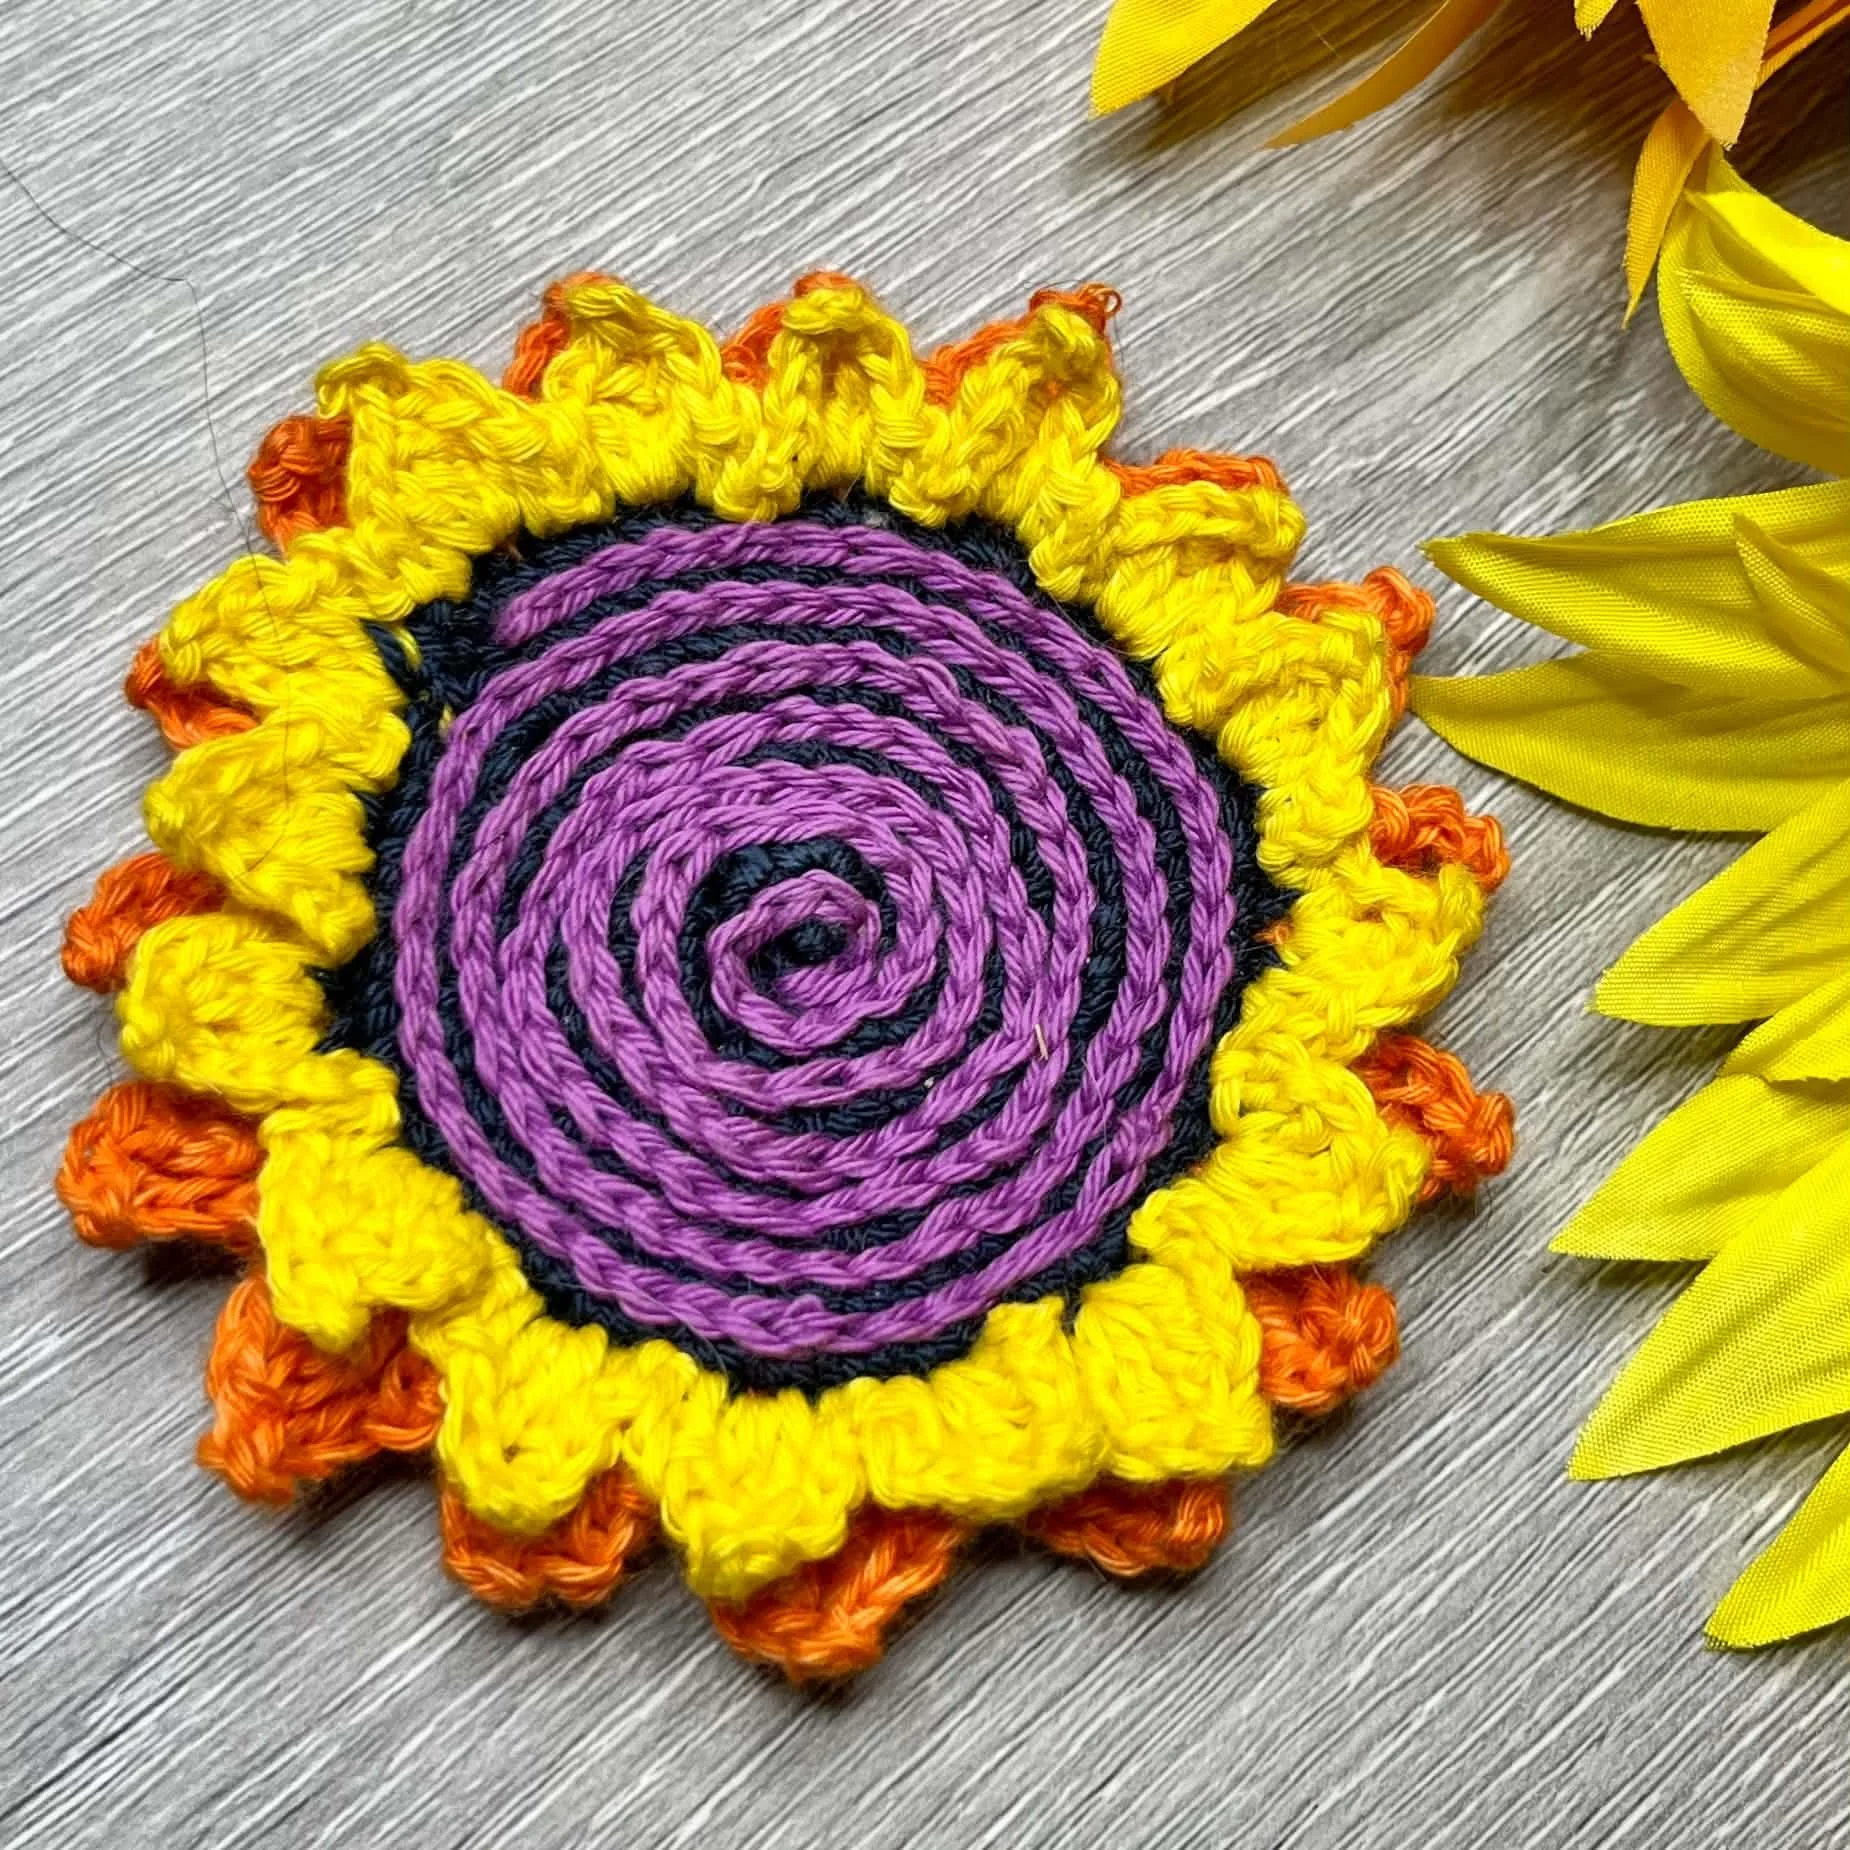
The pattern for the flower is available for free on my RavelryGetting the yoke just right was a lot of trial and error.  In the end I was very pleased with the  result.Once the Yoke was done, the rest was smooth sailing. I placed another row of flowers at the waist and then again near the bottom of the dress.The day of the wedding was quite warm and my dress was just right for it.At times, I like to enter some of my crochet into the local shows and decided to enter the dress.  I was quite pleased that it won a prize. Noosa show 4.jpgOne day I may write the pattern for the dress up.  But at this stage there is only the pattern for the flower.

PATTERN PERMISSIONS

This is a FREE pattern (download is available on ravelry), and by using it, you’re agreeing to the following conditions.You’re welcome to sell what you make with it; for online listings, please link back to my blog using something like this:

Pattern byAuburncraftAuburncraftcrochet.com
What is not allowed:
  • Do not resell the pattern, altered or in its original form.
  • Do not copy and paste the pattern onto your own blog, in a Facebook group, or anywhere else. Link to this page instead (or my ravelry). Doing anything else is copyright theft.
  • Do not use any of my photos from this site (or any of my other sites) to promote yourself or your crochet business on your own blog, Facebook page, or anywhere else.
  • Do not post a translation of the pattern anywhere – this is copyright theft. If you would like to help make a translation available, please contact me.
  • Do not make a video tutorial of this pattern (or any of my patterns).

Introducing Mallory & A 'How To' Cover A Head in Fabric.

Find a person, with a head and wrap it in material.  There, done!No, not really, just kidding!INTRODUCING MALLORY!Mallory has recently signed on, to do some modelling for  Auburncraft Designs.I carried out some extensive interviews, as I am rather particular, as to who works for me. Mallory was the  successful applicant.  Now I know that we are not meant to discriminate and I did try hard not to.  But just quietly some of the other applicants were not all that attractive (ebay has a massive amount of different heads, with different shapes).  So I took my time and waited patiently till Mallory applied for the position.I am finding working with her a dream.  She is rather a bit on the quiet side, but she does exactly as I ask first time and is willing to work extended hours for nothing more than a warm, crochet hat, as payment.Nothing is too much trouble.  Turn that way!  Hold still!  Stay that way for an hour or so! And I hope you don't mind if I cover your head with Glue?Where else could I get such dedication!Now, if only she could do some of those pesky Math Calculations (that have been plaguing me lately) for my crochet.  I did ask her if she would, but she refused to answer!So if you are looking for a model for your Hats, Scarves etc.  And you don't want to pay an arm and a leg for one.  The 'how to' is below!Mallory headmallory head 2


HOW TO COVER YOUR OWN FOAM HEAD
  • Get a Foam Head  (I bought my head on Ebay.  There were so many different shaped heads to choose from, but I liked this one.  They are only a few dollars).
  • Modge Podge.  (This is a water based glue. I think the MATTE, would possibly give a better result, but I had some Gloss on hand so mine was done in that.  Most large craft places have it, or buy online)
  • A paintbrush
  • Scissors
  • Some scrap material ( I had some batik material leftover from making the Hygge Shawl Cal last year)
  • A bowl of water to dip your brush into

materialStep 1. Cut the material into approx 2 inch squares.Step 2. Using your paintbrush, cover an area on the head ready to attach the material.Step 3. Place a square of material onto the Head.Step 4. Dip your brush into the water and damp the material slightly.Step 5.  Add some more Modge Podge to cover the piece of material.Continue adding pieces of material till the head is covered.  Allow to dry.Give the Head a Name!

One W.I.P, Two W.I.P, Three W.I.P...Zombies!

I think that Crocheting is kind of addictive!You start one project and that is good.  Then you see another and just have to start that one.  Before you know it, you have a room, cupboard, shed, house full of W.I.P.SDesigning for me is pretty much the same!  If I stop to count how many W.I.P.S I have, it would take me all day to get a proper number.Two reasons for that.   First one is that math is not, my strongest point and second, I have way too many W.I.P.SDon't get me wrong.  Like many, who started school in the 60's, I can recite my times tables by rote and I can add and subtract basic percentages, in my head.Butttttttttt..... when you are talking about designing crochet, at times there is a ton of calculations.    If you happen to be designing something that has several sizes, then ooh, my goodness.Starting chains for each size and you have to take into account the first stitch makes two.Decreases and increases for each size.  Odd numbers and even number and numbers, numbers, numbers!  ARrGh!I get there in the end.  I often find myself going between the calculator, a sheet of paper and then I resort to drawing it out, to try and make certain I have it right.  My testers at times, find that I am not right and then I have to sit in the naughty corner, for a bit.Yesterday I was doing calculations for a new fun hat design.  My head was slowly turning to flummery.  I thought about sending out a life line, by phoning a friend.   I did message a designer friend and ask for her brain.  It's okay, I said I wanted it in a non Zombie like way.Yes,  back with the Zombies again!  I love shows like 'The Walking Dead'.  So Zombies are going to creep (or stagger) into the conversation sooner or later.At times when I am all tangled up in a Math haze, I ponder if the design is really worth it. I do have to say, I am pretty pleased with how this is turning out.   Hopefully it will be ready for the testers within the next week.I just have a few more CALCULATIONS to do!!!Stay Tuned for the Reveal SOOON!  Image at top of page is a sneak peek!This is made from Stylecraft Dk Yarn.  Available on Love Crochet

Stella Caplet!

 I had a few balls of James C Brett Twinkle Dk laying around, in my stash.  I pondered for quite a while, as to what use I would put them.Once those thoughts festered into an idea, I set to and designed this Capelet.I thought of all those times I was going somewhere special and wanted to wear that nice dress, or lovely top. I knew I was going to be cold, but it is all about the look, isn’t it? One of my testers first comment on this project was how elegant it looks as you are working it up.  So you can wear that gorgeous dress and still look great without being cold.I added beading to the edging and I quite love doing beads.  I know a lot of people take one look and think, BEADS!  NO WAY!But beading is rather simple and fun.  I added a photo tutorial to show just how easy they can be.I don't fuss with threading a ton of beads onto my yarn prior to crocheting.  I use a needle and thread to place the bead onto the yarn.  And, if you are thinking I sew them on, then you would be wrong.  The needle and thread are used to pull the bead onto the yarn.Guess you will have to get the pattern if you want a closer look.This pattern works up quickly. USA terms are used in this patternSkill Level: IntermediateSize: S, M, with a guide to making it larger or smallerFinished Measurements:Length: 16. 5” - 41 cmMaterials: James C Brett Twinkle used double 100 % AcrylicHooks: 6mm/J Hook for everything excepting flowers4.5mm Hook for FlowersThe pattern can be found on Love CrochetEtsy , Ravelry , and Craftsycapelet iMain Picture is of my good friend Erin modelling for me. 

Make Lemonade and Clay Hook Handles!

clay-hooks.jpg

How To Make Your Own Clay Handles, At The Bottom of Page.

When life gives you lemons make lemonade!  So the saying goes!Over the past 10 odd years, I have made that much lemonade that I could open a lemonade franchise, to rival any of the big companies!  This week alone would be a great script for a TV Soapie, with all that has been thrown my way (I wonder who would be cast to play me?). I got so sick of making lemonade, that I dug out my crochet hook and became a hooker instead.  Or rather, I now sip my lemonade, whilst tuning out to the world around, fully immersed in my crochet.And a

As far as this year is concerned, all I know is that I will be rather glad when October is gone and hopeful that November brings good luck with it.

From talking to people it would seem that many crochet to relieve the stress, from their day to day lives and all the things that keep piling up on us.

There's Martha, who has whipped up ten scarves, six pair of gloves and 40 hats in the last month.  She did not strangle one person during this month!  Thank goodness for the crochet! And Sally is doing well!  She has made 5 blankets in the past two weeks!  She may be buried neck deep in blankets but she hasn't driven off the edge of a cliff yet.  Well done!

Crochet is a type of therapy!  It may cost pretty much the same as if you had to pay someone to analyse you, but you do end up with a ton of wearables and gifts for those around you.

So yep!  I crochet so I don't punch people!  And if you want me to punch you, just try and take my crochet away! Maybe the prisons should be implementing a compulsory crochet program!

Lemonade anyone!-----------------------------------------------------------------------------------------------------------------------------

I just love my Clover Crochet Hooks! BUT, starting out on my crochet path, I ended up with a ton of cheap Aluminium Hooks.

I prefer a handle that is slightly wider, than what, these provide. With Polymer Clay and a few minutes of your time you can make those cheap hooks useful again. AND IT'S FUN!!

I have and always will be, one to improvise. I don't have a heap of clay sculpting tools. I use what I have. This includes Darning Needles to scratch in the size and another hook to make the little groove in the clay (you don't have to have a groove but I like one).

fimo clay.jpg

Material:

  • Polymer clay in various colors. I used Fimo but there are many different brands available.

  • Straight blade or sharp knife

  • Heavy rolling pin (and quite a bit of muscle)

  • Non stick Baking Paper

  • Crochet hooks to cover

  • Extra 1.5 to 2mm hook for making groove

  • Solid surface or chopping board

  • Darning Needle

  • Sculpey Bake & Bond Glue

  • Baking Tray

Directions:

  1. Choose the colours you wish to work with and break or cut off approx half a block of each. (if using Fimo).

  2. On your solid surface, spread a layer of baking paper.

  3. Roll your blocks out, so as to make them more workable. Then mix the two together to combine the colours.

  4. Roll the combined clay out flat and about 5mm thickness. With a knife cut a piece that will be wide enough to wrap around the hook and long enough to cover the hook, where you want the handle to be.

  5. Add a small amount of Glue to the hook, where the clay will be.

  6. Position the hook on the clay and gently wrap the clay around it.

  7. With your fingers, work at the spot where the clay meets, till the join does not show any longer. Then gently roll the clay (with the hook inside) to make sure you have a smooth, uniform handle.

  8. If necessary, trim the top edge and also cut the edge where the hook protrudes so it is even and at the right position for you.

  9. Using your 1.5/2mm hook, gently press the side or handle of this into the spot you want a groove (I put two grooves in mine, see the picture in the heading). While holding your 1.5/2mm in position, roll your clay covered hook back and forth to get the groove around the hook.

  10. At the top of the hook handle, use your darning needle to scratch the size into the hook (this is very necessary to know what size your hook is later).

  11. Place the clay covered crochet hook onto a baking paper, covered oven tray. Cook in the oven at 275 degrees F for 15 minutes. Add extra time if your clay is thicker.

  12. Take out of oven, allow to cool.

Once you have the hang of making your own, you can get adventurous.  Make shaped handles and add moulded little characters to the top!  The sky's the limit!    

Shaggadelic Key-hole Scarf

 It’s Shaggadelic Baby!Shaggadelic Key Hole Scarf. A fun warm scarf/neck warmerFor the pattern I use Drops Melody to get that fluffy look and the base is Stylecraft Aran . But this is a great pattern for those (if like me) that have a few of those fluffy balls of yarn, even eyelash yarn and you don’t quite know what to do with it.One size fits mostAvailable in UK and USA termsFinished measurement of scarf is 112cmScarf is crochet in Single/Double crochet and then has surface slip stitch over the entire scarf. This works up quickly and would suit most levels of ability.7mm hookStylecraft AranDrops MelodyThe pattern is available in Uk terms and USA termsThis pattern is for personal use only. Please do not copy, rewrite, or redistribute this pattern as your own or otherwise. Please do not resell my patterns.You are welcome to sell items made from this pattern, but please credit me as the designer and add a link to purchase my pattern in your sale.Please note my patterns and my images are copyright protected, please do not use my images to sell your items.This pattern has been tested by a large group with varying abilities in crochet.This pattern is available as a free download on RavelryAlso available on Love CrochetIf you download and make this Scarf please be a sport and pop up a picture as a project on Ravelry.  Not many people bother to and I do love to see the results!!!!!

PATTERN PERMISSIONS

This is a FREE pattern (download is available on ravelry), and by using it, you’re agreeing to the following conditions.You’re welcome to sell what you make with it; for online listings, please link back to my blog (or ravelry) using something like this:

Pattern byAuburncraftAuburncraftcrochet.com
What is not allowed:
  • Do not resell the pattern, altered or in its original form.
  • Do not copy and paste the pattern onto your own blog, in a Facebook group, or anywhere else. Link to this page instead (or my ravelry). Doing anything else is copyright theft.
  • Do not use any of my photos from this site (or any of my other sites) to promote yourself or your crochet business on your own blog, Facebook page, or anywhere else.
  • Do not post a translation of the pattern anywhere – this is copyright theft. If you would like to help make a translation available, please contact me.
  • Do not make a video tutorial of this pattern (or any of my patterns).

Chaos or a Leadlight Blanket?

There is beauty in Chaos!  Or that is my theory and I am sticking to it!My Leadlight Blanket is progressing slowly.I wanted a Challenge!  Something a bit different!Working from only one ball of yarn at a time, is not living on the edge.  So what do I do?  I design a pattern that in this colour work section, uses 96 bobbins of yarn.How it all Began!I saw a Mandala type Stained Glass and thought, Mmmmmmmmmm, something like this would look great in crochet.  So my mind began constructing, breaking down and forming how I would go about this.You know how it is when you are actually trying to sleep.  Instead of going to sleep my mind is figuring out how I can turn this Stained Glass into a workable blanket.  I thought about how I was going to construct this for several weeks.  Then I chose my yarn.I am using Stylecraft Batik Dk and while I have never been a  person who likes green, (there is only a minimal amount of true green in, it) I am extremely happy with the outcome.Normally, I have a tendency to go for Oranges or Purples, as I just love those colours. So I jumped out of my comfort zone and went for Teals, blues and the odd bit of green (which I do have to admit I put in grudgingly).Yes,  Yes.   It sure looks like a huge mess!But there is order in my chaos.  I only have 13 Rounds remaining of this section and while each round now takes quite a while, I will get there.It is different and the Challenge I was looking for.I keep adding up in my head, how long this will take to complete.Assuming I don't get tangled in my own yarn and have to call for emergency services to rescue me.    IF I do half a round each day, I can have this section done in 26 days.  Who knows I may get more done in a day.  I like to do a certain amount of a more challenging project each day and then revert to something a little more mindless.Then I can look forward to sewing in 192 ends!But, it already looks FABULOUS!  And I really think that when done it will be Super, Duper FABULOUS!  Yes, I can see how it would be a bit hard, to tell from this picture.  You will just have to trust me on this.I hope to have this pattern out to testing by the end of 2018 and published early next year.With each round of the blanket growing, this pattern will use quite a few balls of yarn.  Stylecraft Batik is available here on Love Crochet  

Flower Diamonds Blanket

This is the third in my Diamond Blanket range.

I was on a role after doing Butterfly Diamonds and Dragonfly Diamonds.  So I just had to round it all up with Flower Diamonds.

I am super pleased with how it turned out and think that I am now done, with Diamonds for a while.

The border of this is my signature style and done working one side, at a time.  A little flash of colour is then added with Surface Slip Stitch

This would also be a great blanket to have ready made waiting to hear the gender of an expected arrival, as the Surface Slip Stitch can quickly be added to suit.

I always get a buzz out of seeing the colour combo's that my testers come up with.

Flower Diamonds Pattern now available on Love Crochet, Etsy  And Ravelry.

Check out Butterfly Diamonds and Dragonfly Diamonds on Love Crochet.

Dragonfly Diamonds

This post may contain affliliate links.