


What is Filet Crochet?
Basic filet crochet is a beautiful technique that creates pictures and patterns using a grid of open and solid blocks. It is worked using a combination of double crochet stitches (US terms) and chains, and once you learn the basic structure, the possibilities are endless.

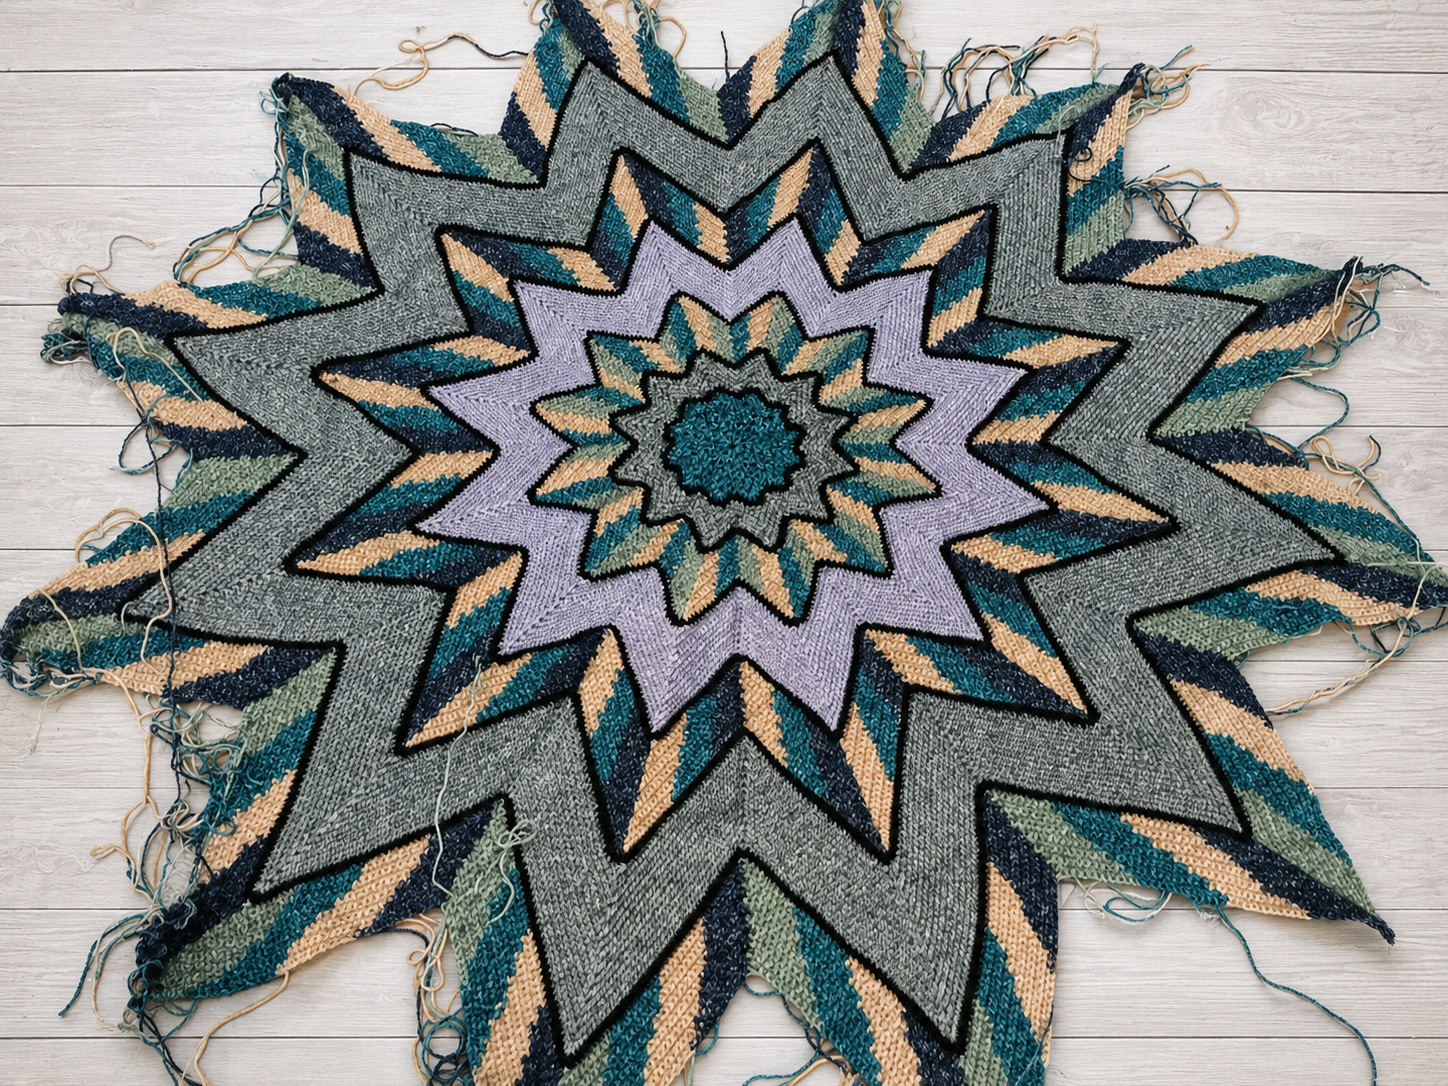
Sneak Peek at My Latest Design: Mosaic Filet Blanket
Here’s a sneak peek at my latest design, a Mosaic Filet Blanket, created using basic block filet crochet.
Many filet crochet patterns are provided in graph form only. These graphs are worked with odd-numbered rows from right to left, and even-numbered rows from left to right.
The heading photo shows my most recent design, the Filet Mosaic Lap Blanket. This pattern uses one chain per block and is currently still in the design stage. Hopefully it will be in my testers’ hands within the next few weeks.
The design contains 125 rows of pattern and will be available in both fully written instructions and chart form.
Stay tuned for the upcoming release.
Tips for Neat Filet Crochet
I do love a bit of filet crochet. Watching the pattern slowly appear is incredibly satisfying. Filet can look absolutely stunning when worked neatly, but getting those crisp little blocks can be tricky.
So, if your filet work is starting to look more like a maze no one is ever going to escape from, here are a few helpful tips to keep it neat and tidy.
Keep your starting chain consistent. Your foundation chain needs to match the tension you’ll use throughout the project. If you tend to chain tightly, go up a hook size for the chain. Otherwise, the bottom edge of your blanket may bow.
Maintain even tension. Consistent tension is key to creating neat blocks.
Watch your stitch height. Tension and stitch height are not the same thing. If you struggle with stitch height, there are many helpful tutorials online that can assist.
Work into the chain space, not around it. It’s very tempting to crochet around the chain loop instead of into it. But if you want your filet design to really pop, take the time to work solid block stitches into the chain, not around it.
Stack your stitches neatly. Ensure each double crochet sits squarely on top of the double crochet in the row below.
Consider a standing double crochet. Chaining three at the beginning of a row can sometimes look messy. A standing double crochet (US terms), or standing treble crochet (UK terms), can create a much cleaner edge.
Count your stitches regularly. Count each row and section. Discovering you missed a stitch ten rows back is no fun at all.
Choose your yarn wisely. Some colours show filet work better than others, and fibre content can make a big difference. A flatter yarn such as cotton often creates more defined stitches and sharper detail.
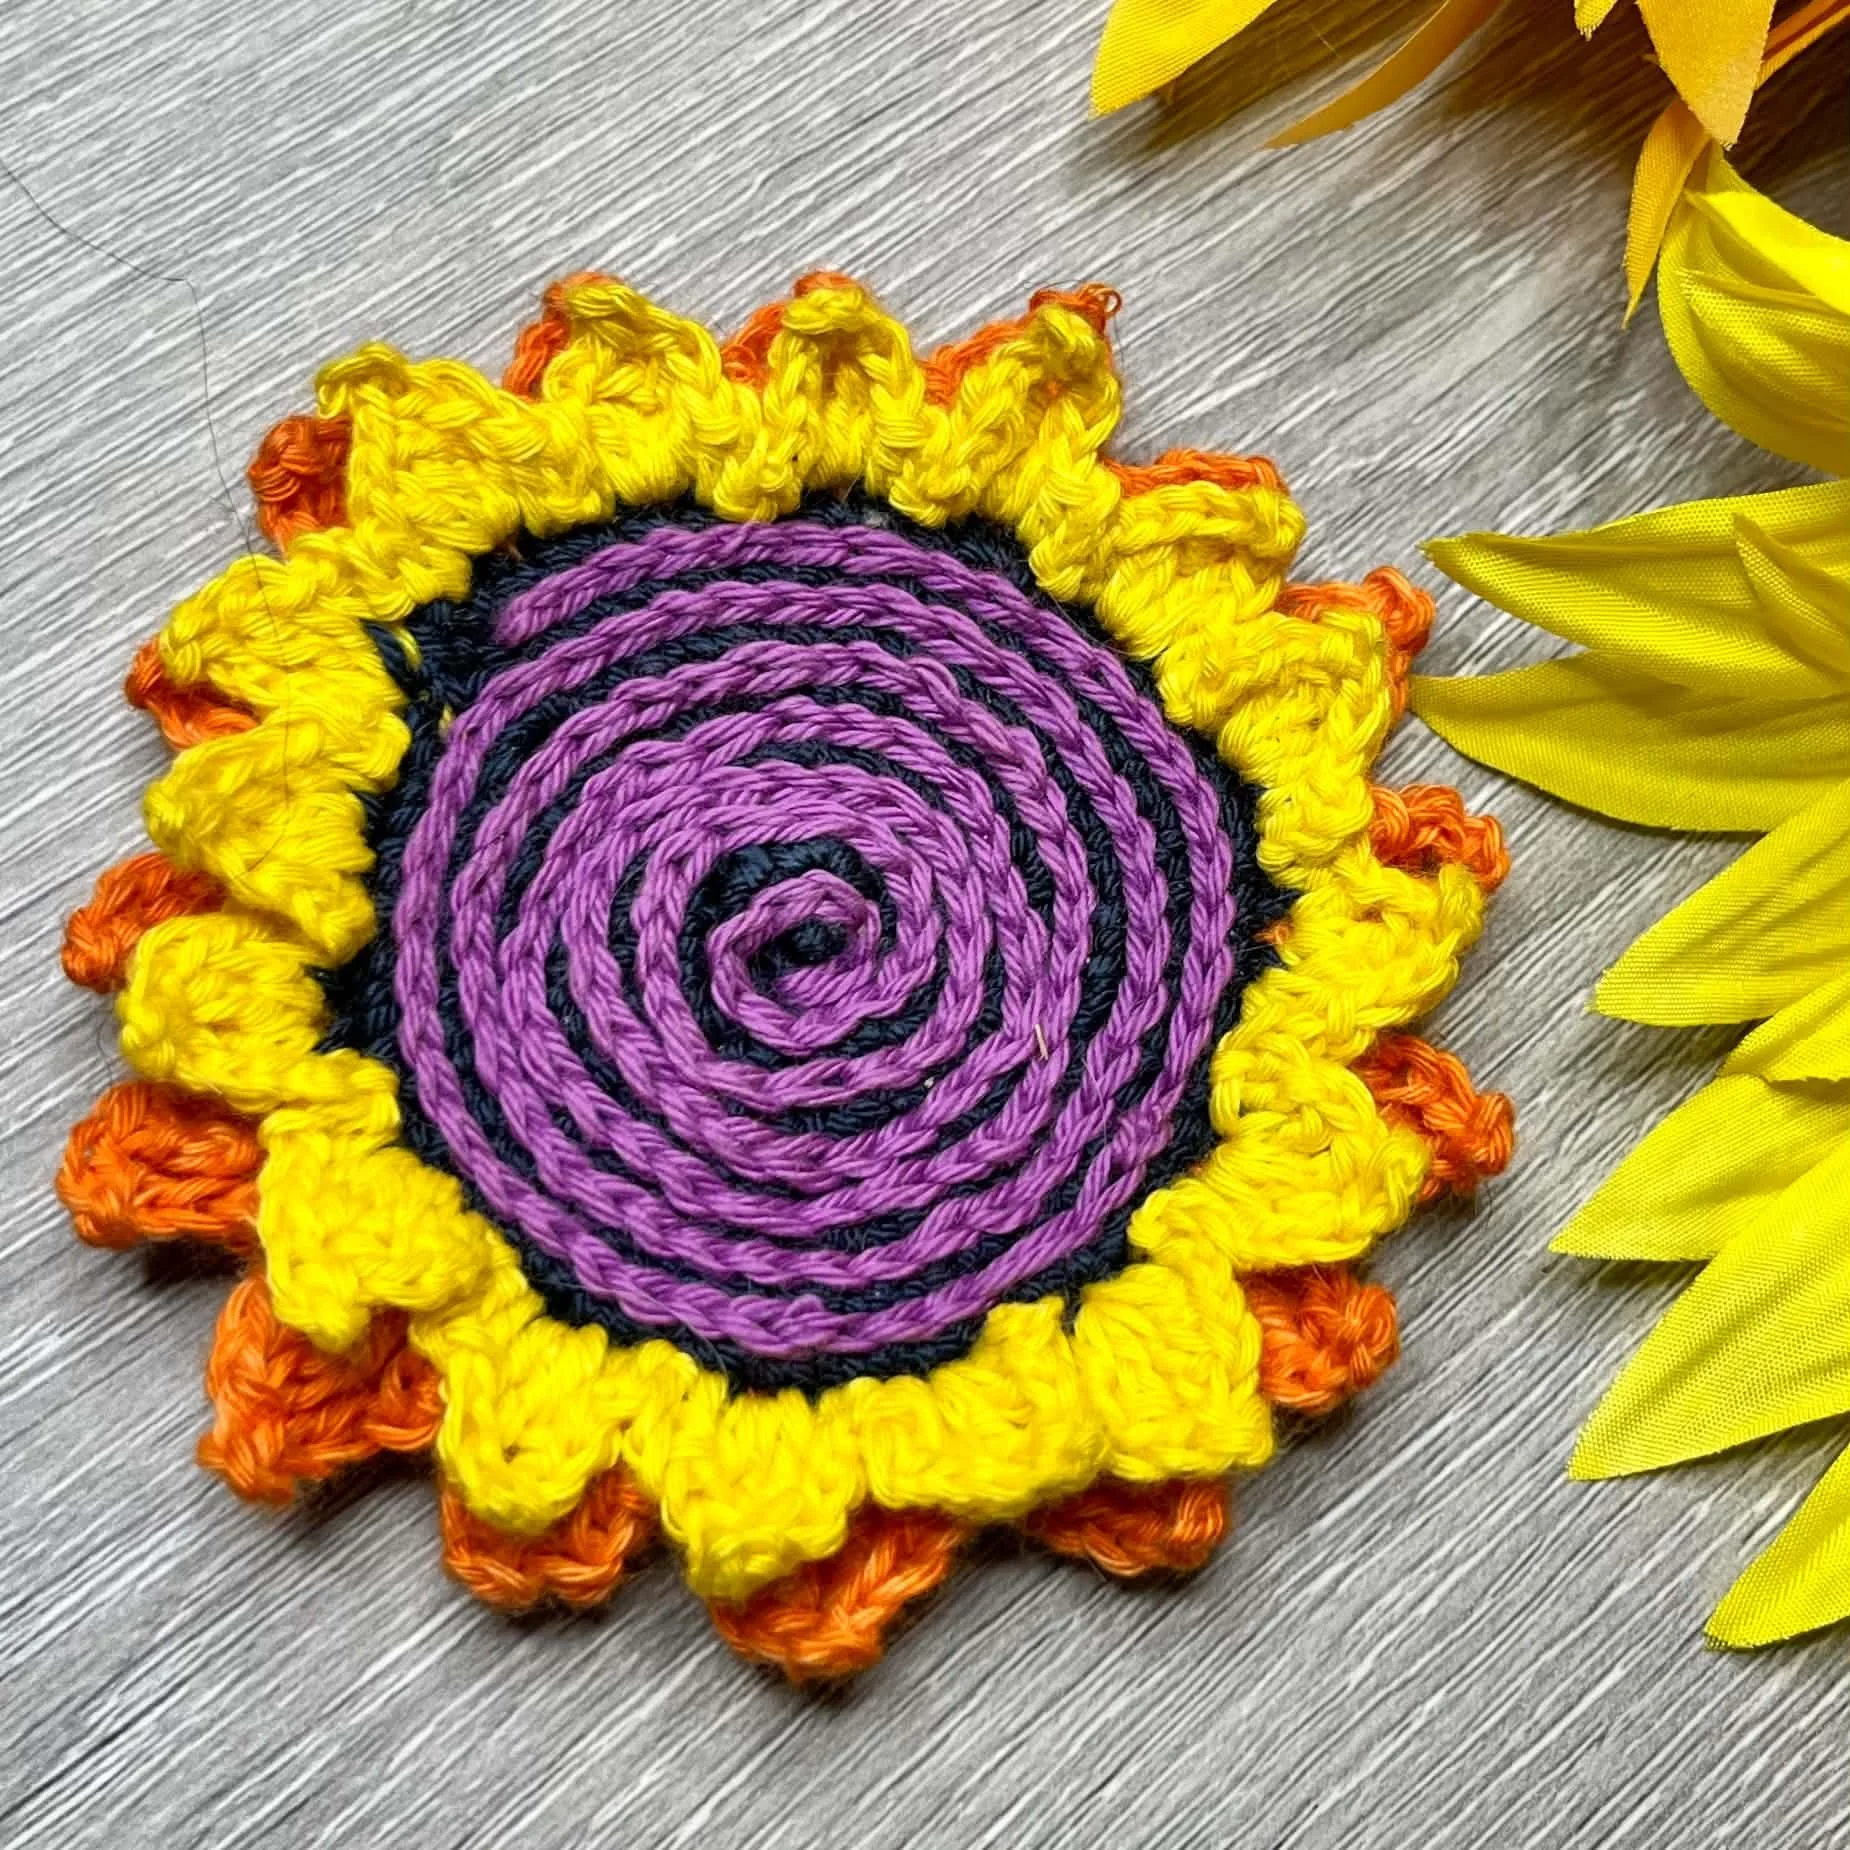
Filet Crochet does not have to be just open and closed blocks. Once you get past the basics of Filet Crochet, you can step into slightly more advanced patterns such as adding blocks that span two normal sized blocks, with chains and Single crochet (USA terms). Below pictures showing a close up of this as an example.

An example of more advanced techniques that can be incorporated into Filet Crochet,

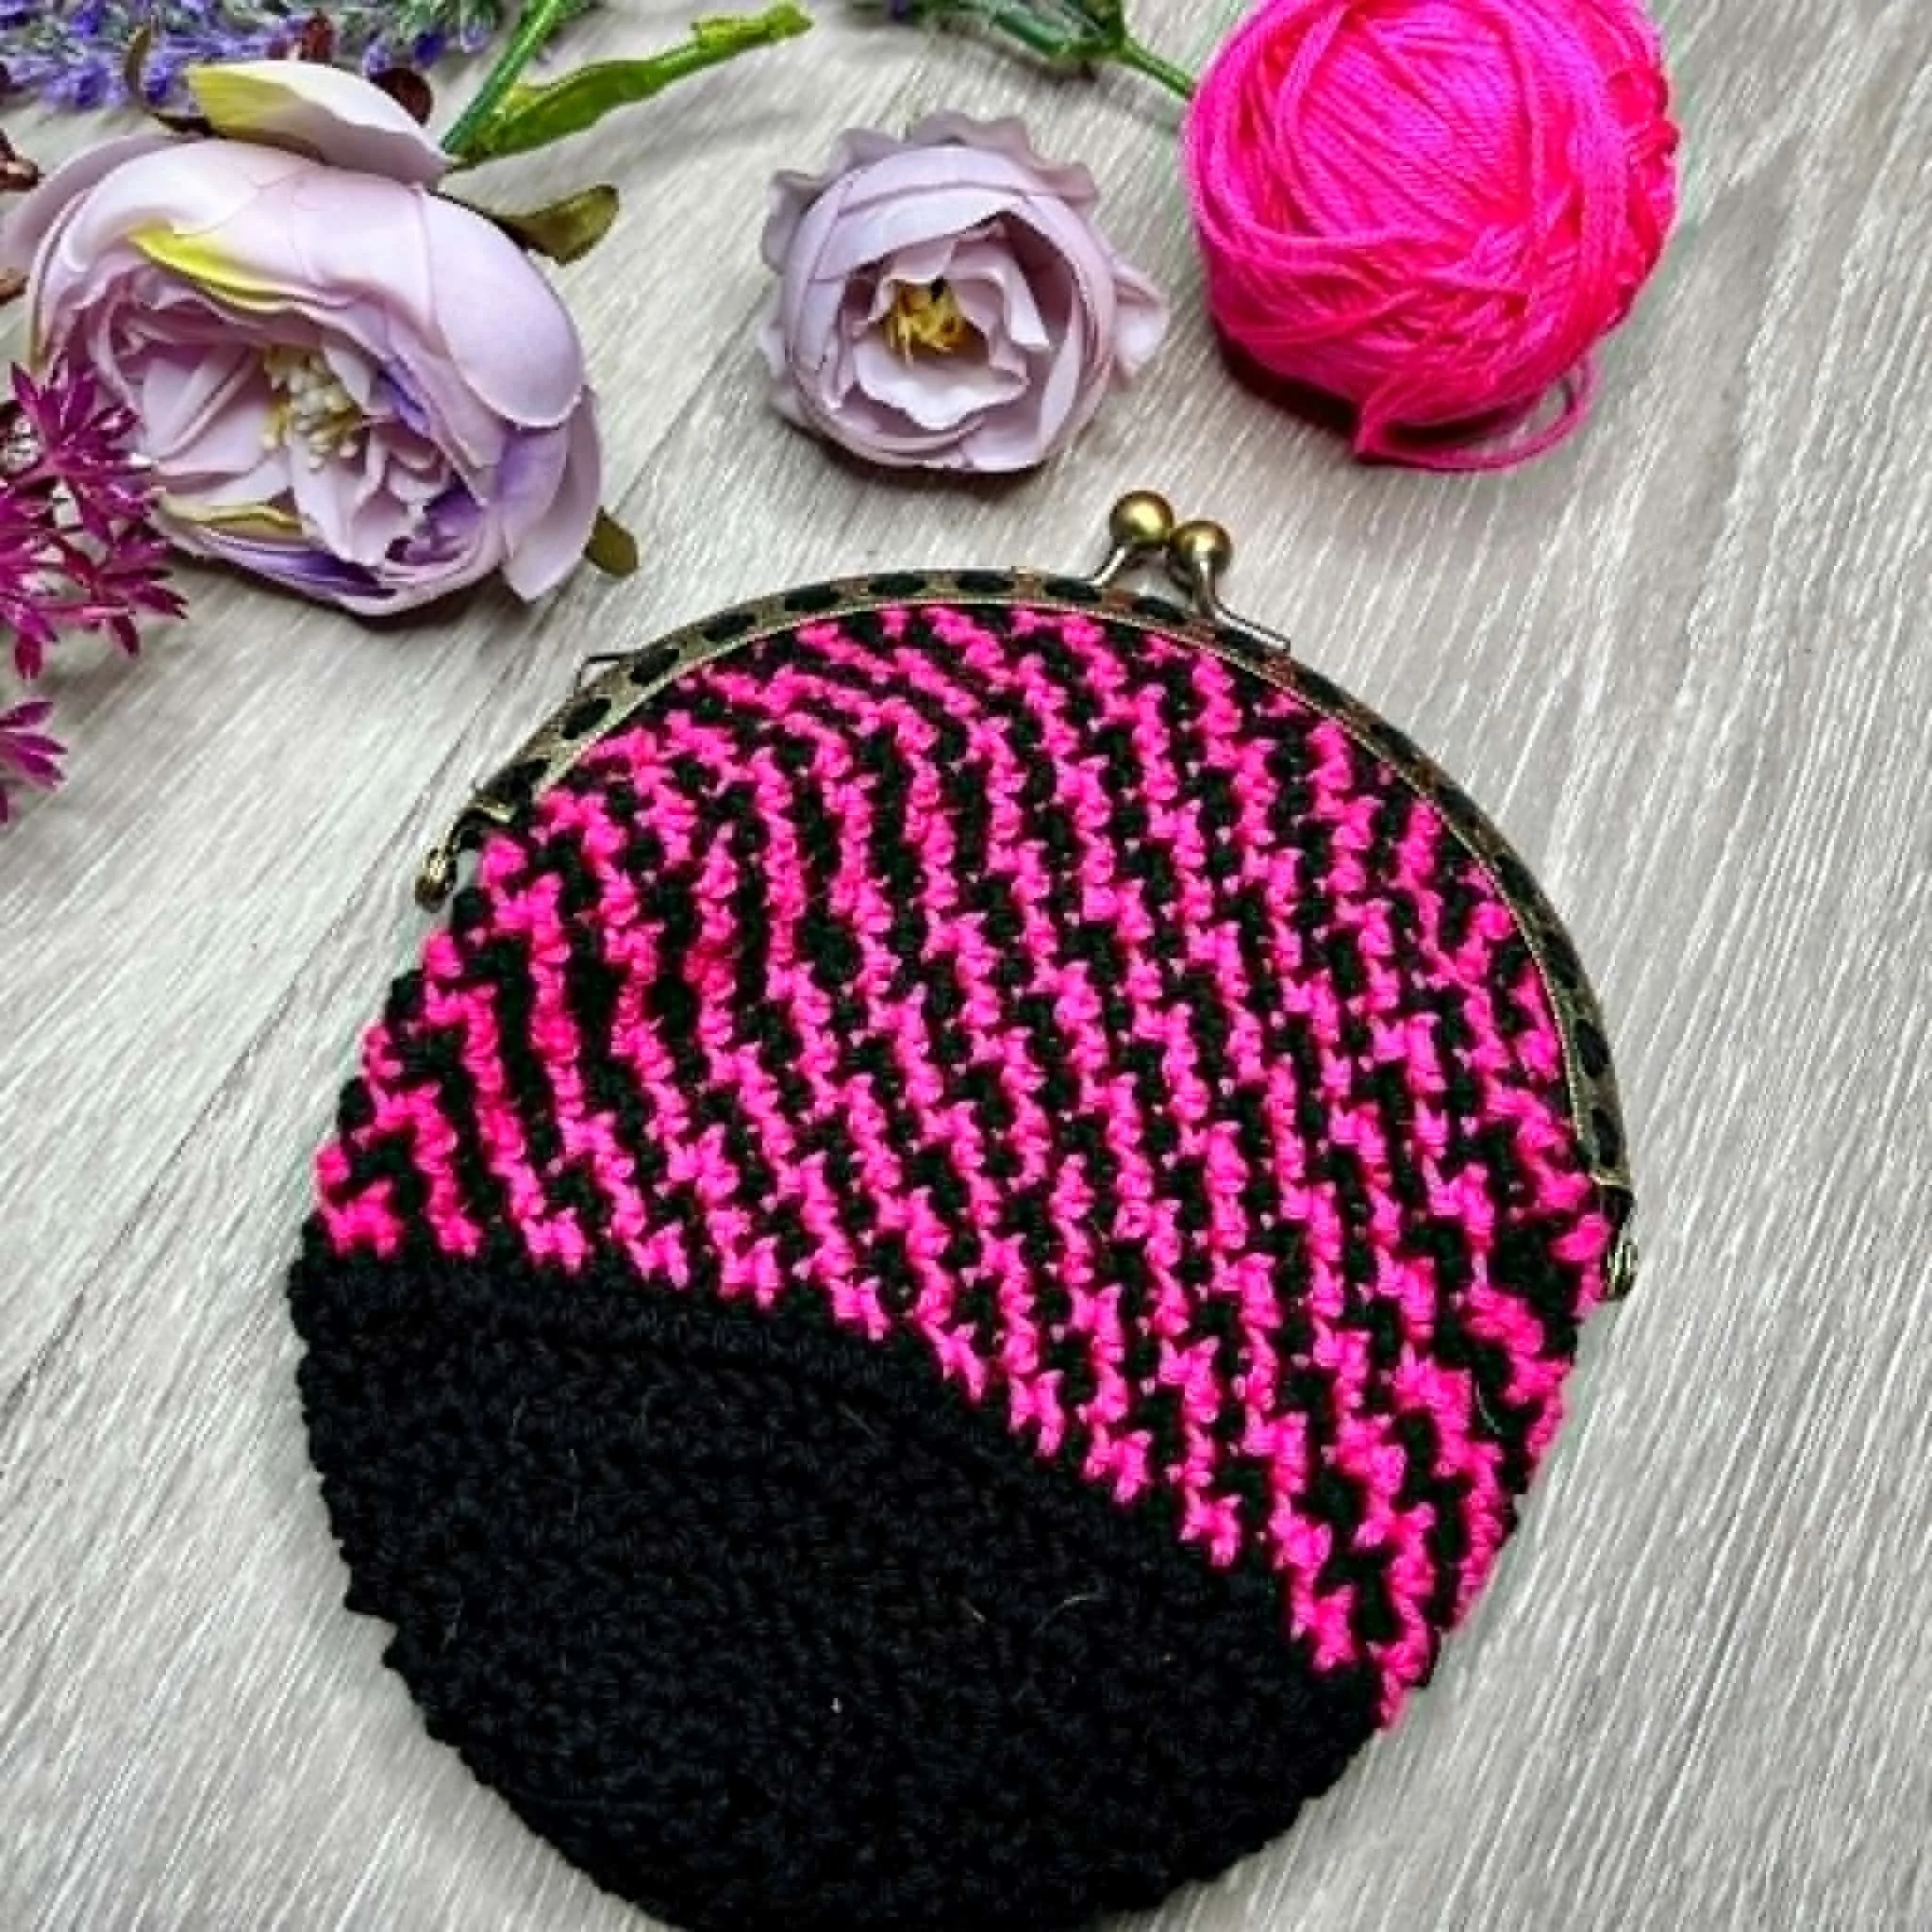
One of my designs is still waiting to find its way to my testers. I decided the original version (which I made a number of years ago) needed a bit of improving. It now sits half-finished, giving me that familiar look every time I walk past it, patiently waiting for me to pick it back up and complete it.
This piece includes more advanced filet squares nestled inside basic blocks, adding extra texture and interest to the overall design.
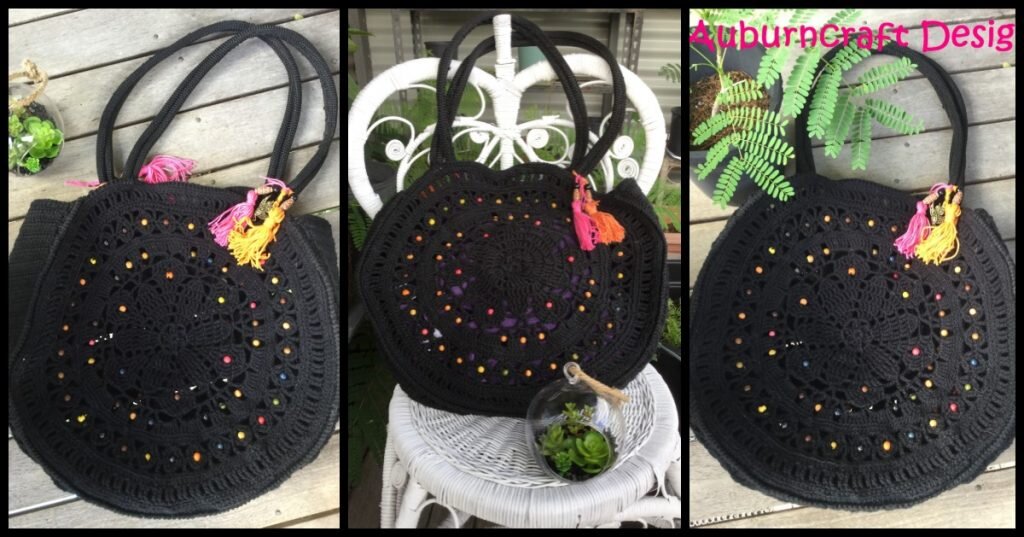
You can also learn techniques for increasing and decreasing blocks. An example of this can be seen in the photo below, taken from my Fishing for Luck Shawl/Wrap, which is now in the capable hands of my testers. I’m hoping to publish this pattern in early to mid-September.

Fishing for Luck Shawl/Wrap showing increasing Filet Blocks
If you have not tried Filet Crochet, grab your hook and give it a go.
Below my Butterfly Diamond Filet Blanket This pattern is available on Love Crochet (click here), Ravelry (click here) and Etsy (click here).

Butterfly Diamonds Filet Blanket. This is an easy blanket and part of a series which includes, Butterfly Diamonds Blanket, Flower Diamonds Blanket and Dragonfly Diamonds Blanket.

Flower
Diamonds Filet Blanket. This is an easy blanket and part of a series which includes, Butterfly Diamonds Blanket, Flower Diamonds Blanket and Dragonfly Diamonds Blanket.
Above my Flower Diamond Filet Blanket This pattern is available on Love Crochet (click here), Ravelry (click here) and Etsy (click here).


 Step 1. Cut the material into approx 2 inch squares.Step 2. Using your paintbrush, cover an area on the head ready to attach the material.Step 3. Place a square of material onto the Head.Step 4. Dip your brush into the water and damp the material slightly.Step 5. Add some more Modge Podge to cover the piece of material.Continue adding pieces of material till the head is covered. Allow to dry.Give the Head a Name!
