


I speak to so many people about their crochet projects, and the question of gauge comes up often. Many will admit that they NEVER check gauge. I know, I often don't bother.
Sure at times you can just pick up your magic wand (hook) and start hooking away and everything will turn out wonderful.
This won't always be the case. The necessity to check gauge, can very much depend upon the type of project you are making. Things like blankets, scarves and dishclothes will give you a free pass, as it really doesn't matter if they are a little bigger or smaller.
Clothing is one area that can end in disaster if gauge is not checked.
Checking gauge may be a pain, but it is much better to do so, than to find out half way through that gorgeous vest/coat/top etc pattern, that you spent a fortune on yarn for and fell in love with, could fit half your family inside it and still have room, when sadly you were making a size small.
Or that cute baby hat you wanted to gift to a newborn actually fits you. You could wait to this baby is a teenager to gift it, cross your fingers the newborn is blessed with a huge head or resolve the issue by checking gauge.
If gauge is not checked you can also find yourself running out of yarn. Yarn quantities stated in a pattern, will be dependant on your project turning out the same size as the designers. This can then make that blanket ( yes, the one that gauge didn't really matter on) unfinished. You ran out of yarn on the last few rows, as yours is several inches larger than the designers, so you need an extra Skein or two. Then you find yourself in panic mode, as maybe you can't get this yarn any longer, or perhaps you can but the dye lot is SO different, that extra skein stands out like a neon light.
How to Check Gauge:
- Using the yarn your project requires, and the stitch used in the pattern, make a 4"/10cm x 4"/10cm square.
- Place your square on a flat surface and lay a tape measure horizontally over the stitches.
- Count how many stitches you have in 4"/10cm.
- Now turn the tape measure vertical and count how many rows you have in 4"/10cm.
- If your measurements show that you have less stitches than the designers, you need to go up a hook size till you have the same.
- If your measurements show that you have more stitches than the designers, you need to go down a hook size till you have the same.
Altering your hook size and yarn choice can often fix many gauge issues, but not all.
In many crochet articles, you will see them mention Lifters, Riders, and Yankers.
- Lifters pull up on the loops, making them higher than the working row.
- Yankers pull their work tight, making it very snug
- Riders keep stitches closer to the working row.
I know my own stitches tend to be shorter in height and tighter, or closer to other stitches, than most peoples.
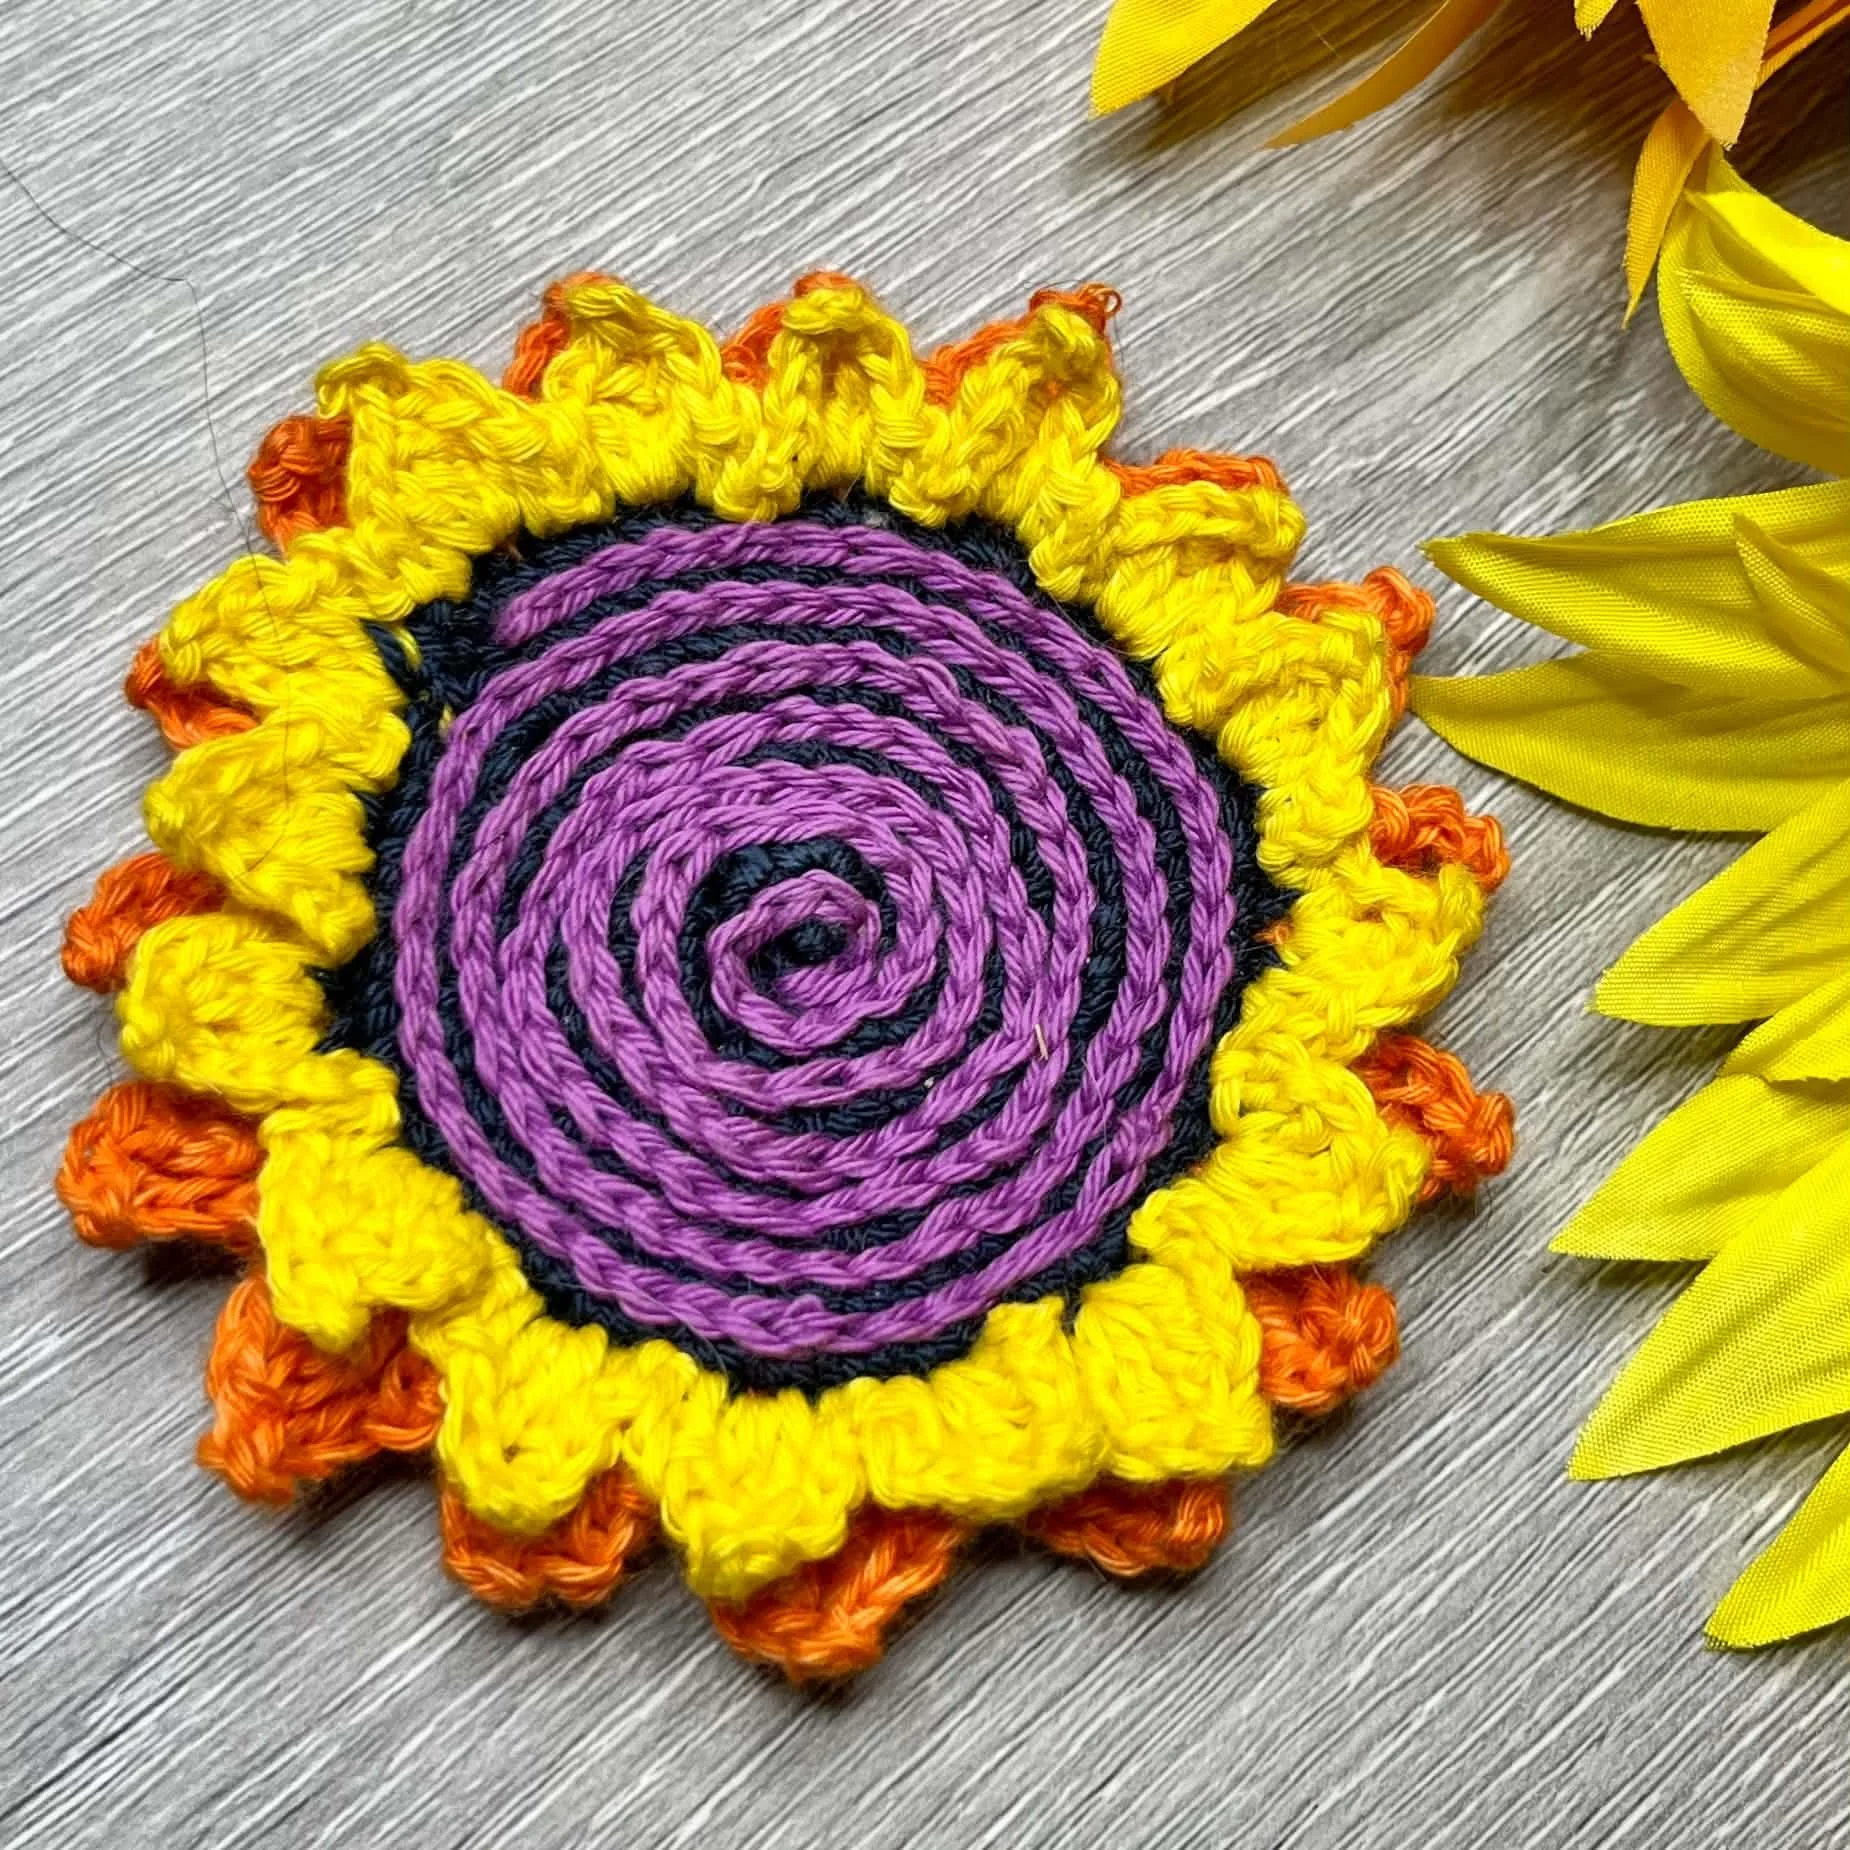
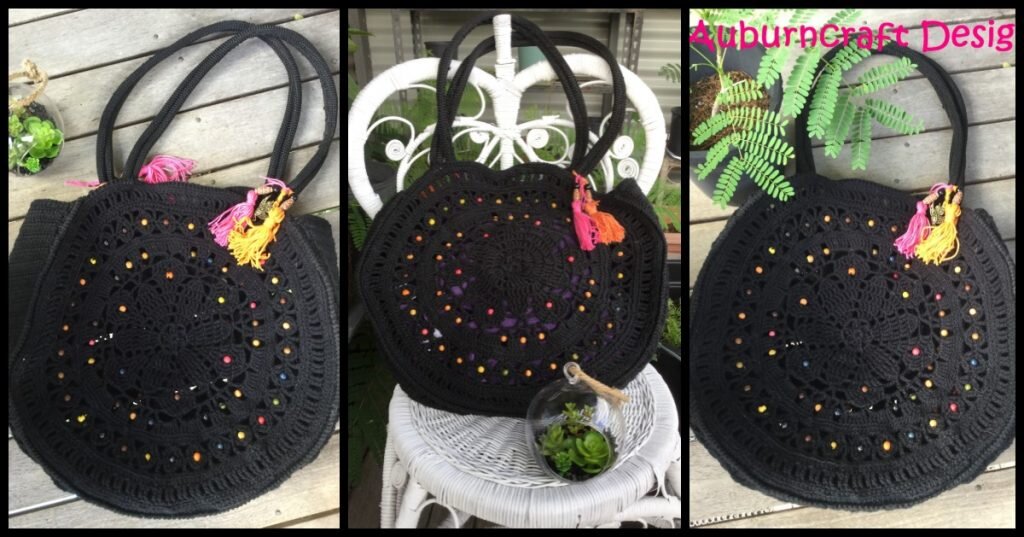
This was really evident during the testing process of my Billy Thunder Tote. My testers were having cupping issues (circle would not lay flat) with the mandala type bag. It took a lot of work, but we finally got the pattern through testing. Many of my USA Treble stitches were the same height as the testers USA Double crochet. A few adjustments had to be made, and stitch heights for each row, added to the pattern to make it user friendly and suit most.
If after you have tried adjusting hook size, and still cannot meet gauge, it may be your stitch heights causing the problem. Fixing this is possible, and best tutorial I have found to address the stitch height issue is by Crochet Ever After (click name).
So, next time you are itching to start that new project, stop for a minute and think about gauge. It may save you a lot of trouble later.