


LYS are great! I love those wonderful shops that stock unique yarns, and don't stick to the standard selection that you find in many large companies. I want LYS to use my patterns and enjoy doing so, and will happily work in with them to achieve a great working partnership.
What I find annoying is when I google my designs to find one of my top sellers being advertised as a class in a LYS without any mention of whose design this is. The one particular LYS in this instance, claimed in their advertisment for a class to make my design, that for $15 dollars you could attend as many classes as you needed to make this pattern. This class comes with line by line instructions and graphs! All sounds pretty good doesn't it? But no mention of the Designer! No mention of each class participant paying for a copy of the design, but on searching I find the owner of this establishment has indeed bought my pattern.
Permission to use my design in this manner was not asked for, or granted. I am willing to give them the benefit of doubt that it was all a misunderstanding, but as you could imagine it sure didn't look good!
I encourage any LYS Stores who would love to feature my designs in classes etc, to please contact me. Apprise me of either the fact that class participants will be purchasing the pattern via one of the outlets I sell on: Ravelry (click here), Etsy (Click here), Lovecrafts (click here), Bendigo Woollen Mill (Click here) and coming soon Ribblr.
Or if you would like to pay a contract fee on an agreed amount for patterns, for each class participant, which will entitle you to copying the pattern for each class member. This could be arranged at a discounted price, if the conditions are right. So send me a message via my blog or find me on Instagram (click here) and Facebook (click here).
Any advertising of classes need to have the designers (Auburncraft Design) name and credit for the pattern attached to them. Class fee structure needs to clearly state that this includes a fee for the copyrighted pattern. Then we are all good. The LYS is happy, those attending the class are happy and most of all I am happy.
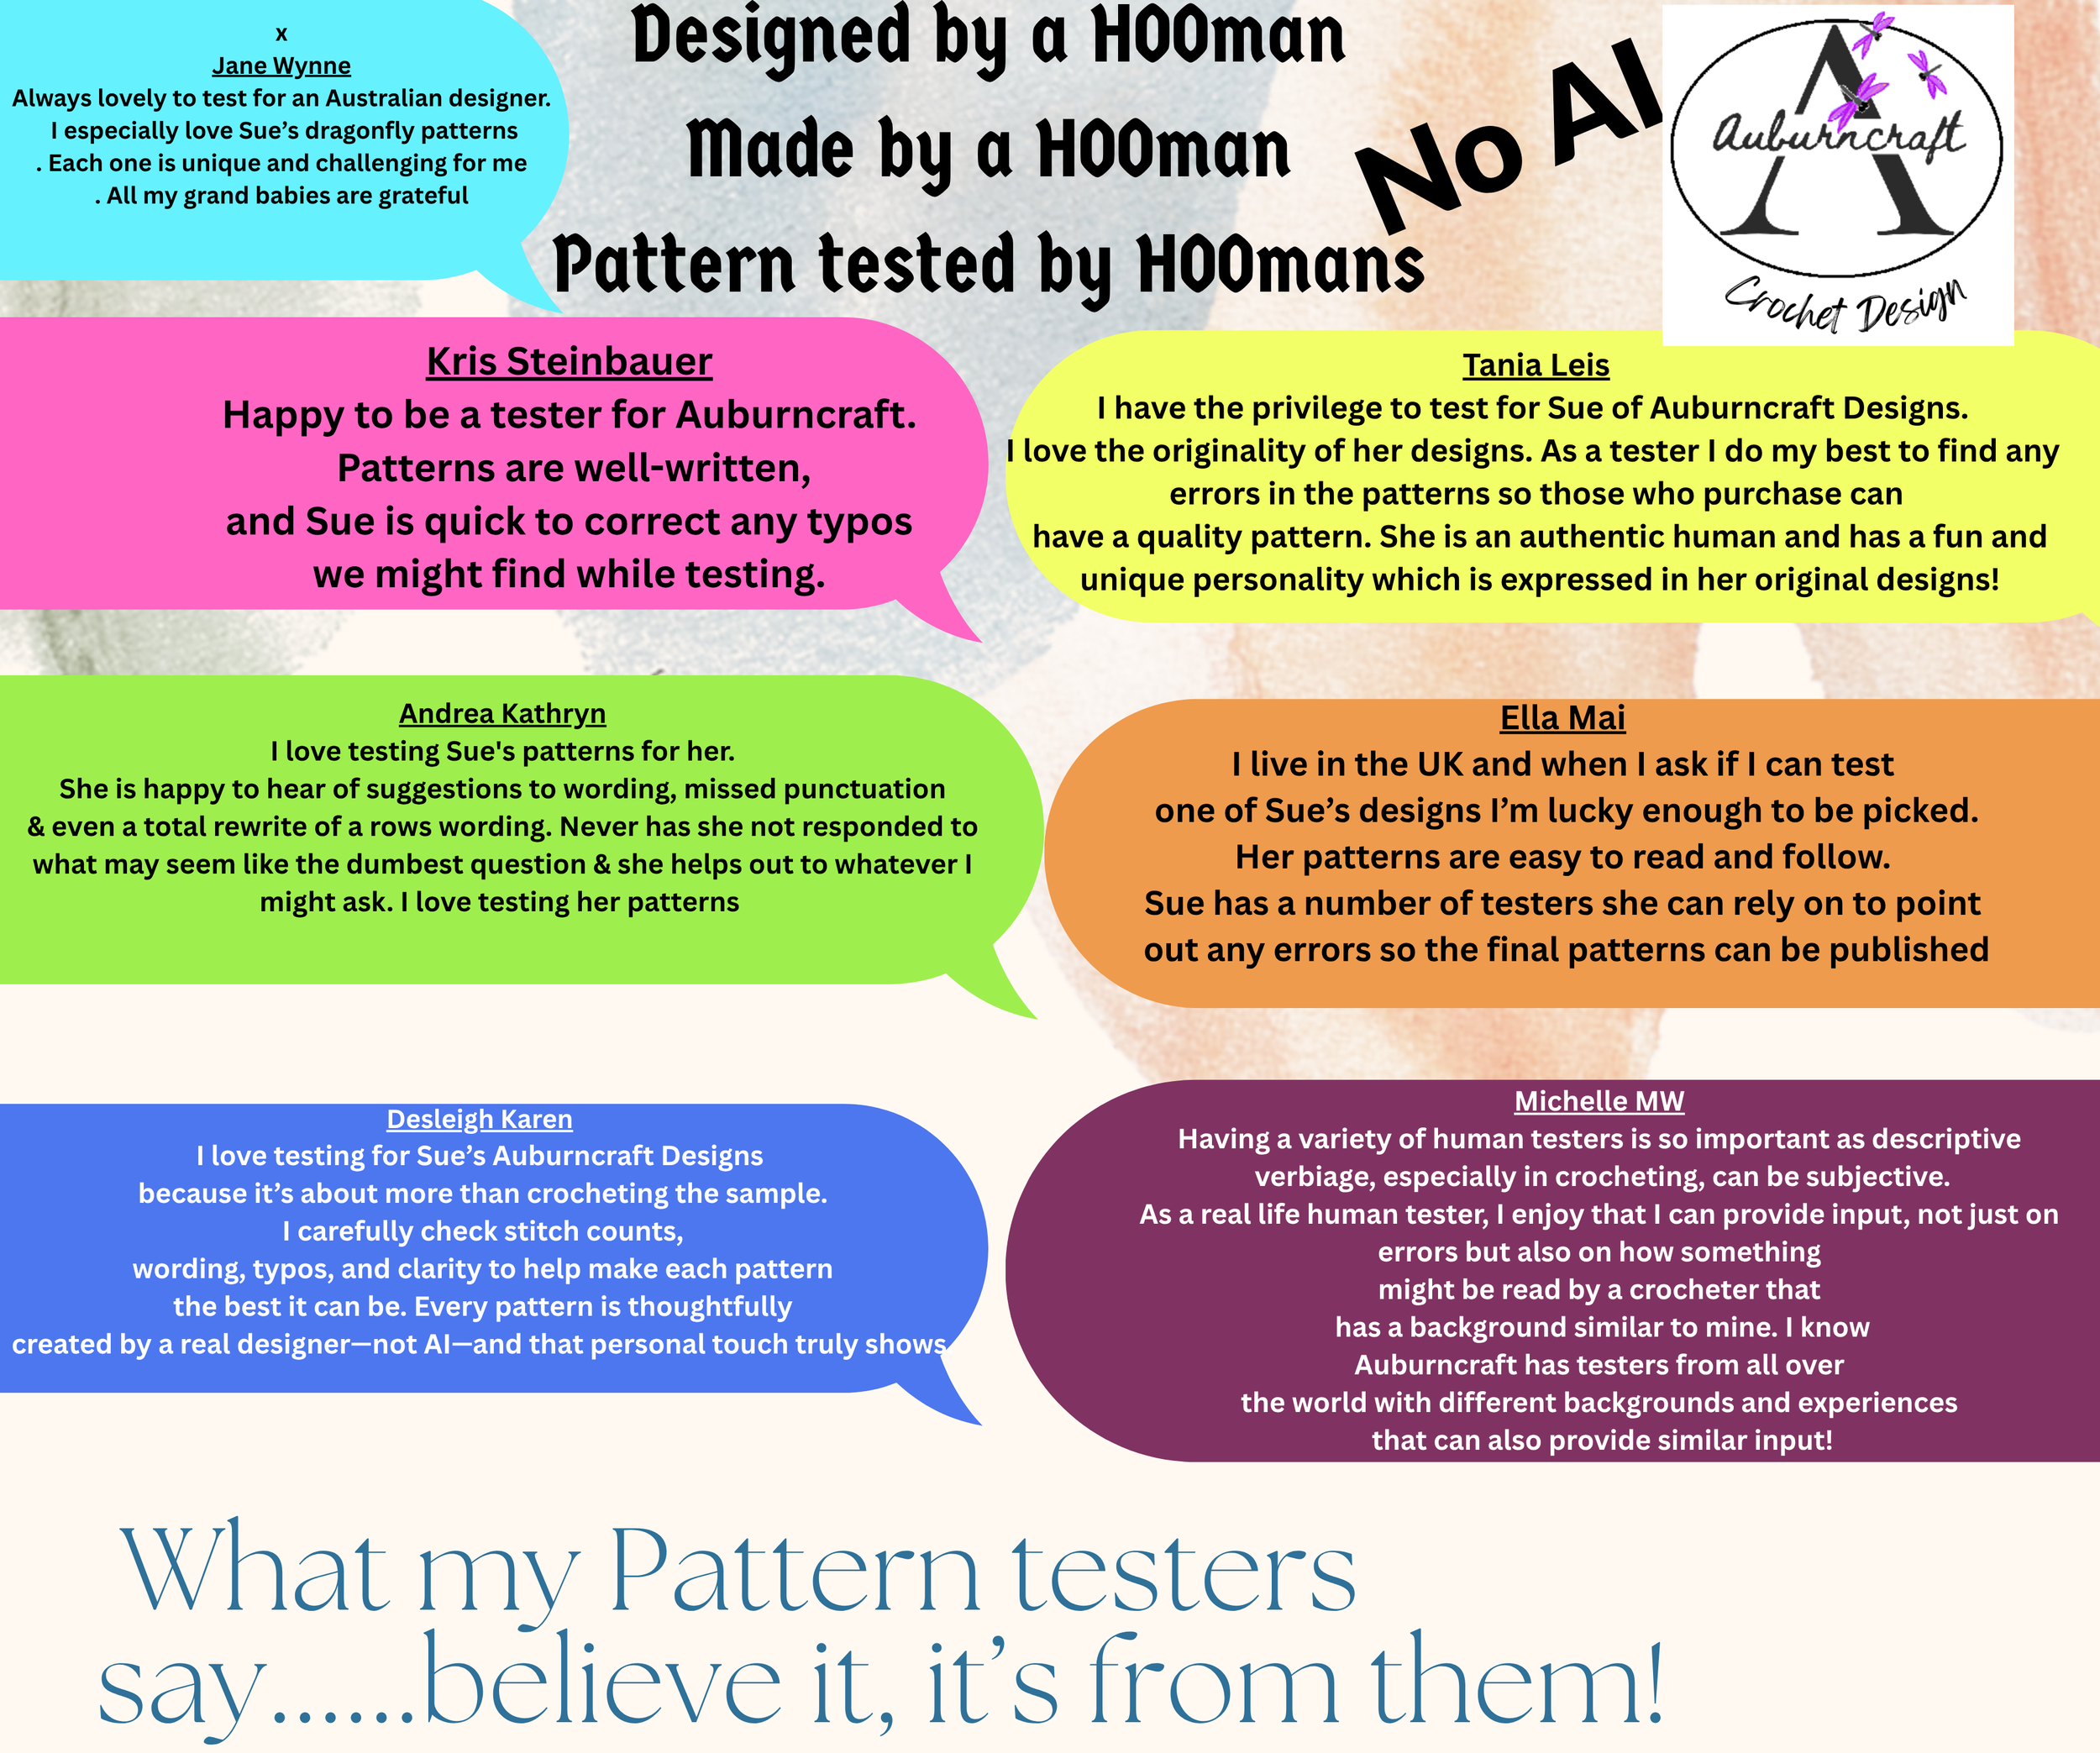
I take copyright seriously and expect the same in return. My blog posts and patterns all have the following copyright information on them.
Now to the boring stuff!
You are welcome to sell items made from this pattern, but please credit me as the designer and add a link to purchase my pattern in your sale.
Many hours of work has gone into the designing and producing of this pattern.
You are purchasing/downloading this pattern for personal use only. Please note my patterns and my images are copyright protected, please do not use my images to sell your items. No pattern or photograph may be reproduced or distributed — mechanically, electronically, or by any other means, including photocopying, without written permission of Auburncraft Design. Please do not copy, rewrite, or redistribute this pattern or any part of it as your own or otherwise. Just because you can copy does not mean you should. Please do not resell my patterns. This post may contain affiliate links.