


You know how sometimes, edges for a blanket are not always perfectly straight! No matter how hard you try, things just end up wonky!
There could be a heap of reasons for this:
Maybe you have joined shapes together and they are a bit in and out in places.
You could be someone just starting out on the crochet journey, and your edges look a bit like a road in Tasmania (if you have ever been there you will get the reference).
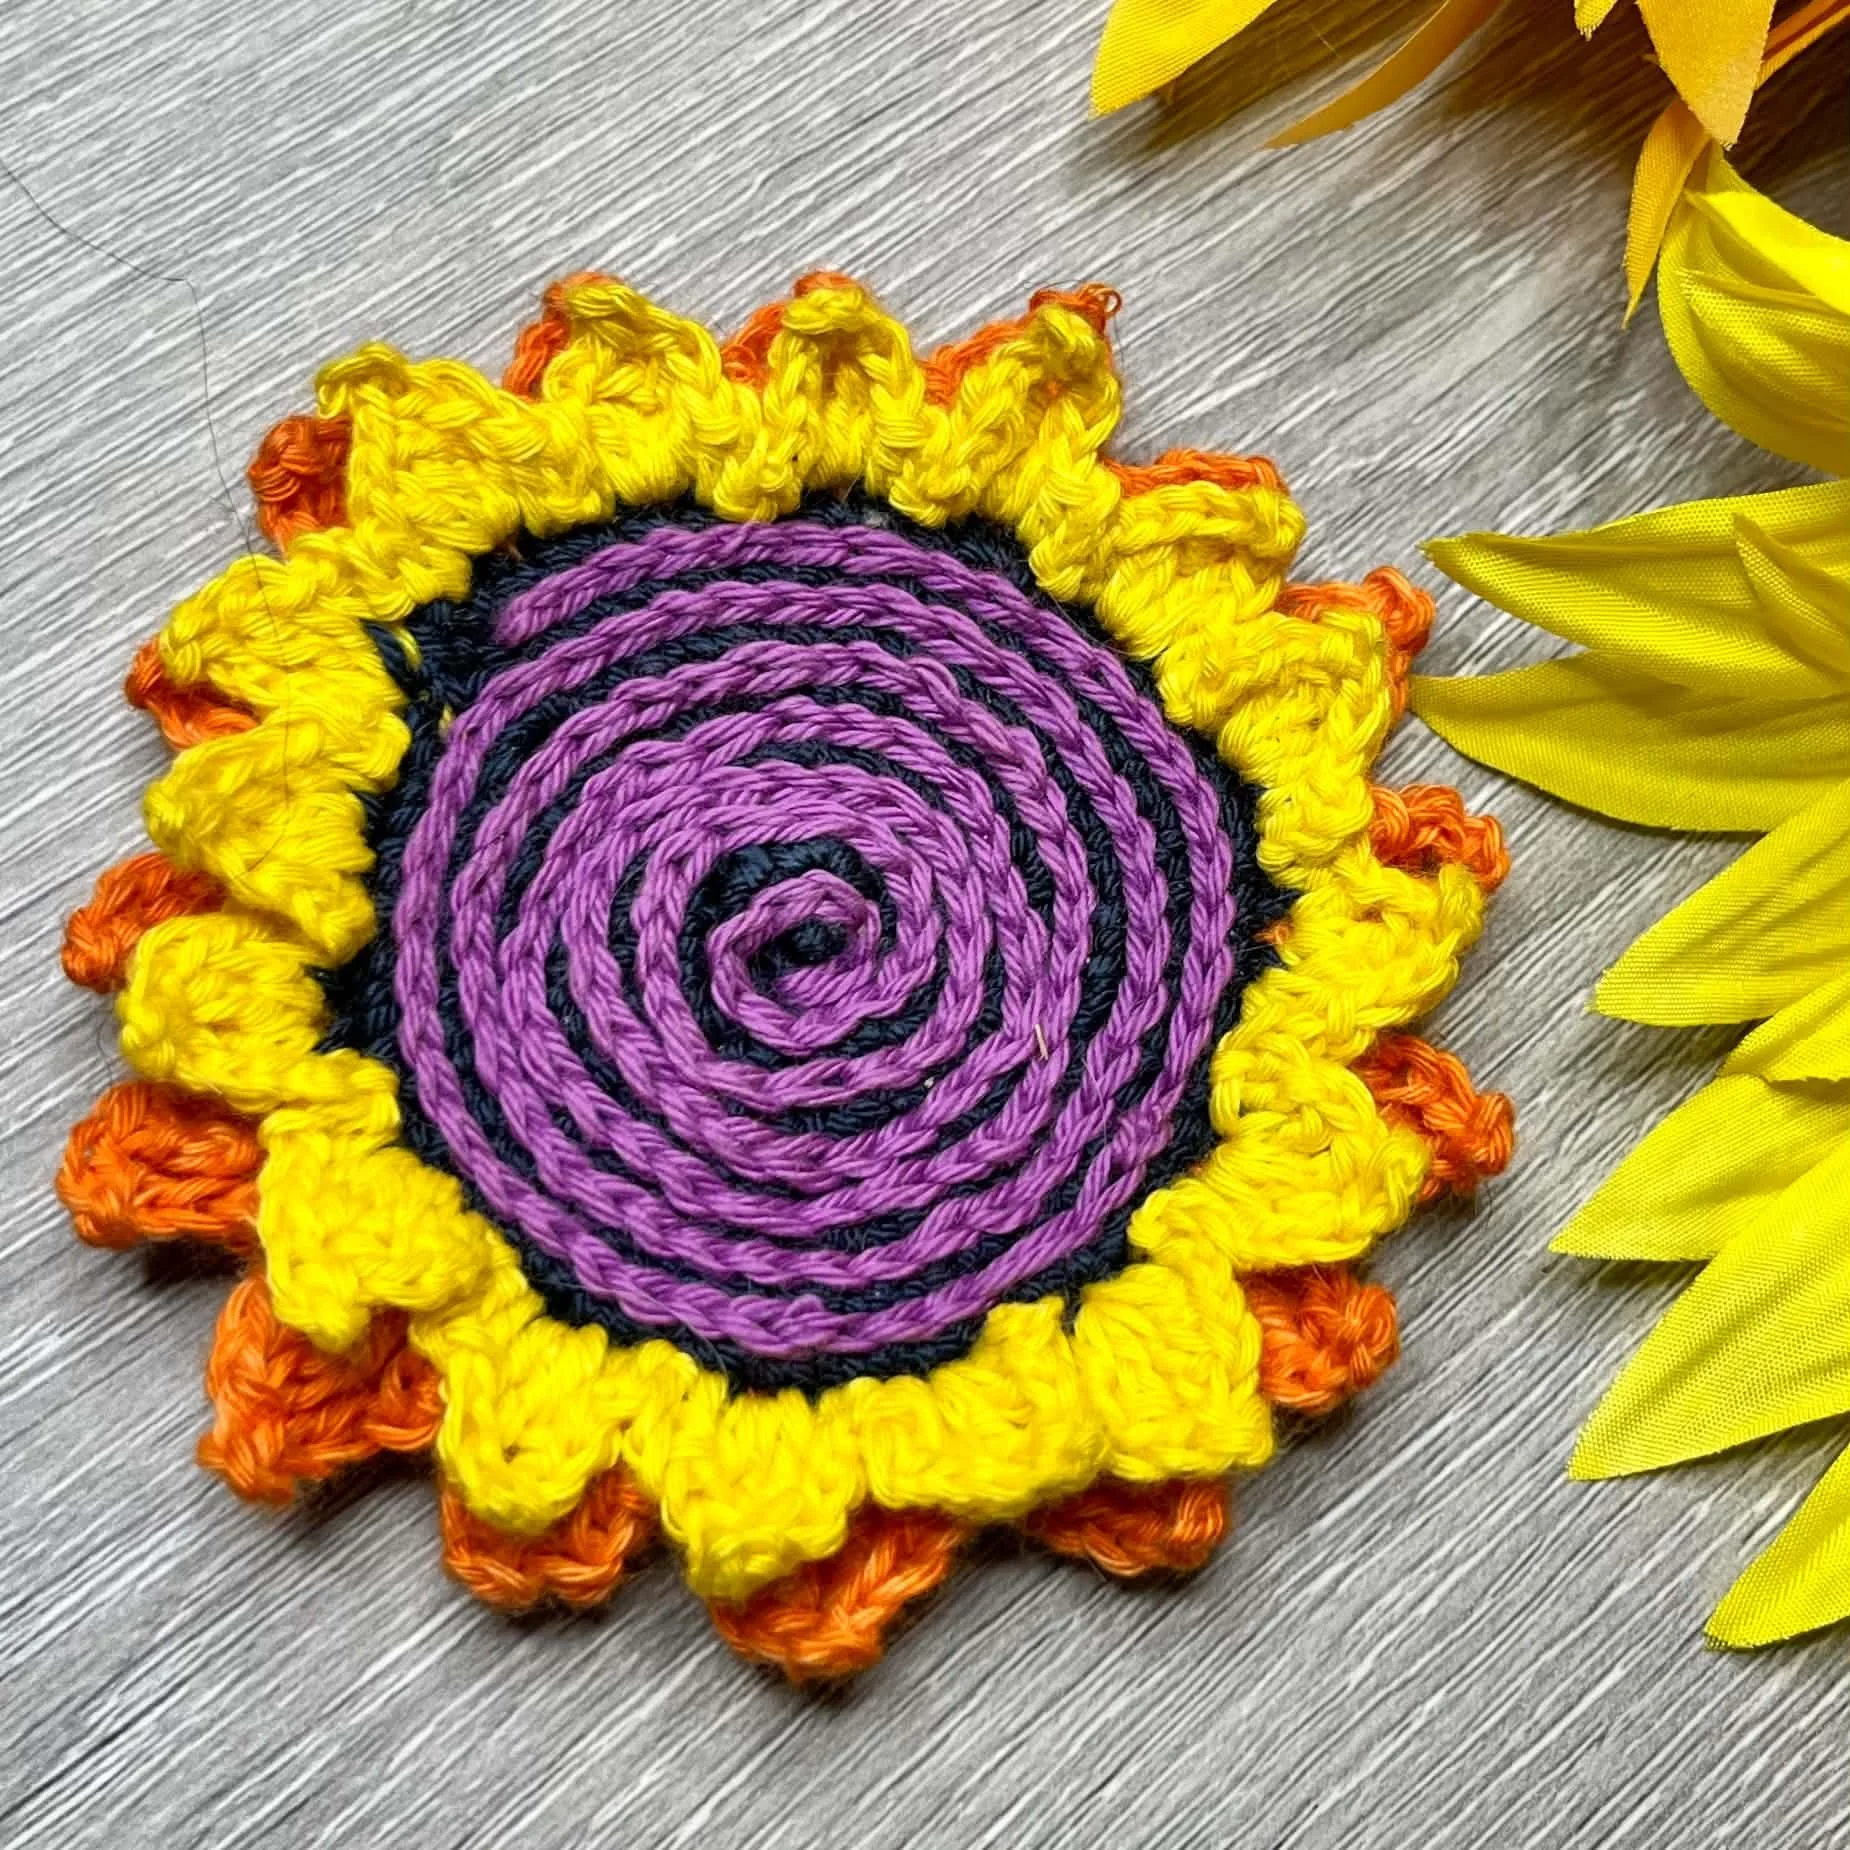
Or like me, on this project I am designing, you find that a Single/Double Crochet straight into the other colours or work just looks sloppy.
Whatever the reason, this little cheat can solve the problem and give you a lovely straight edge to work the remainder of your border from.
The first thing you need to know to achieve this, is how to Surface Slip Stitch.
How to complete a Surface Slip Stitch.
Attach the yarn at work edge with a slst.
Insert hook through face of work
Pull up a loop from back of work through to front of work and through loop on hook.
Insert hook into next st. Repeat
Once you have that sorted, work a Surface Slip Stitch in a straight line, along the edge of your project that you wish to add a border to.
Work your next row of stitches into the top loop only,of your Surface Slip Stitch. This is the loop closest to the work edge. It won't matter if you also hook through the main body of your work, as well. This is up to you (I didn't). For the project shown here, I did a row of Single Crochet/USA Terms, Double Crochet/Uk Terms. The result is a lovely, straight transition into your border, without messy stitches just worked into the raw edge.
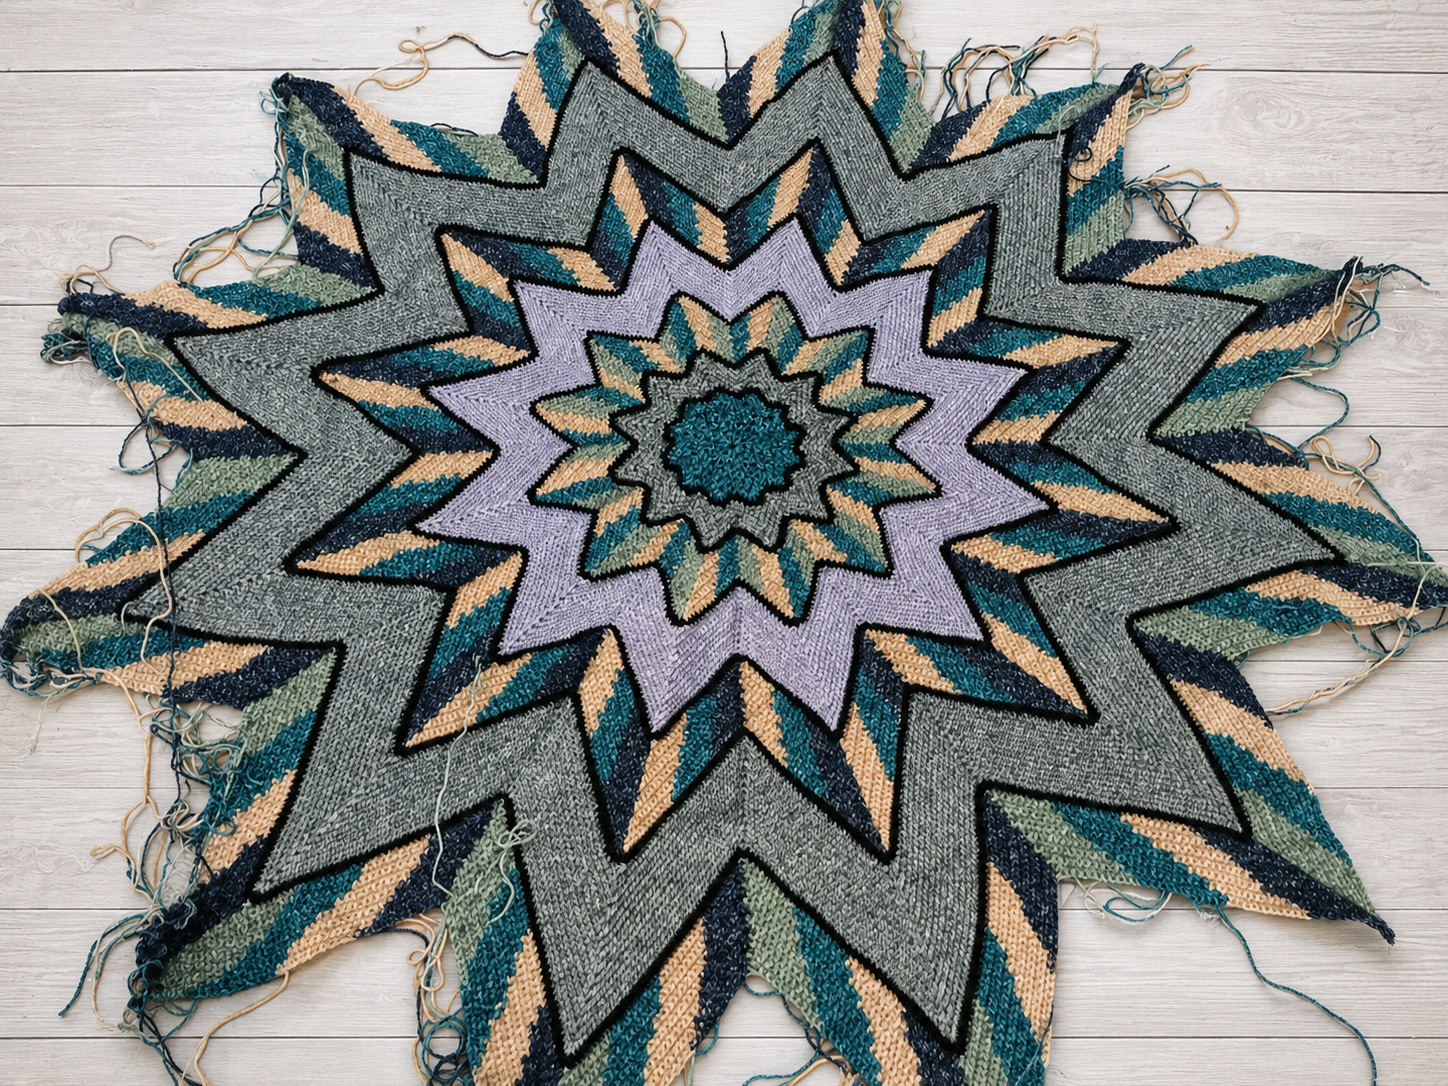
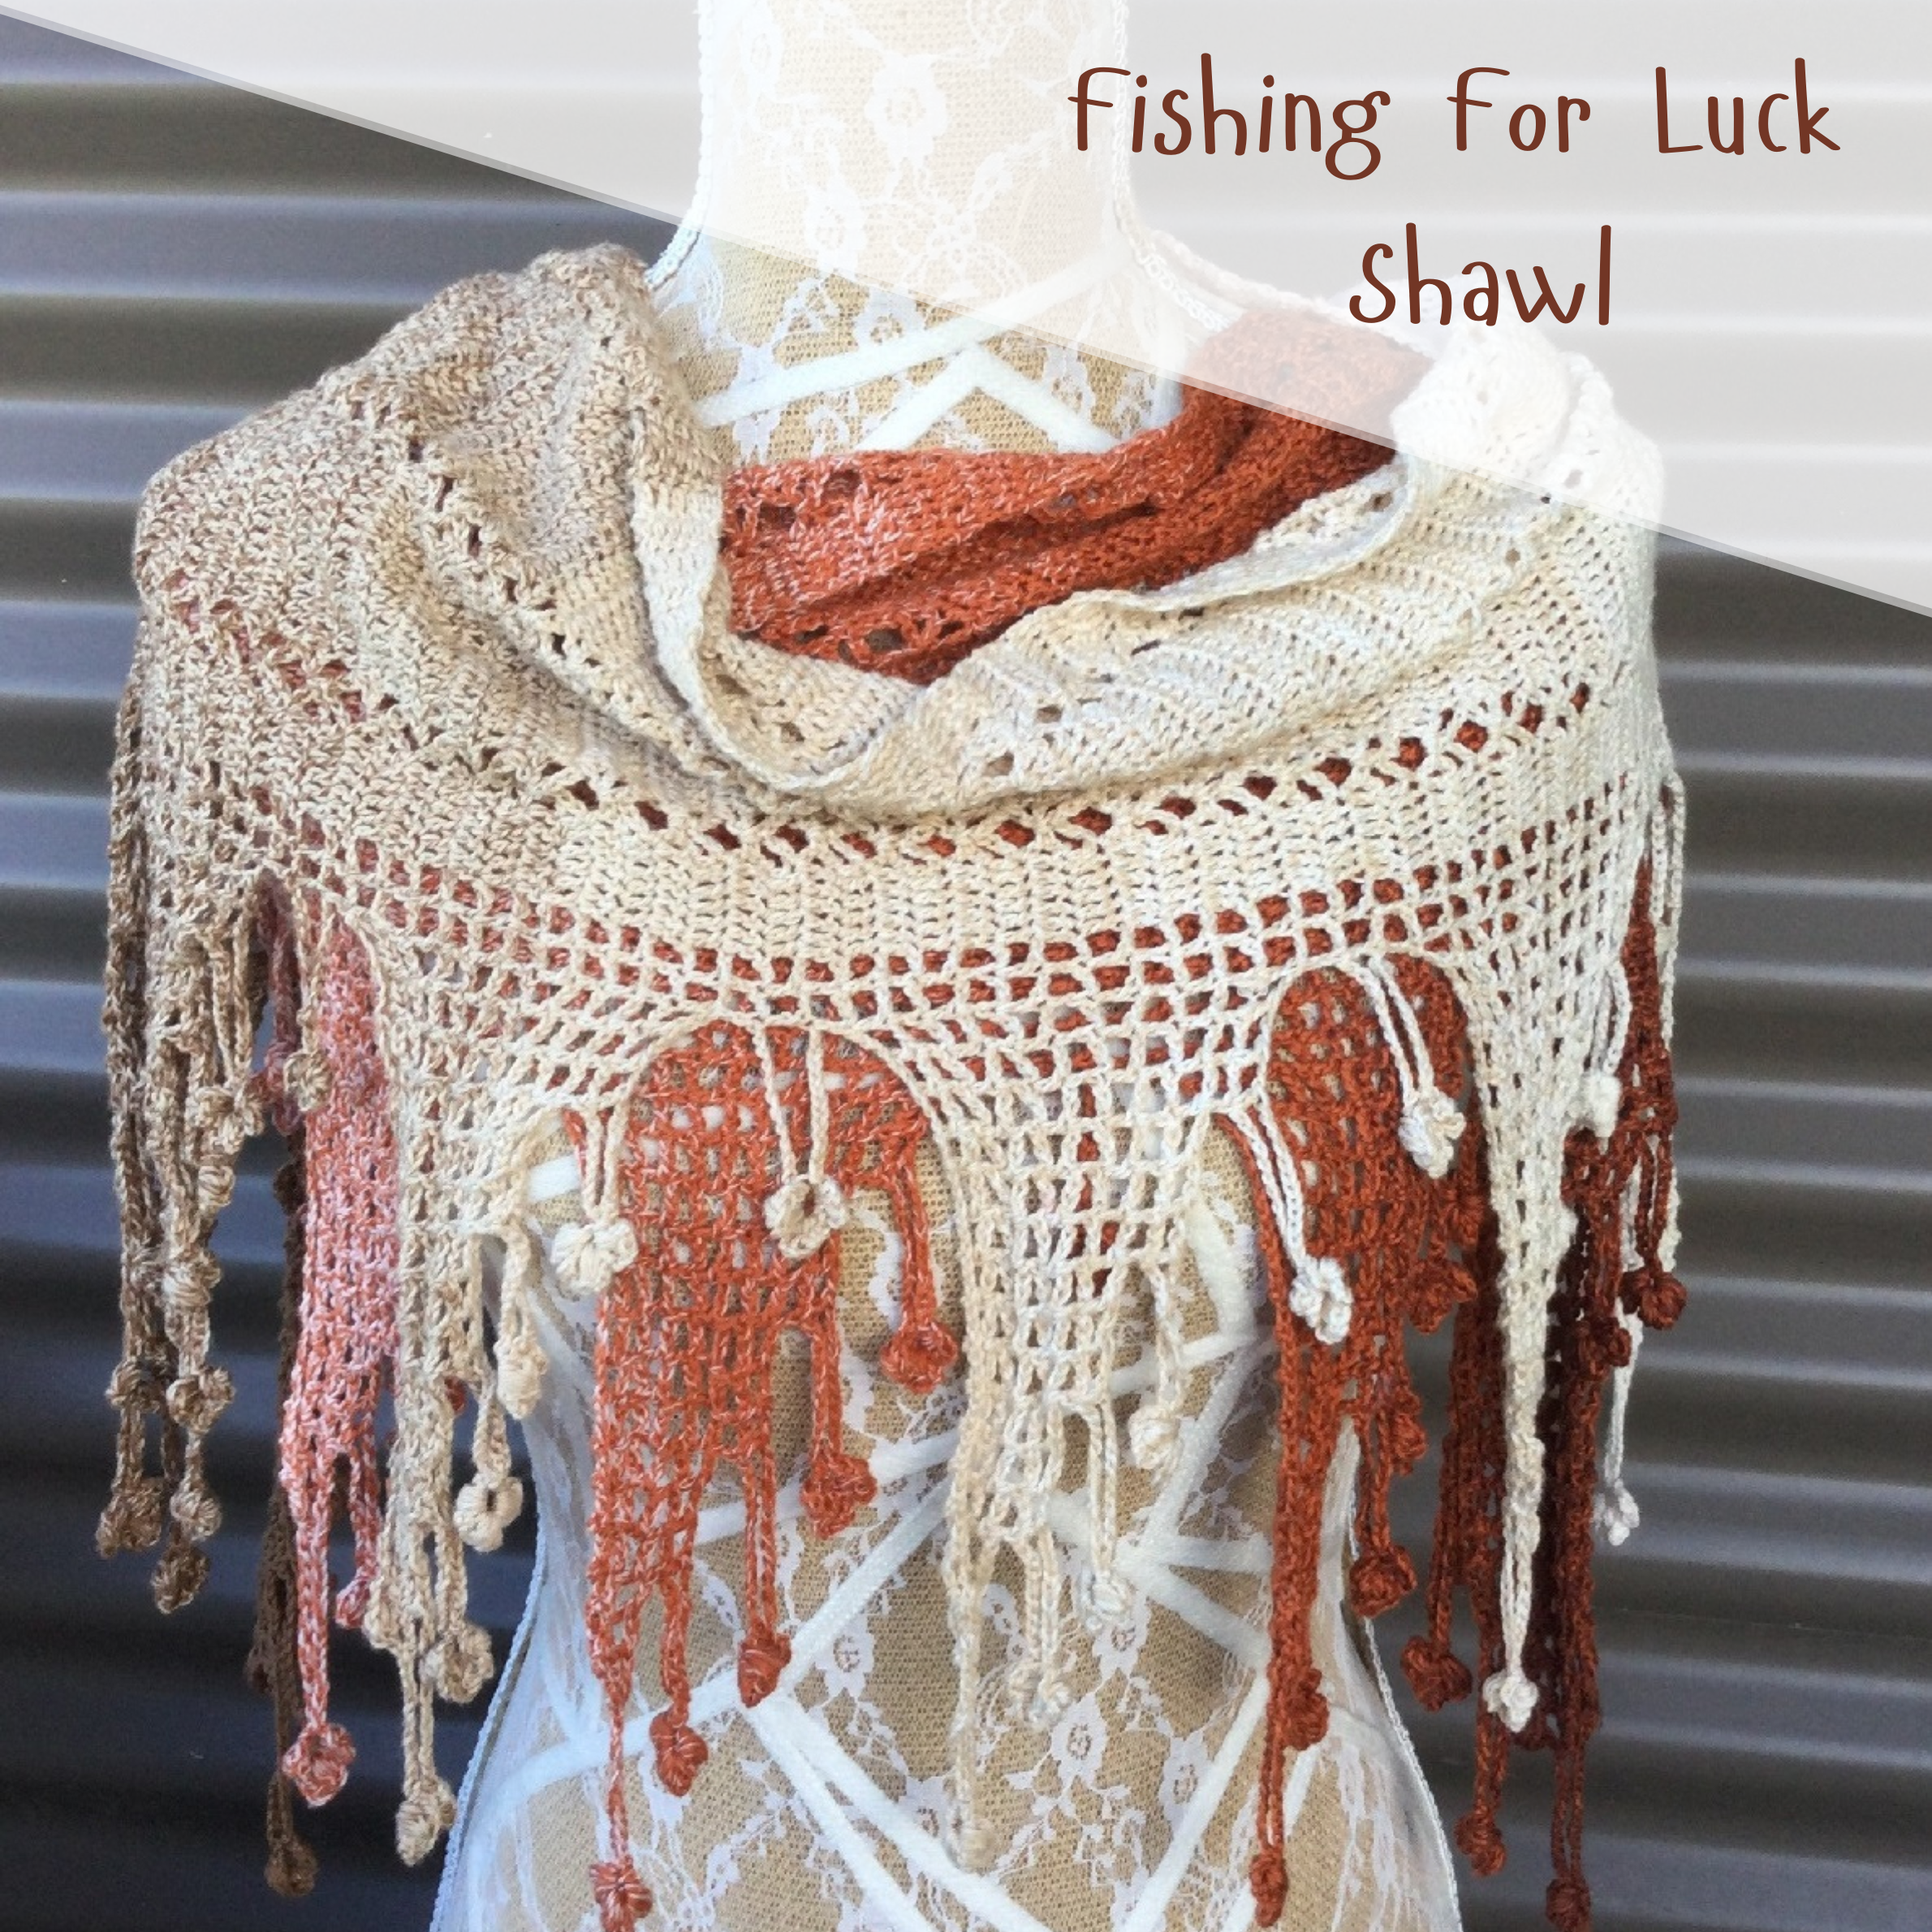
Main Picture is of my Latest Design which will hopefully be out testing very soon. Round Leadlight Blanket. This measures 61”/155cm Wide.