


It all starts with an idea. You want to make something, but you have a few things you want this item to have. You start a checklist:
No Gaps.
You don't want it to take forever.
You would prefer fewer stitches.
You find single crochet (US) rather annoying and when it comes in abundance it is enough to make you just want to sit down and cry. You don't feel a great deal different about Half Double Crochet (US).
Never fear as there is an answer and it is Double Crochet (US). Not ordinary Double Crochet but Double Crochet with super powers. Linked Double Crochet ticks all the boxes and is actually a fun stitch to do. It isn't hard and can be rather addictive.
How do you work this amazing stitch you ask?
Just keep scrolling and all will be revealed.
The concept is really quite simple. Double Crochet (US) has those tiny little bars that sit across the centre of each stitch. To get rid of that gapped look between the stitches you just join those little bars.
But let's start at the beginning of the row!
How to create that first linked stitch.

Linked Double Crochet (US). How to start a row. Steps outlined below:
Step 1: Chain 3. This counts as your first stitch.
Step 2: Insert your hook into the 2nd chain from the hook and draw up a loop. This has created the connection to the first stitch.
Step 3: Insert your hook into the next stitch and draw up a loop.
Step 4: Yarn over and pull through 2 loops on your hook.
Step 5: Yarn over and pull through 2 loops on your hook.
Now for the rest!

Continue creating Linked Double Crochet (US). Steps Below:
Step 1: The orange line indicates the bar that sits in the middle of each Double Crochet.
Step 2: Insert your hook down through this bar and draw up a loop.
Step 3: Insert your hook into the next stitch and draw up a loop.
Step 4: Yarn over and pull through 2 loops.
Step 5: Yarn over and pull through the remaining 2 loops on your hook.
And done! You have created a Linked Double Crochet (US)!
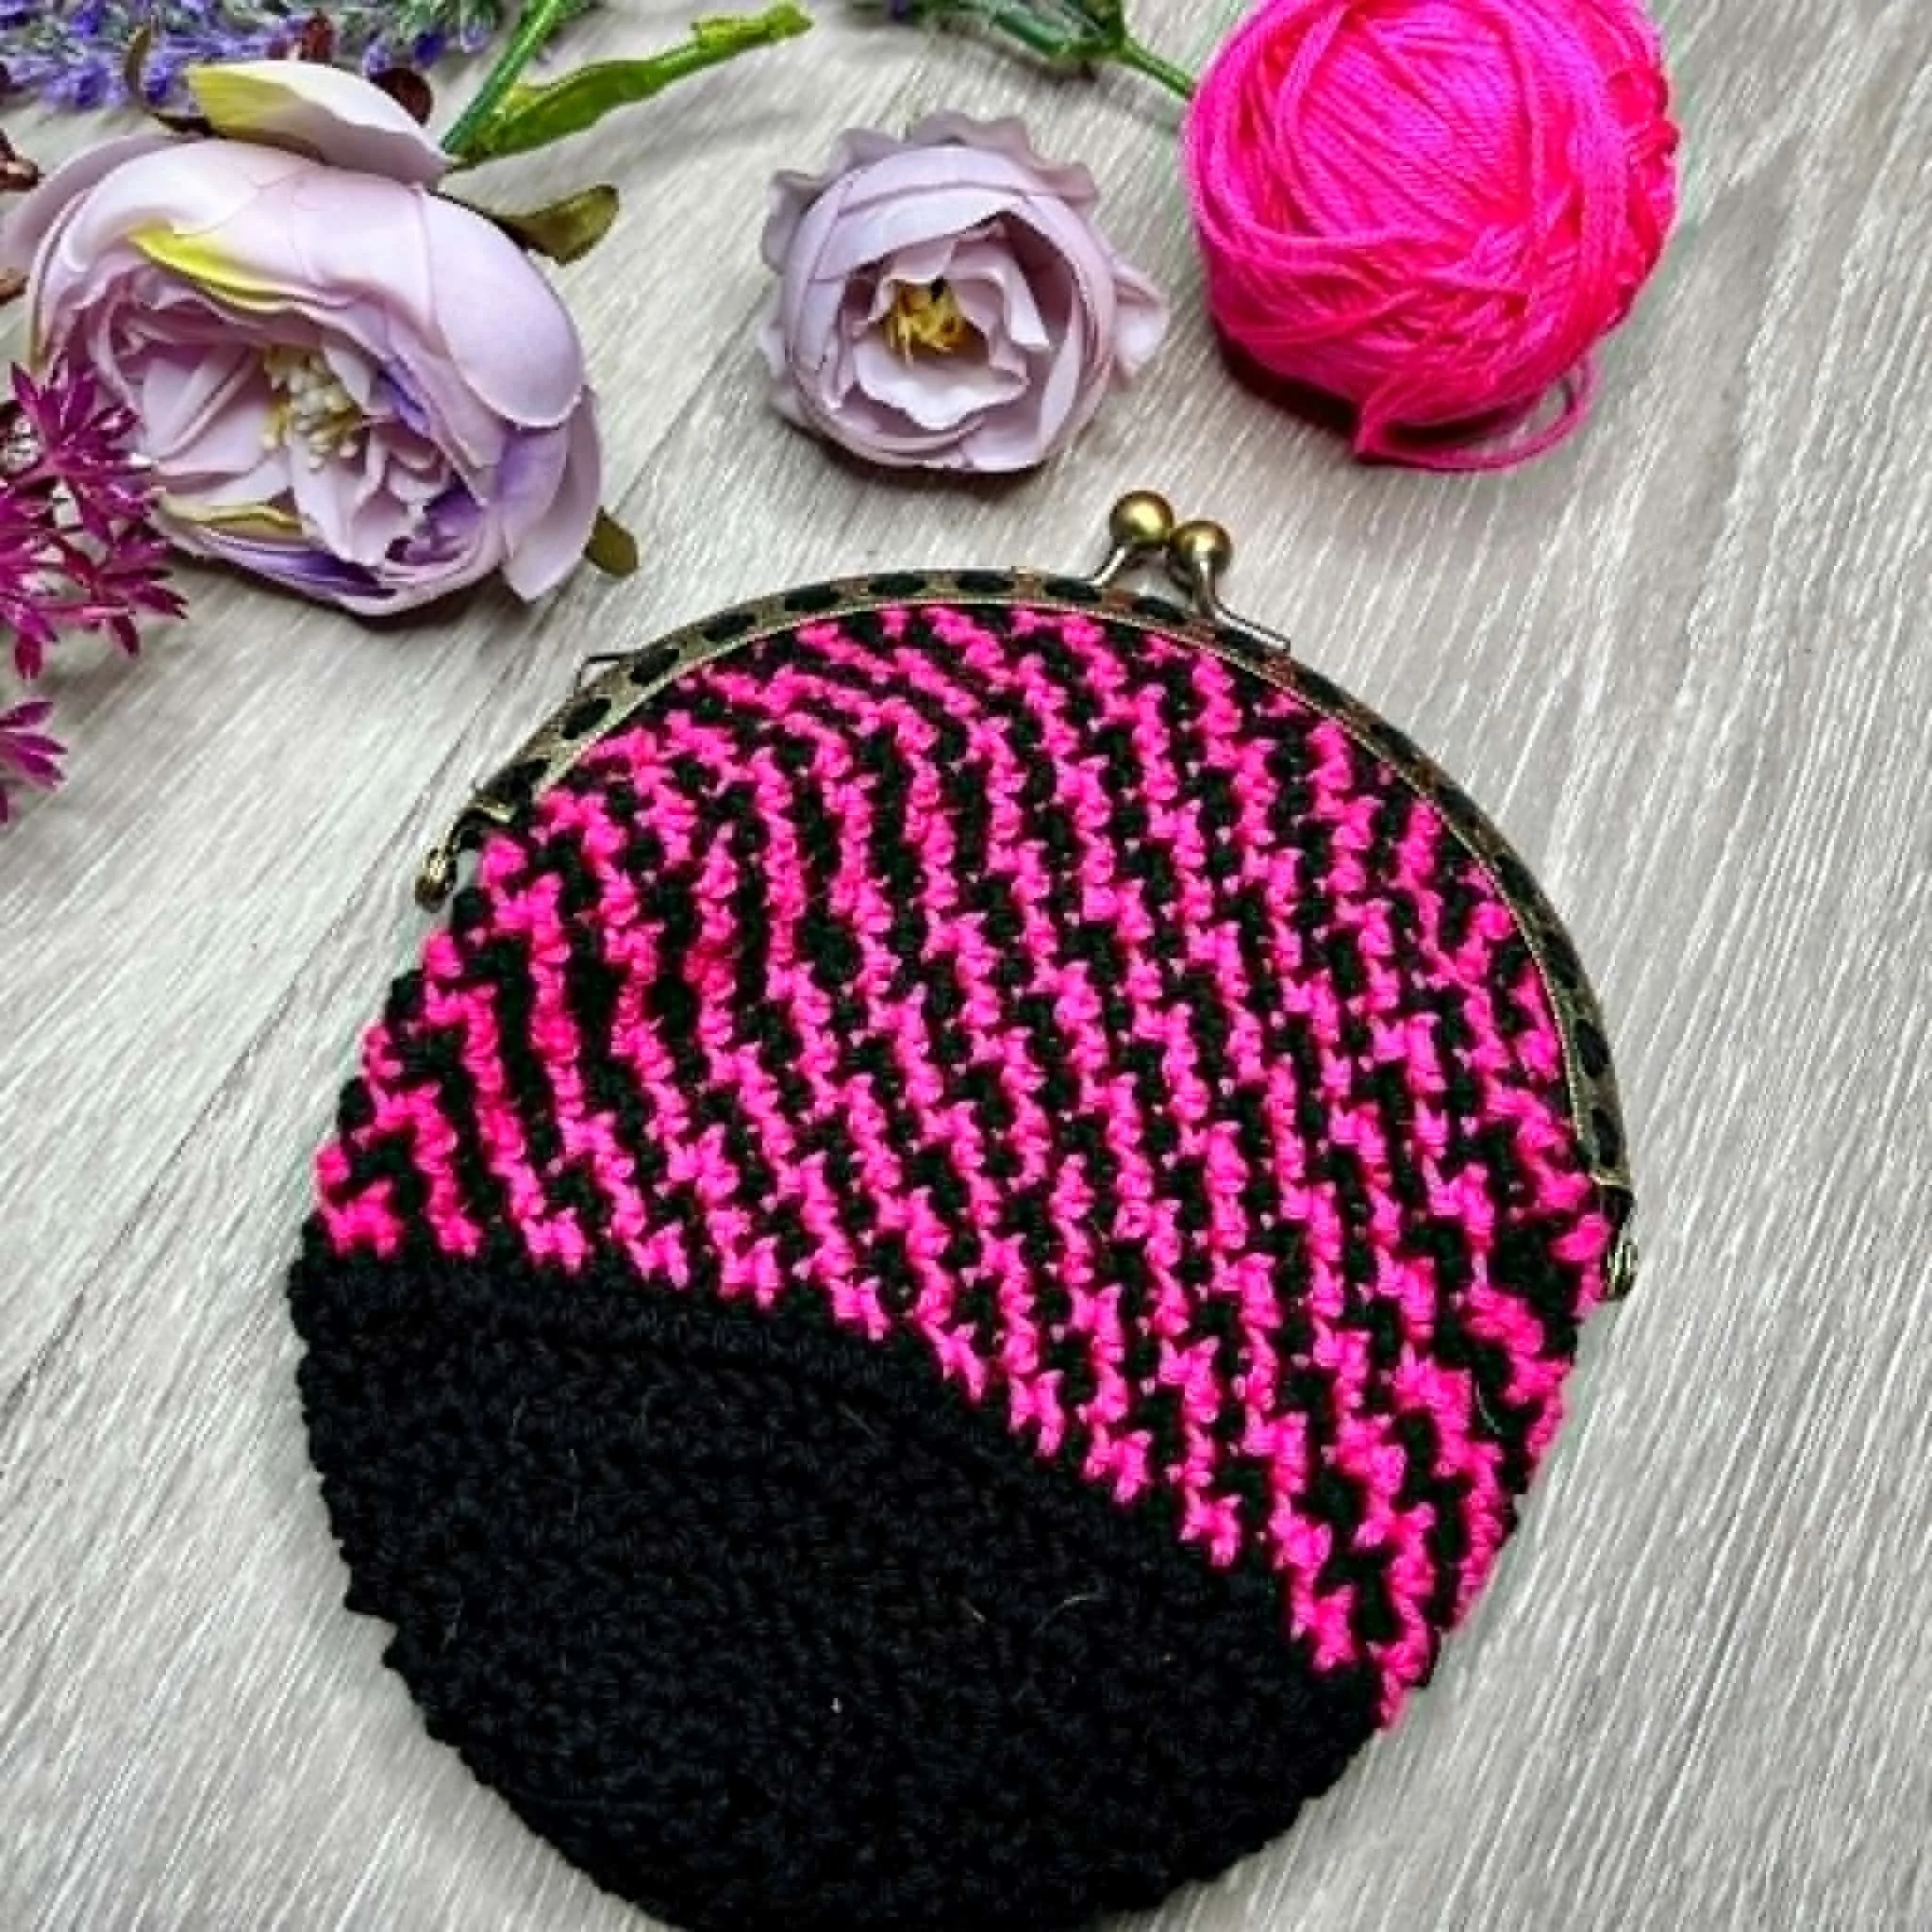
Linked Double Crochet is a very useful stitch. Any time you want a solid look but dread the thought of working in Single Crochet (US), think of this stitch instead. It is so versatile and can be great for anything from basic wash clothes to clothing. It can be worked flat or in the round and the little line of bars that form in rows give it a unique look.

Linked Double Crochet (US)
Now to the boring stuff!
No pattern or photograph may be reproduced or distributed — mechanically, electronically, or by any other means, including photocopying, without written permission of Auburncraft Design. Please do not copy, rewrite, or redistribute any of my work as your own or otherwise. Just because you can copy does not mean you should. Please do not resell my patterns. This post may contain affiliate links.


