I Talk To Yarn!

Like a lot of crazy crochet people during this difficult worldwide pandemic, I have been locked away with my quite substantial yarn stash, whiling away the time crocheting and whipping up designs.

I have been drawing up quite a few new designs as my head just refuses to stop doing so. If I am out on my lawn mower I find by the time I am finished, I have a new idea all formatted out in my head and I am reaching for a pen and paper to jot it down. This happens no matter what I am doing. I just try to remember my ideas for a more appropriate time.

I have truly done my best to use stash yarn for many new designs, but sometimes it just is not enough.

I have one new idea that I have been itching to start. I then start to think about what yarn I need for it and of course colour!

If I had my way every single design would be made in the only colour truly worthwhile of being named Overlord of all Colours! Yes. Of course I am talking about PURPLE! I would truly make everything in purple if I could, but being a designer I do try to be a little bit diverse. Just don't suggest I work in GREEN (yuck) and we will probably get along fine, and don't get me started on RED! Red I only use very, very occasionally. One of my only designs in red is my Frankie Drake Cloche Hat (click here for a link to the pattern).

cloche-size-design-1024x768.jpg

Frankie Drake Cloche hat. Pattern available on

Etsy (click here)

,

Ravely (click here)

and

Lovecrafts (click here).

Suitable Yarn to Make

Frankie Drake (click here).

For this new design, I had a NEED, LONGING, NECESSITY, UNDENIABLE URGE for Scheepjes Whirl yarn and thankfully my LYS has finally re-opened with a 2 person limit on how many people can be in the store at any one time.

I pondered long and hard as to which colour I should use. Of course I truly wanted to use Whirl in Lavenderlicious, but I have recently done a blanket in this and so I knew I must resist.

I looked at many items made in all the colours, trying to decide what colour would be just perfect. This had me rushing for the anti nausea pills as I came across Peppermint Patty Cakes (Green YUCK!). Once my stomach had finally calmed down, I narrowed the choice down to Mid Morning Mocha'roo and Licorice Yum Yum. Trying to decide between two colours totally does my head in at times. I find myself swapping and changing my mind over, and over, and of course the Lavenderlicious keeps popping into my head as the ultimate choice.

licorice.jpg

Find Scheepjes Whirl Click Here

The outing to the LYS was a real treat after being stuck in for so long, but my trusty little car had not forgotten the way there. I could hear the joyous hum from the motor as it knew just where to go. I soon found myself stepping over the threshold into yarn heaven. I didn't let any of the other yarns entice me to stop and adore them. Don't you worry, they were really trying. I could hear them whispering, 'Look at me, I am so soft'. 'Come on over here, you know you want to squeeze me! I told them to leave me alone in a harsh tone and they did quieten down considerably.

I stayed focused on my mission and headed straight for the Whirl section. I quickly scanned the shelves looking for the Mid Morning Mocha'roo and finally found one lone cake sitting all by itself as though being shunned by the other cakes. Normally this find would have had me singing BUT.... I needed TWO. My bottom lip dropped to the floor and I had to resist the urge to cry, or throw a tantrum. I managed to hold it all together as the last thing I could want is to be banned from the yarn store. Looking again for the Licorice Yum Yum my eyes landed on the LAVENDERLICOUS! I slapped myself a few times and forced my gaze to move on. 'My eyes, oh my eyes'. My gaze had fallen into the abyss, landing on the PEPPERMINT PATTY CAKE. This had me staggering to hang onto the shelves as nausea took hold.

Regaining my composure and averting my eyes from the hideous green, they finally landed on several cakes of Licorice Yum Yum. I reached for two cakes and headed to the checkout. The Mocha'roo was taunting me as I passed it 'You know you really want me, I'm much better than Licorice, C'mon buy me'. 'You know I can't' I muttered to it. I held my head high and kept walking. The store owner did give me an odd look as I paid for my purchase, but doesn't everyone talk to the yarn? Surely they were standing well back simply due to the covid restrictions and no other reason. Oh, well back to my designs!

You can follow me on the following:

Facebook: Auburncraft Crochet (click here).

Instagram: Auburn1414 (click here).

I also run a Facebook group in partnership with an Irish Designer: Two Redheads Crochet (click here).

Now to the boring stuff!

You are welcome to sell items made from my patterns, but please credit me as the designer and add a link to purchase my pattern in your sale.

Many hours of work go into the designing and producing of my patterns.

You are purchasing/downloading my patterns for personal use only. Please note my patterns and my images are copyright protected, please do not use my images to sell your items. No pattern or photograph may be reproduced or distributed — mechanically, electronically, or by any other means, including photocopying, without written permission of Auburncraft Design. Please do not copy, rewrite, or redistribute this pattern as your own or otherwise. Just because you can copy does not mean you should. Please do not resell my patterns. This post may contain affiliate links.
Vintage Clematis Shawl

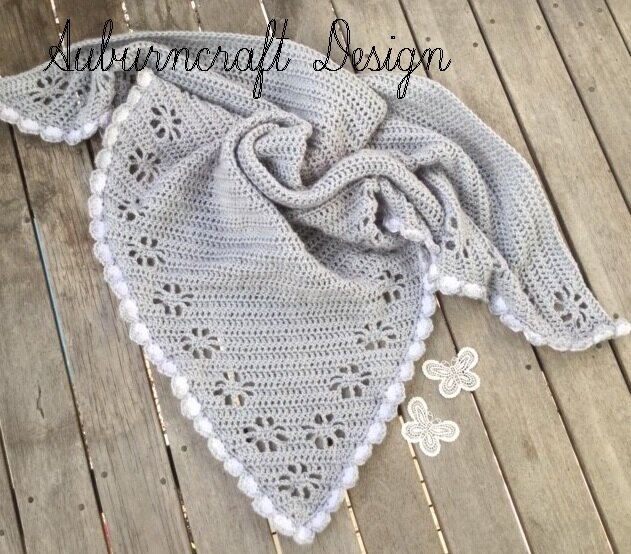
Pattern just released this week. This is a simplified version of my Clematis Shawl. The flowers appear at the edge only. The pattern is available on Love Crochet, Ravelry and Etsy.

*Ravelry Discount . For two weeks only (till 26th Aug 19) buy both the Clematis Shawl and the Vintage Clematis Shawl using the code 'Clematis' and get both for $6. *

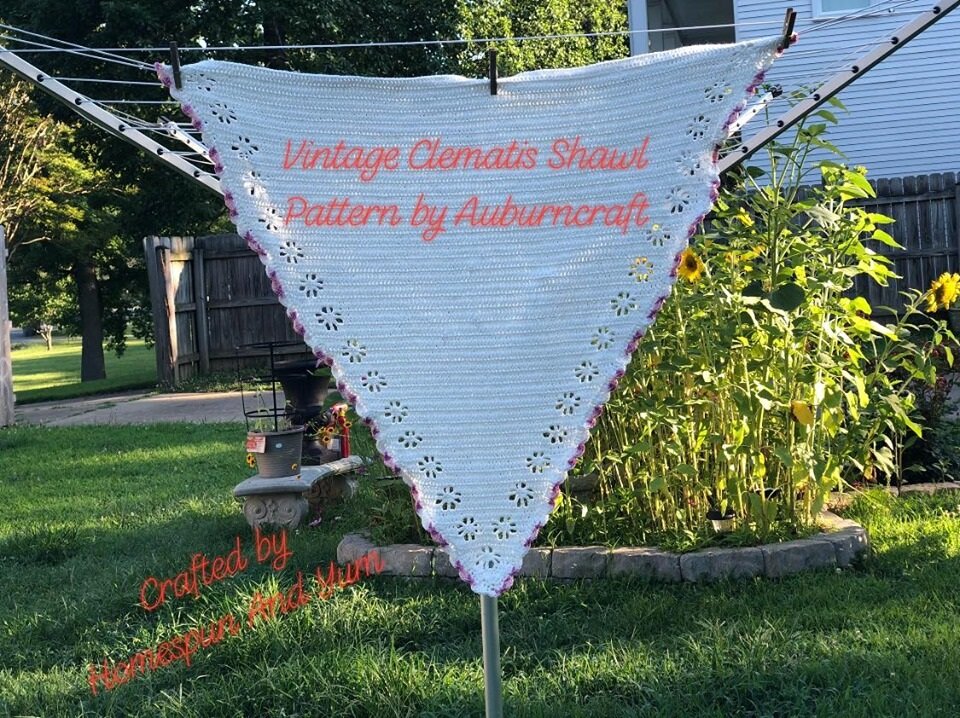
Vintage Clematis Shawl made from Vintage Cleckheaton Fleur 8Ply

This was made from Vintage Cleckheaton Fleur, found in a local Opportunity/Thrift Store. It was just begging to come home with me, and so I granted its wish! I enjoy finding treasures (like this yarn)in these shops. When you spot a find like this, it kind of makes you want to do an arm pump in the middle of the store and yell, 'Yes, score!' Maybe I did do that or maybe I didn't, you just had to be there!!!

Kelly Thompson Shoemaker's test shawl. Bernat Baby Sport yarn used.

My testers did a steller job of testing this. One of my testers used Lion Brand Pound of Love (available here). Another chose Bernat Baby Sport (available here) and an adjusted hook size.

I love anything refurbished. There is nothing like taking something that has been discarded and turning it into something useful.

I have quite a habit of improvising, instead of spending money on items or tools for a specific job, it is much more satisfying to use an everyday item you have on hand and adapt it.

One of the items I repurposed is a broken mini fridge. My delivery man was getting a bit snippy as the letterbox was too small for the many parcels (most likely yarn) that were arriving. So hubby and I went to the re-cycling centre attached to the local tip. We found this mini fridge and so home it came. I spent a few dollars on paints and set about turning it into a unique parcel container.

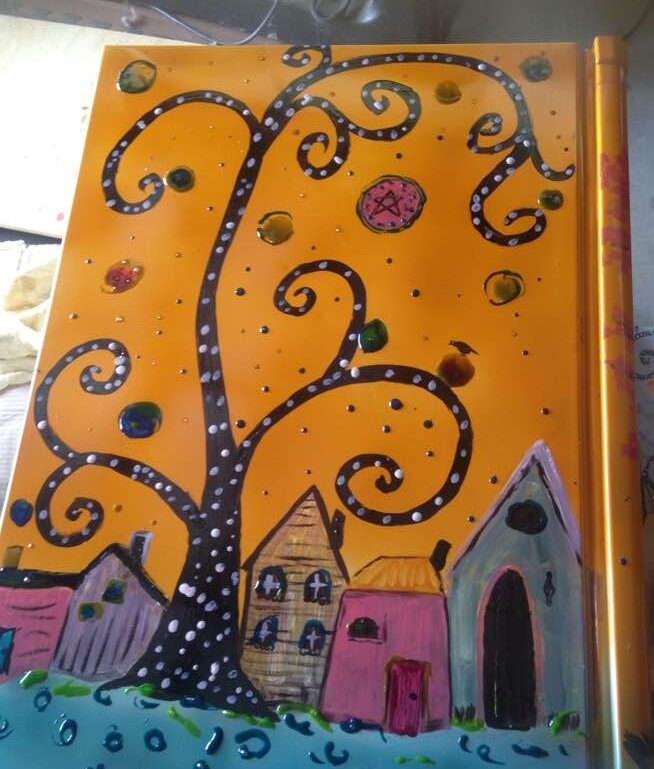
Fridge refurbished into a parcel fridge.

I think my delivery guy was quite impressed, and now has tons of room to shove all those parcels of yarn arriving at my place.

This post may contain affiliate links. If you click on a yarn link on my page and purchase yarn, I get a small commission. This does not affect you in any way but helps me to keep my blog going.

Funky Buttons! Make Your Own to Add Flair to Crochet!

Below I outline how to make the spiral buttons and the flower button.

Spiral Button:

I am on the home stretch of a freeform crochet masterpiece (in my own mind) that I have been working on for ever! It is a hodge, podge mess of flowers and anything else I think of at the time. Made from pure wool and quite heavy to work on.

I started this possibly 18 months or 2 years ago. It has been in and out of the naughty corner quite a bit. I have frogged (unpulled), redone, frogged again, changed my mind multiple times, and I even took to it with the scissors recently. The heading picture is of my coat in progress.

Despite all this frustration, it is now starting to look like a coat, or vest. I am yet to decide if I can tolerate doing sleeves on it.

My mind is now turning to buttons. I need unique buttons for this unique jacket. They must be a statement of epic proportions! Something that reflexs the hours of frustration this coat has brought me. I have looked high and low for these gems but with no success. Nothing has yelled 'these are the ones' at me. I had to find something that I feel is unique enough to do justice to this piece of freeform.

Last night I had a light bulb moment and today I created my own buttons using polymer clay. I want to share this easy way of making your own unique buttons with you:

Materials:

  • Polymer clay in two colours (available at most craft outlets).

  • A rolling pin

  • A wooden kebab skewer (or a darning needle will do)

  • Acrylic gloss varnish

  • Paint brush

  • Knife

Step 1:

Roll your clay out into two thin sausages, no more than 5mm thick.

button-poly-5.jpg

Step 2:

Put the two pieces together with one length slightly longer to begin the curving. Slowly roll your pieces together. When you are at the size of button you require, cut the clay on an angle.

button-poly-6.jpg

Step 3:

Gently rub at the ends you cut to work them into the rounded shape you need. Squash the button flat and gently rub to make certain the pieces grab together. I wanted an oval shape so I squashed my circle a little.

button-poly-4.jpg

Step 4:

Using your wooden kebab skewer or darning needle, push holes into the top of the button. If making more than one button, place the first button with holes on top of any following buttons to find exact placement.

button-poly-3.jpg

Step 5:

Place your buttons on an oven tray and cover with foil. Bake in a slow oven for approximately 15 minutes. Allow to cool.

Step 6:

Paint with Acrylic Gloss varnish making sure to brush out an bubbles. Allow to dry.

button-poly.jpg

My buttons are roughly 40mm in size. Enjoy your unique handmade buttons!

buttons-poly-fin-1.jpg

Flower Button

This little button is for a new Tote bag I am working on 'Field of Flower', which will hopefully be in the testing stage soon.

Like many of my other projects it is a unique bag and the name says it all. I wanted a button that would reflex that. I decided to make a flower this time!

I have mentioned before that I don't have a huge array of tools for specific things. I tend to use what I have at hand. You will see what I mean below with my use of an old lipstick lid.

Materials:

  • Polymer clay in two colours (available at most craft outlets).

  • A rolling pin

  • A wooden kebab skewer (or a darning needle will do)

  • Small round object to make petal shapes (I used an old lipstick lid).

  • Acrylic gloss varnish

  • Paint brush

  • Knife

Step 1: With colour 1 of your polymer clay, roll a piece into the a ball about the size of a walnut.

Step 2: Flatten the ball with your rolling pin.

Step 3: Using your lipstick lid, mark the petals by pressing this into the clay.

Step 4: With a sharp knife, gently cut away between the petals.

Step 5: Smooth the edges with your finger.

Step 6: With colour 2 of your polymer clay, roll a piece smaller than your first colour into a ball.

Step 7: Flatten the ball with your rolling pin. Using your lipstick lid, cut a neat circle. Smooth the edges up with your finger.

Step 8: Place the colour 2 circle on top of your flower.

Step 9: Using your wooden kebab skewer or darning needle, push holes into the top of the button. If making more than one button, place the first button with holes on top of any following buttons to find exact placement.

Step 10: Place your buttons on an oven tray and cover with foil. Bake in a slow oven for approximately 15 minutes. Allow to cool.

Step 11: Paint with Acrylic Gloss varnish making sure to brush out an bubbles. Allow to dry.

My Flower button measures approx 50mm