


By Auburncraft Design

Firstly, you may be wondering why I named this ‘The Paper Bag Hat’. I did so due to the way I have chosen to close the top of the hat. It reminded me of the old-fashioned brown paper bags from my days working in a local Supermarket.
I started as a Checkout Chick in my teens and the registers were all push button (but not in the digital sense). I would have to ask each customer if they would like a box, or a bag for their purchases. If they wanted a bag I would grab one from the pile of neatly stacked brown paper bags and open it up. The bags had a square bottom, and the sides had a concertina fold. So totally different from the tons of plastic bags that are in supermarket now. Know doubt many people over the years would also love me to put a paper bag over my head so now I can!
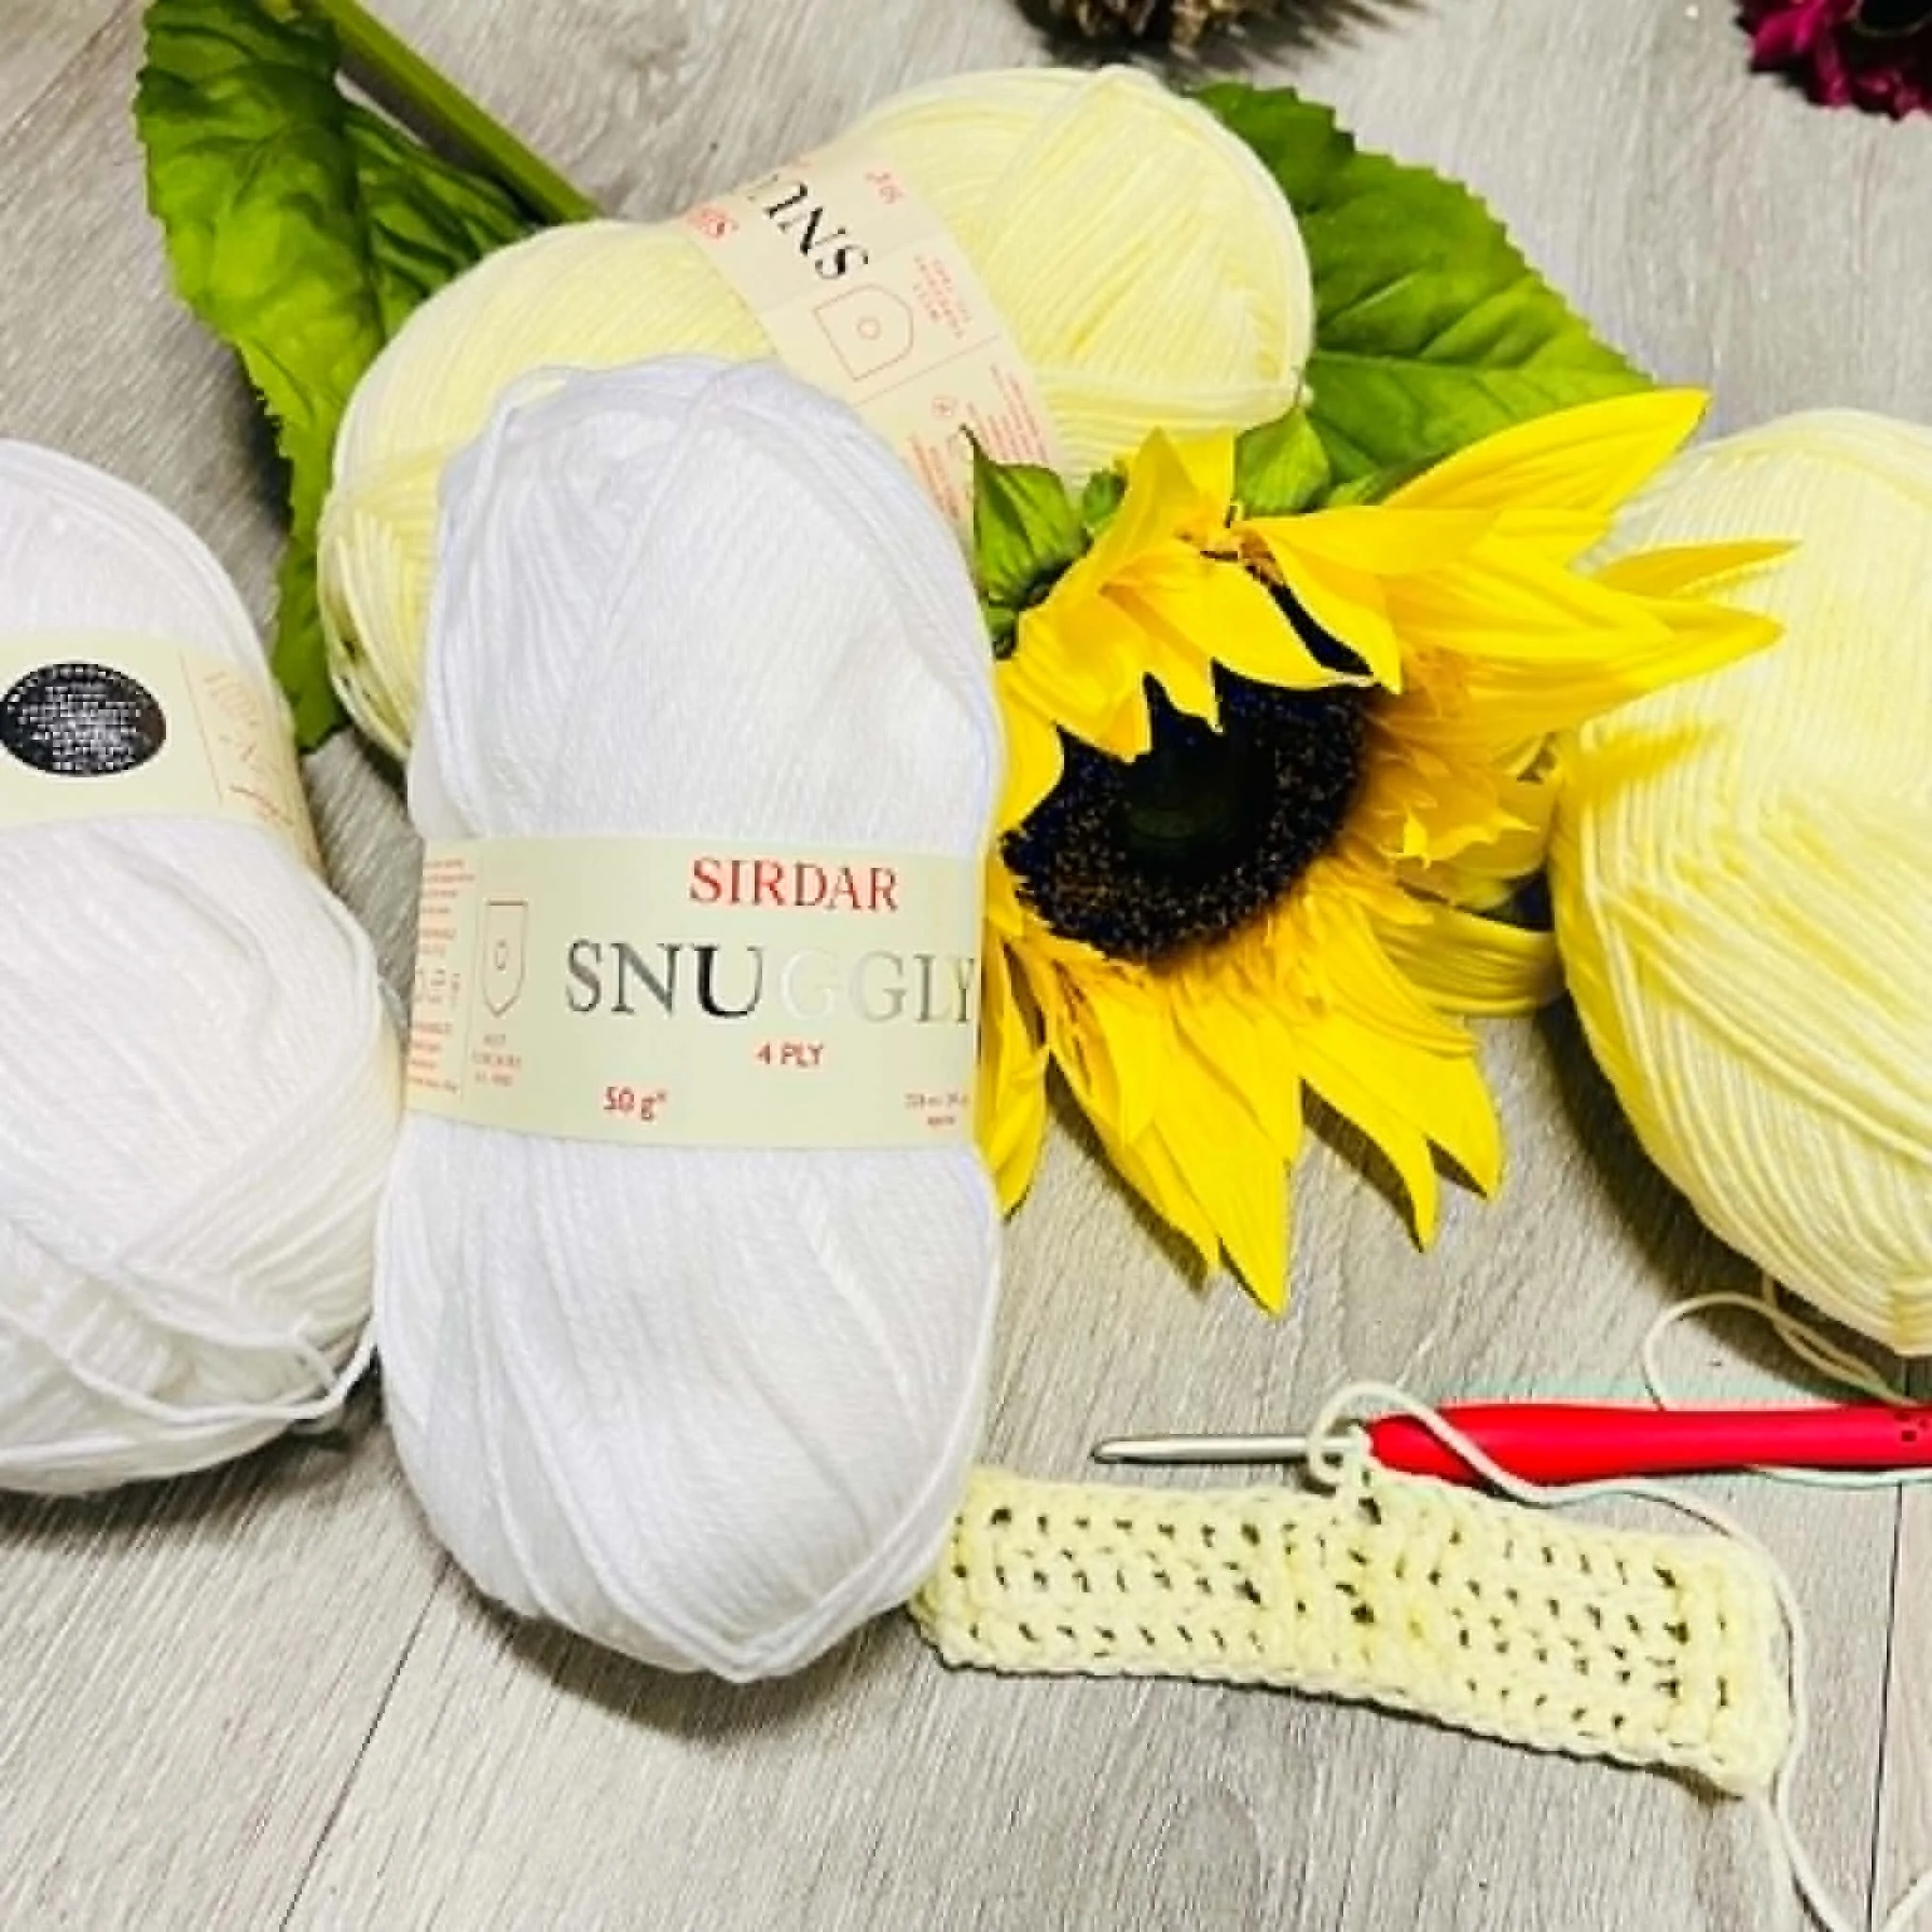
Materials: (click on any of the yarn names to source them)
1 x Stylecraft special dk Mocha. Colour 1. (C1)
1 x Stylecraft special dk Cream. Colour 2 (C2)
1 x Stylecraft special dk Parma violet. Colour 3 (C3)
1 x Ice Magic Light White, Lilac, Brown. Colour 4 (C4) or
Alternate yarn instead of Ice Magic. Stylecraft Life Changes
USA Terms used
Hook 4mm G
Darning Needle
Scissors
Stitch Markers
Notes: DO YOURSELF A FAVOUR AND READTHE NOTES
Once you have your chains to start done, you can place themaround the head you are making the hat for and adjust if you think it will notbe the right size. The starting chains must be dividable by 3 sothe pattern will work.
It is a good idea to sew the ends in as you go and to eitheruse a stitch marker or count your stitches so you don’t lose one of them asthey are slippery little suckers and tend to hide.
Ch1 stitch to begin rounds does not count as a stitch.
If you find it too confusing on the rows that you work inthe round, you can just slip stitch each round closed. Doing the rows in the round as stated in thepattern will give a better look visually to the larger sections of sc.
Treble stitches on Round 31 which you place into the frontloops you made on Round 28 count as ast. Don’t make Treble stitches tootight.
Finished Circumference: Adult Small 20 ½’ 52cm, Medium 22’ 56cm, Large 24’ 61cm
Gauge: 24 rows to 10cm . 17 stitches to 10cm
Difficulty Level Intermediate
Abbreviations.
Ch. Chain
Sl St. Slip Stitch.
St. Stitch
Sts. Stitches
Bl- Back Loop
Scbl. Single Crochet Back Loop Only.
Notes: DO YOURSELF A FAVOUR AND READTHE NOTES
Once you have your chains to start done, you can place themaround the head you are making the hat for and adjust if you think it will notbe the right size. The starting chains must be dividable by 3 sothe pattern will work.
It is a good idea to sew the ends in as you go and to eitheruse a stitch marker or count your stitches so you don’t lose one of them asthey are slippery little suckers and tend to hide.
Ch1 stitch to begin rounds does not count as a stitch.
If you find it too confusing on the rows that you work inthe round, you can just slip stitch each round closed. Doing the rows in the round as stated in thepattern will give a better look visually to the larger sections of sc.
Treble stitches on Round 31 which you place into the frontloops you made on Round 28 count as ast. Don’t make Treble stitches tootight.
Hat
With C1. Ch 75 (81,87) Do not twist Chain. Slst to first chto form a ring.
Rnd 1: (Right Side): Ch1. Sc in same Ch asjoining and in each Ch around. Slst into back loop of first sc. Turn. – 75(81,87) sts.
Rnd 2: Ch1. Bl only, Sc in each st around.Slst to join. Turn. Fasten off and cutyarn.
Rnd 3: Attach C4 in same st as join. Ch1. Blonly, Sc in each st around. Slst to join. Turn.
Rnd 4:Bl only. Sc in each st around. Slst to join. Turn. Fasten off and cut yarn.

Rnds 5-6: With C3, repeat Rnds 3-4.
Rnds7-8: With C4, repeat Rnds 3-4.
Rnds 9-10:With C2, repeat Rnds 3-4,
Rnds 11-12 With C4, repeat Rnds 3-4
Rnds 13-14 With C3, repeat Rnds 3-4
Rnds 15-16 With C4, repeat Rnds 3-4
Rnds 17-18 With C1. Repeat Rnds 3-4
Rnd 19: With C4. Sc Bl only into each Sc around. Do not cut or turn.
Rnd 20: Continue working in the round and usea marker to show where each row starts. Shift the marker after each round to the next row. Sc into both loops.
Rnds 21-22-23-24-25-26-. Repeat Rnd 20
Rnd 27: Sc into each St around. Close round with Slst.
Rnd 28: Ch1. * Scbl1, sc2* Repeat from *to * around. Close round with a Slst. Insert stitch marker 75(81, 87) sts.

Rnd 29: Ch1. Sc around. Close round with a Slst.
Rnd 30. Repeat round 29. Do not cut yarn
Rnd 31. Change to C3. Ch1, Sc1 into same st.Tr2tg the first part of this will go into the loop in Rnd 28 that has thestitch marker in it. The second partinto the next free loop. This counts asone st on row 31 (or the row you are working on). Sc2. *Tr2tg first part into same st as before and second part into the nextfree loop, sc2* Repeat from * to * around. Sc1. Close round with a Slst. Cutyarn. 25 (27,29) v’s
Rnd 32, 33, 34: Continue with C4. Ch 1. Sc in all stitches around. Do not close round, continue onto the next round with sc. (this round will work in a spiral. 75(81, 87) sts. Keep using a st marker to mark the start of each round.
Rnd 35: Sc around. Close this round with a Slst atStitch marker point.
Rnd 36: Repeat row 28
Rnds 37-38: Repeat row 29
Rnd 39: Using C2. Repeat row 31
Rnds 40-41-42: Continue with C4. Ch 1. Sc in all stitches around. Do not close round, (this round will beworked in a spiral). Continue onto the next round with Sc .75(81, 87) sts.Place a St marker at the end of the round.
Rnd 43: Continue with Sc around. Close this round with Slst at St marker.
Rnd 44: Repeat row 28
Rnds 45-46 :Repeat row 29
Rnd 47: Using C1 Repeat row 31
Rnd 48-49-50-51. Continue with C4. Ch1. Sc in all stitches around. Do not close round, continue onto the nextround with Sc. 75(81, 87) sts. Place aSt marker to show the end of each round. Fasten off and cut yarn.
Rnd 52-53-54: Attach C1. Sc in all stitches around. Do not close round, continue onto the next round with sc. Place a St marker to show the end of each round. Fasten off and cut yarn. 75(81, 87) sts.
Closing the top of the Hat:
Step One: Lay the hatflat and neatly folded into half. Measure in 3.5 “(3.”, 3.9’”inches) 9 (10, 10)cm.

Step Two:
Tuck the measured section in on itself or folded in onitself.

Step Three:
With your darning needle and C1. Use tacking stitches to hold the fold inplace for when you crochet around it.

Step Four:
Repeat the last three steps on the other side.
Step Five:
Starting at a fold edge, attach yarn and slip stitch the twolayers of the fold together. Slst acrossthe middle top of the hat and onto the left-hand fold edge. Fasten off and cut.

Step Six:

You will now have two folded edges remaining to do. Attach the yarn at one of them and Slstacross to close. Fasten off andcut. Attach yarn at other fold edge, slst across to close.
Sew in any ends.
A free Pdf version of this pattern is available on Ravelry (Click here). Please give some of my pattern some love if you visit and pop a few in your favourites.
Now for the Boring Stuff!!!
Many hours of work has gone into the designing and producing of this pattern, You are purchasing/downloading this pattern for personal use only. Please do not copy, rewrite, or redistribute this pattern as your own or otherwise. Please do not resell my patterns.
You are welcome to sell items made from this pattern, but please credit me as the designer and add a link to purchase my pattern in your sale.
Please note my patterns and my images are copyright protected, please do not use my images to sell your items.
This pattern has been tested by a large group of pattern testers, with varying abilities in crochet.
If you are on Ravelry, please add your finished photos as projects as I love to see your finished work.
This post may contain affiliate links.