

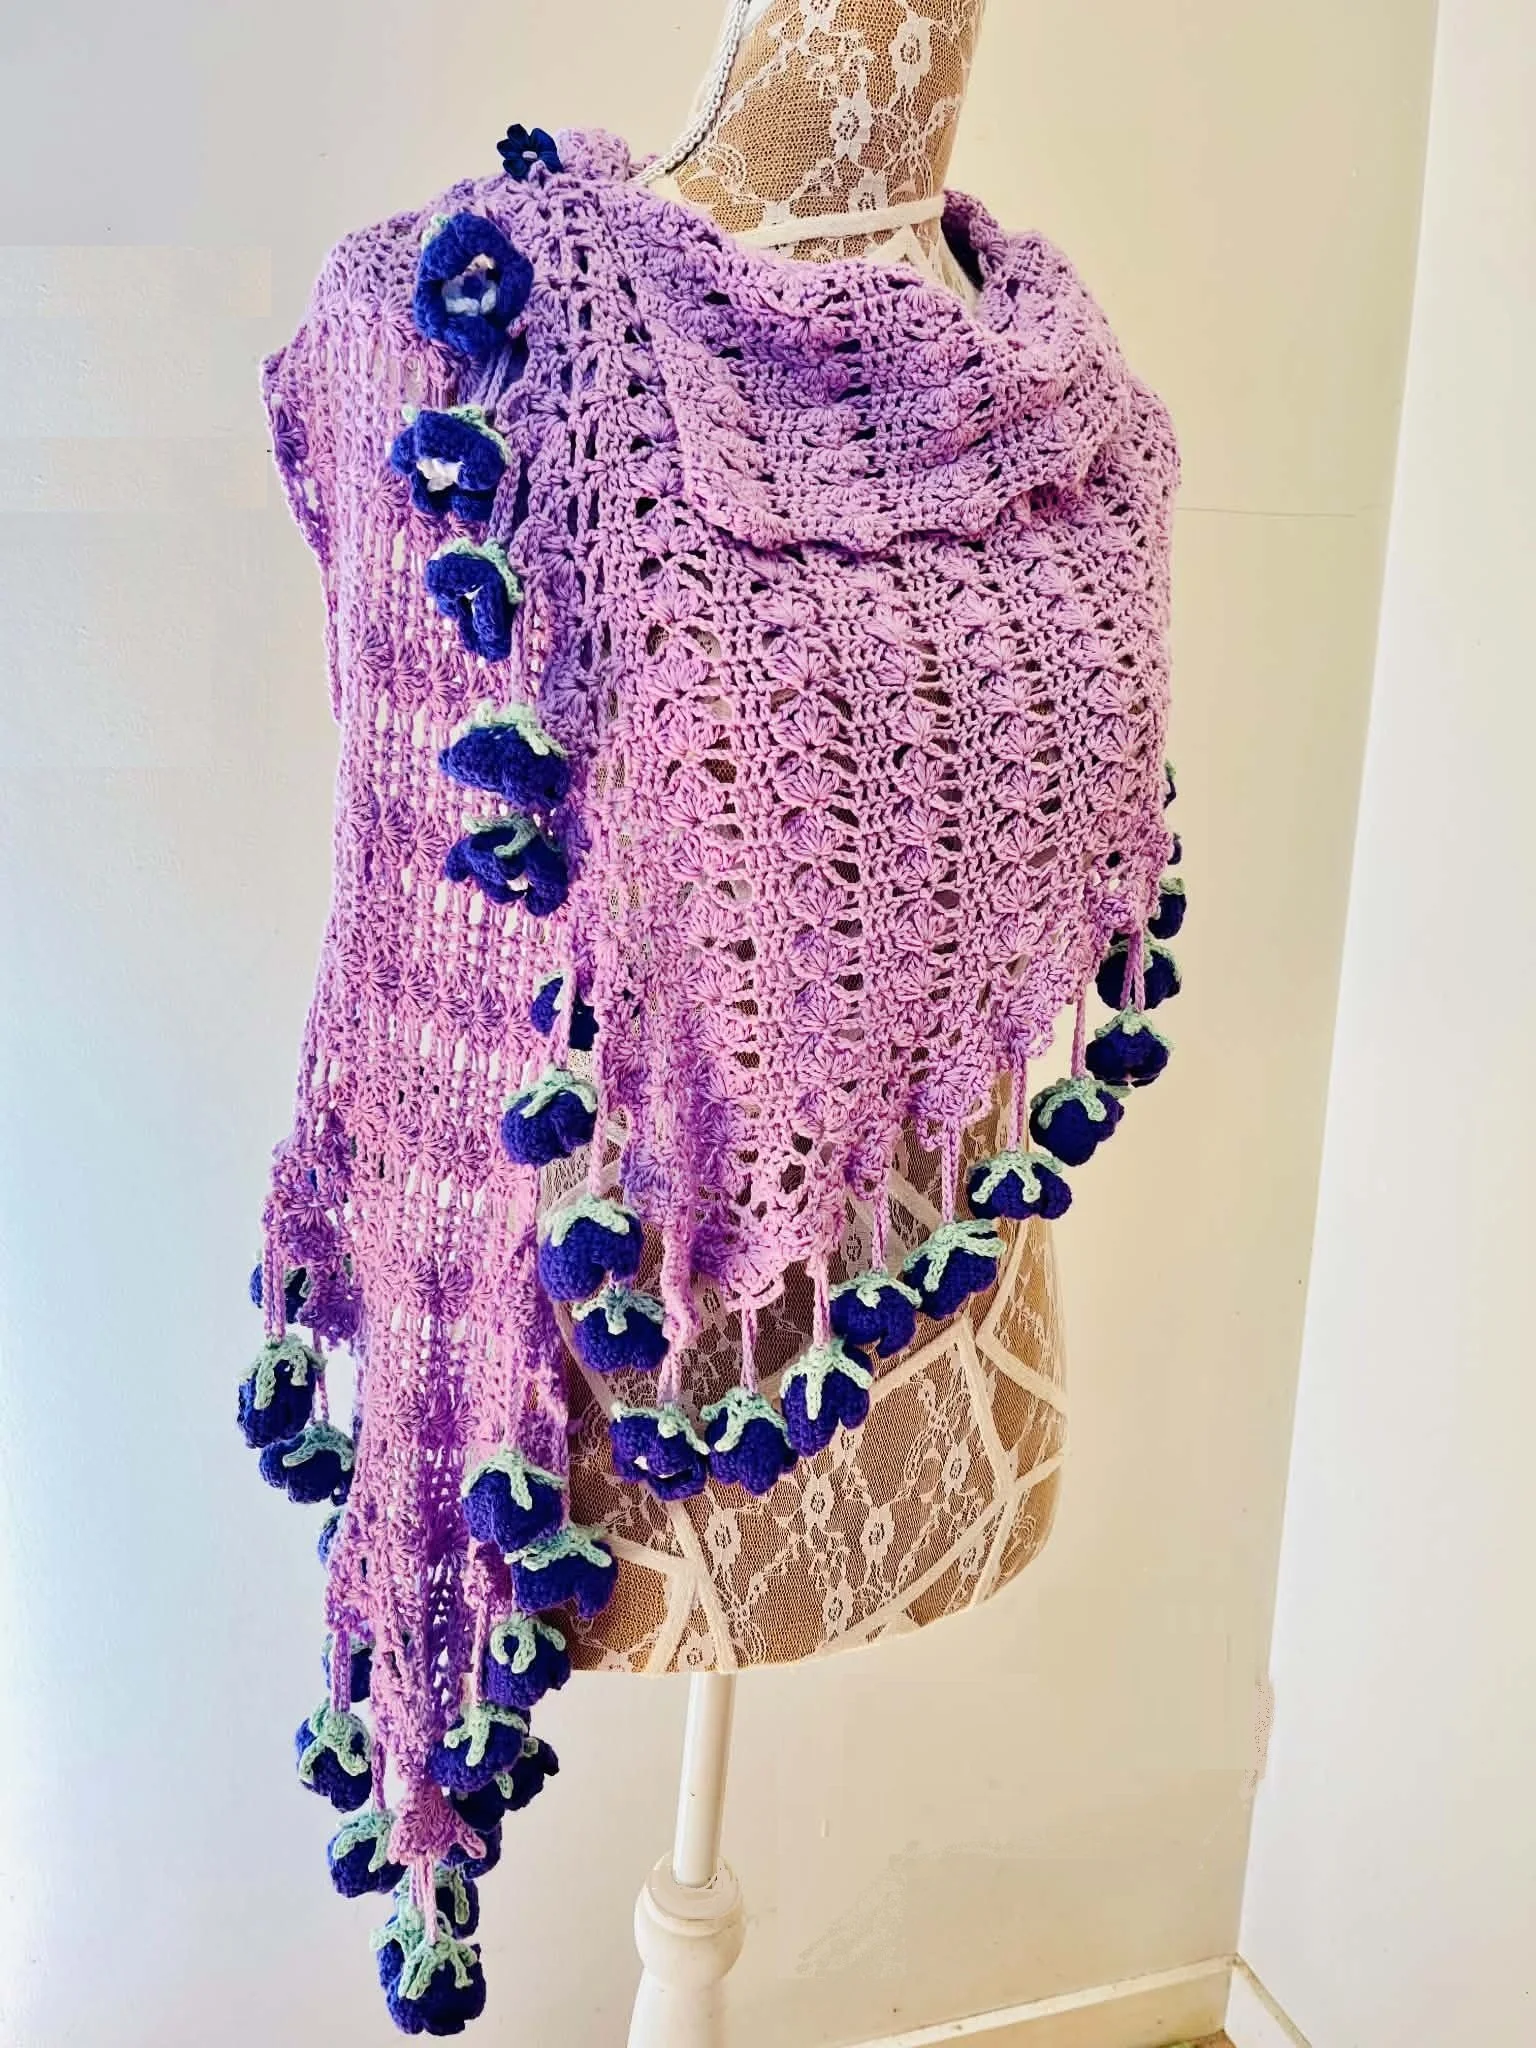
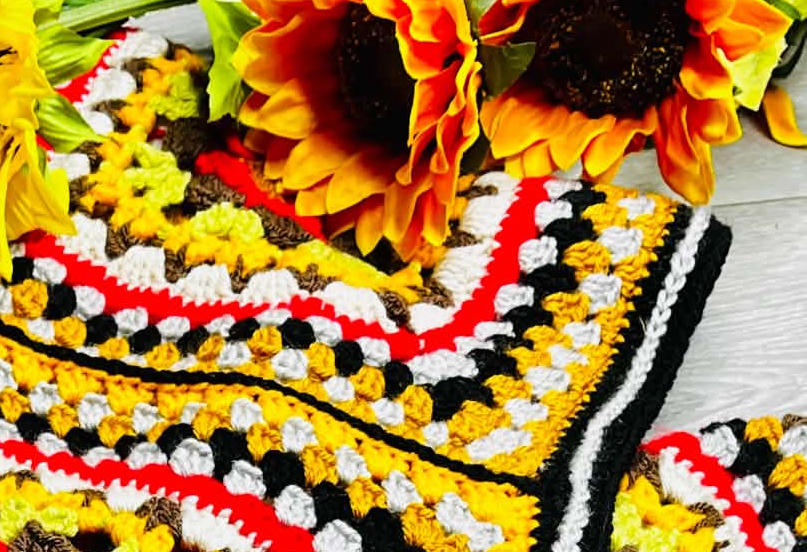
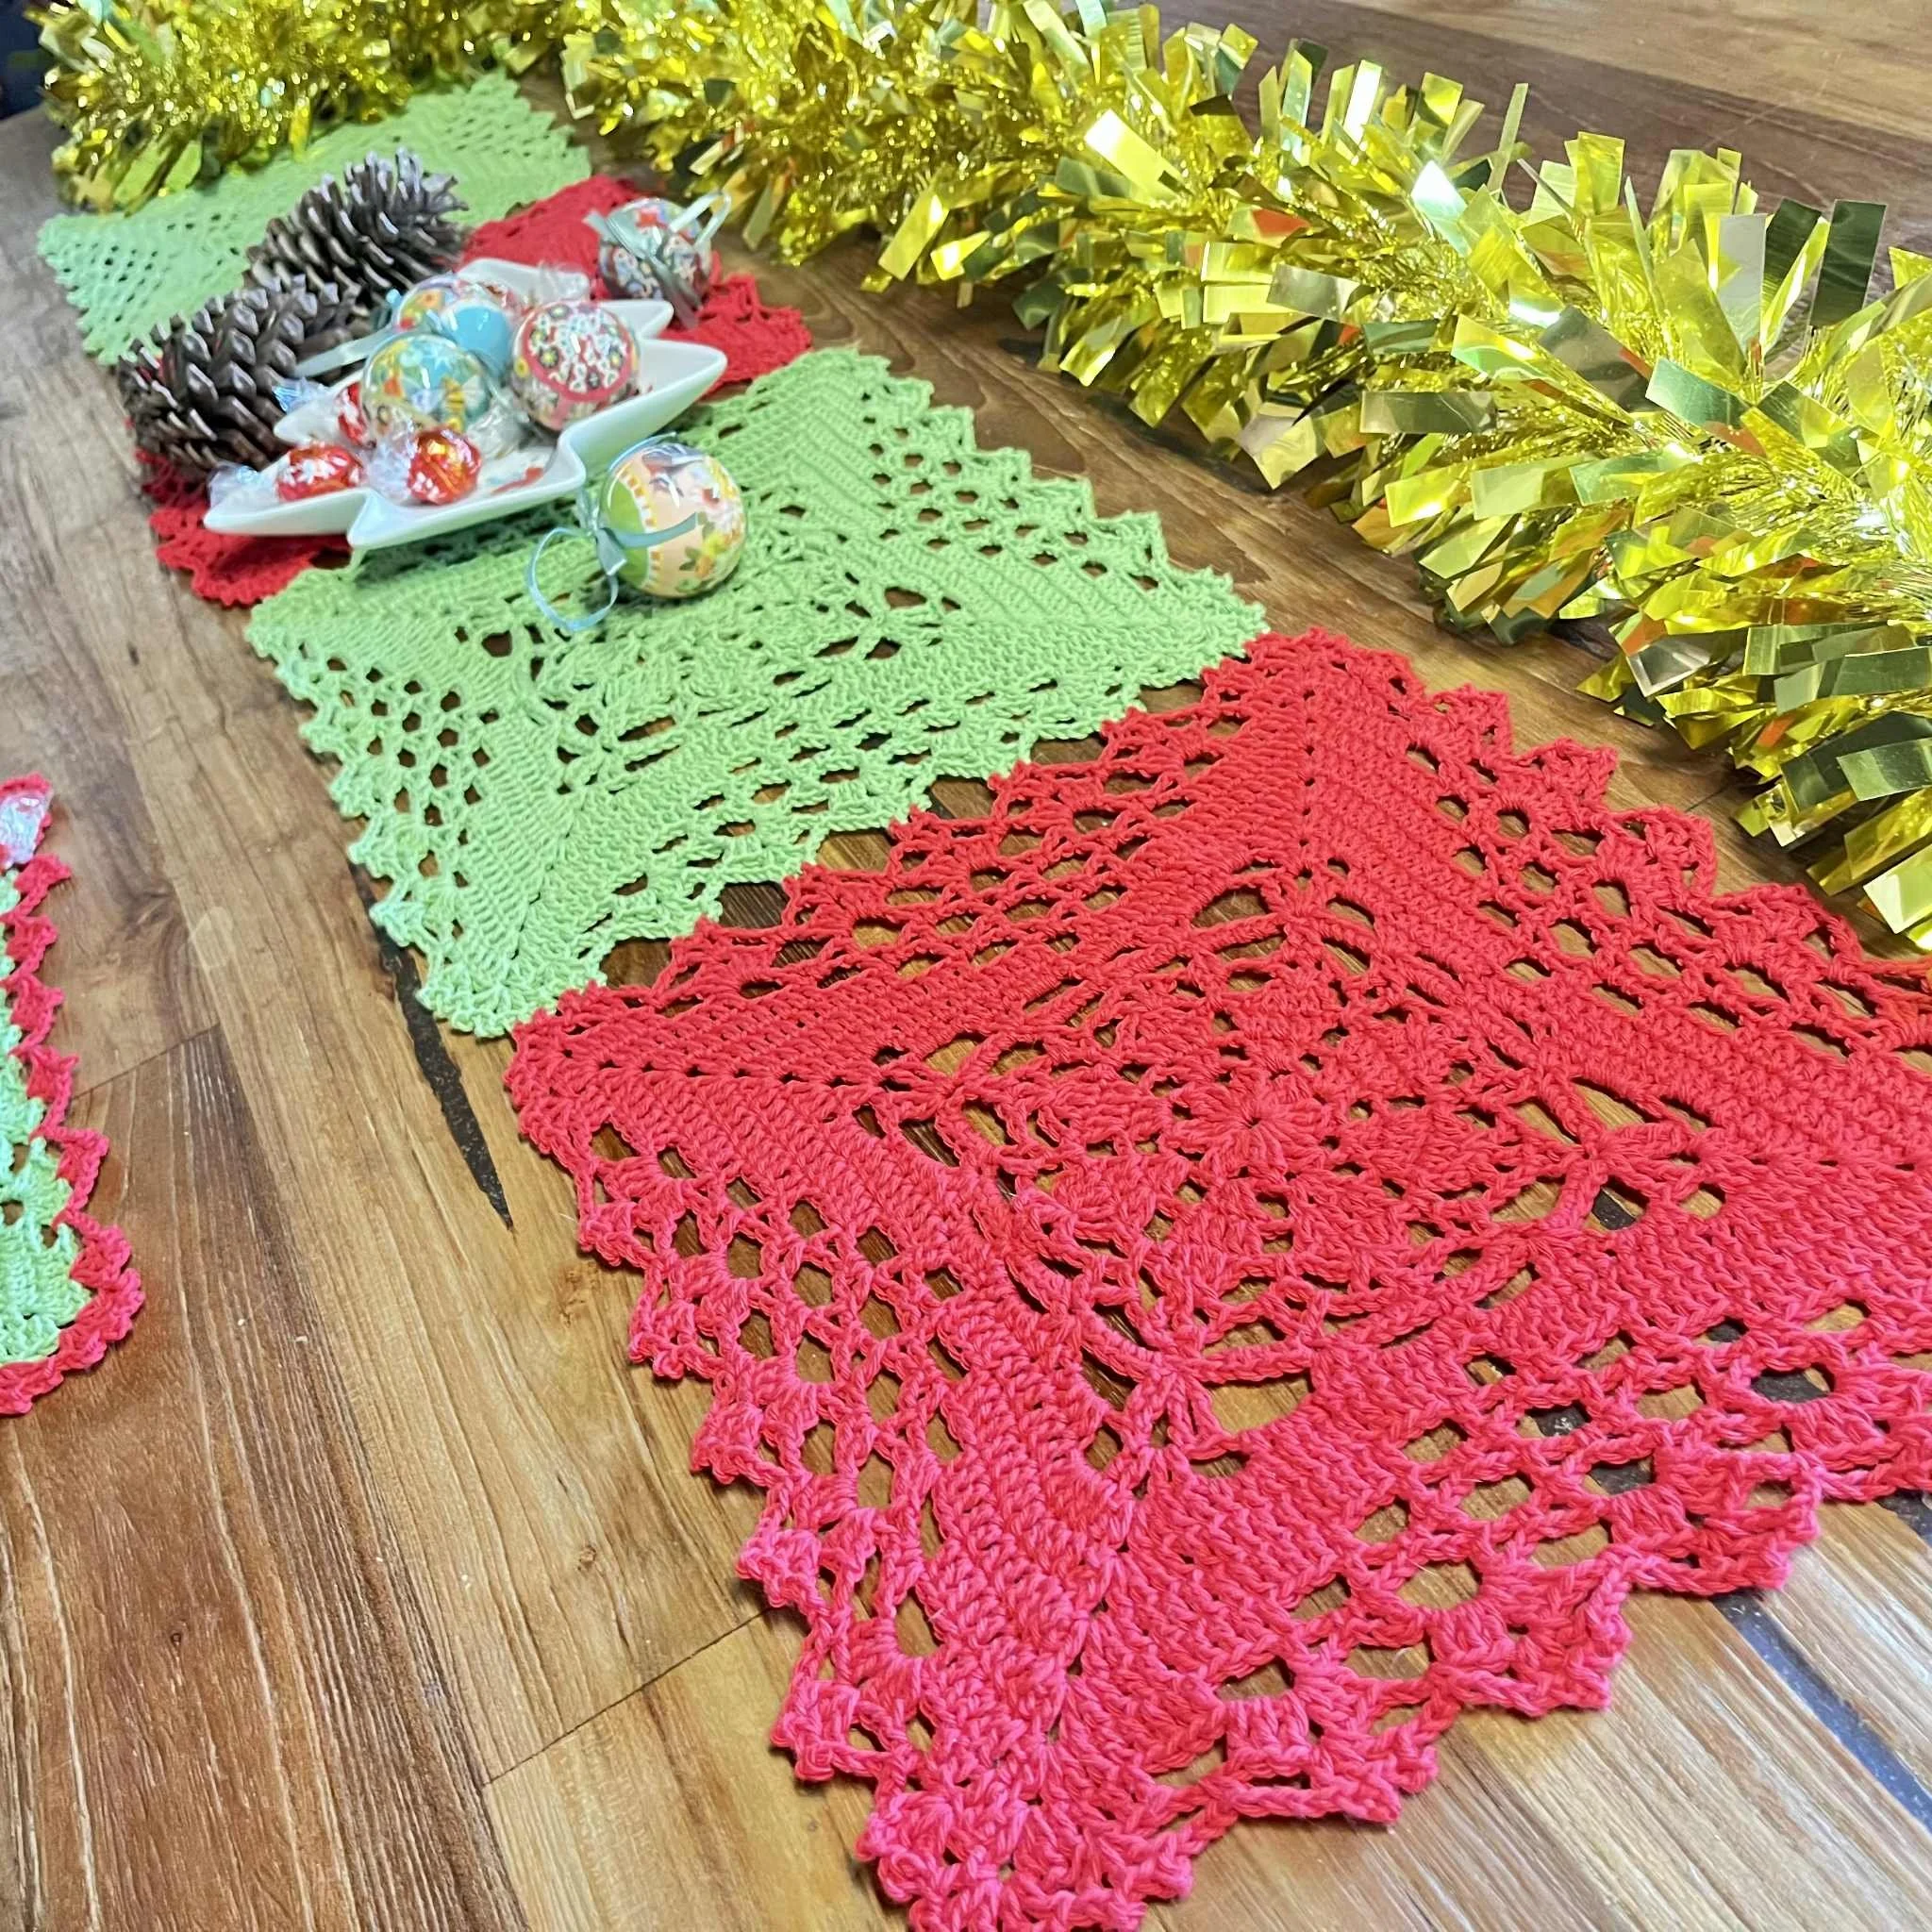

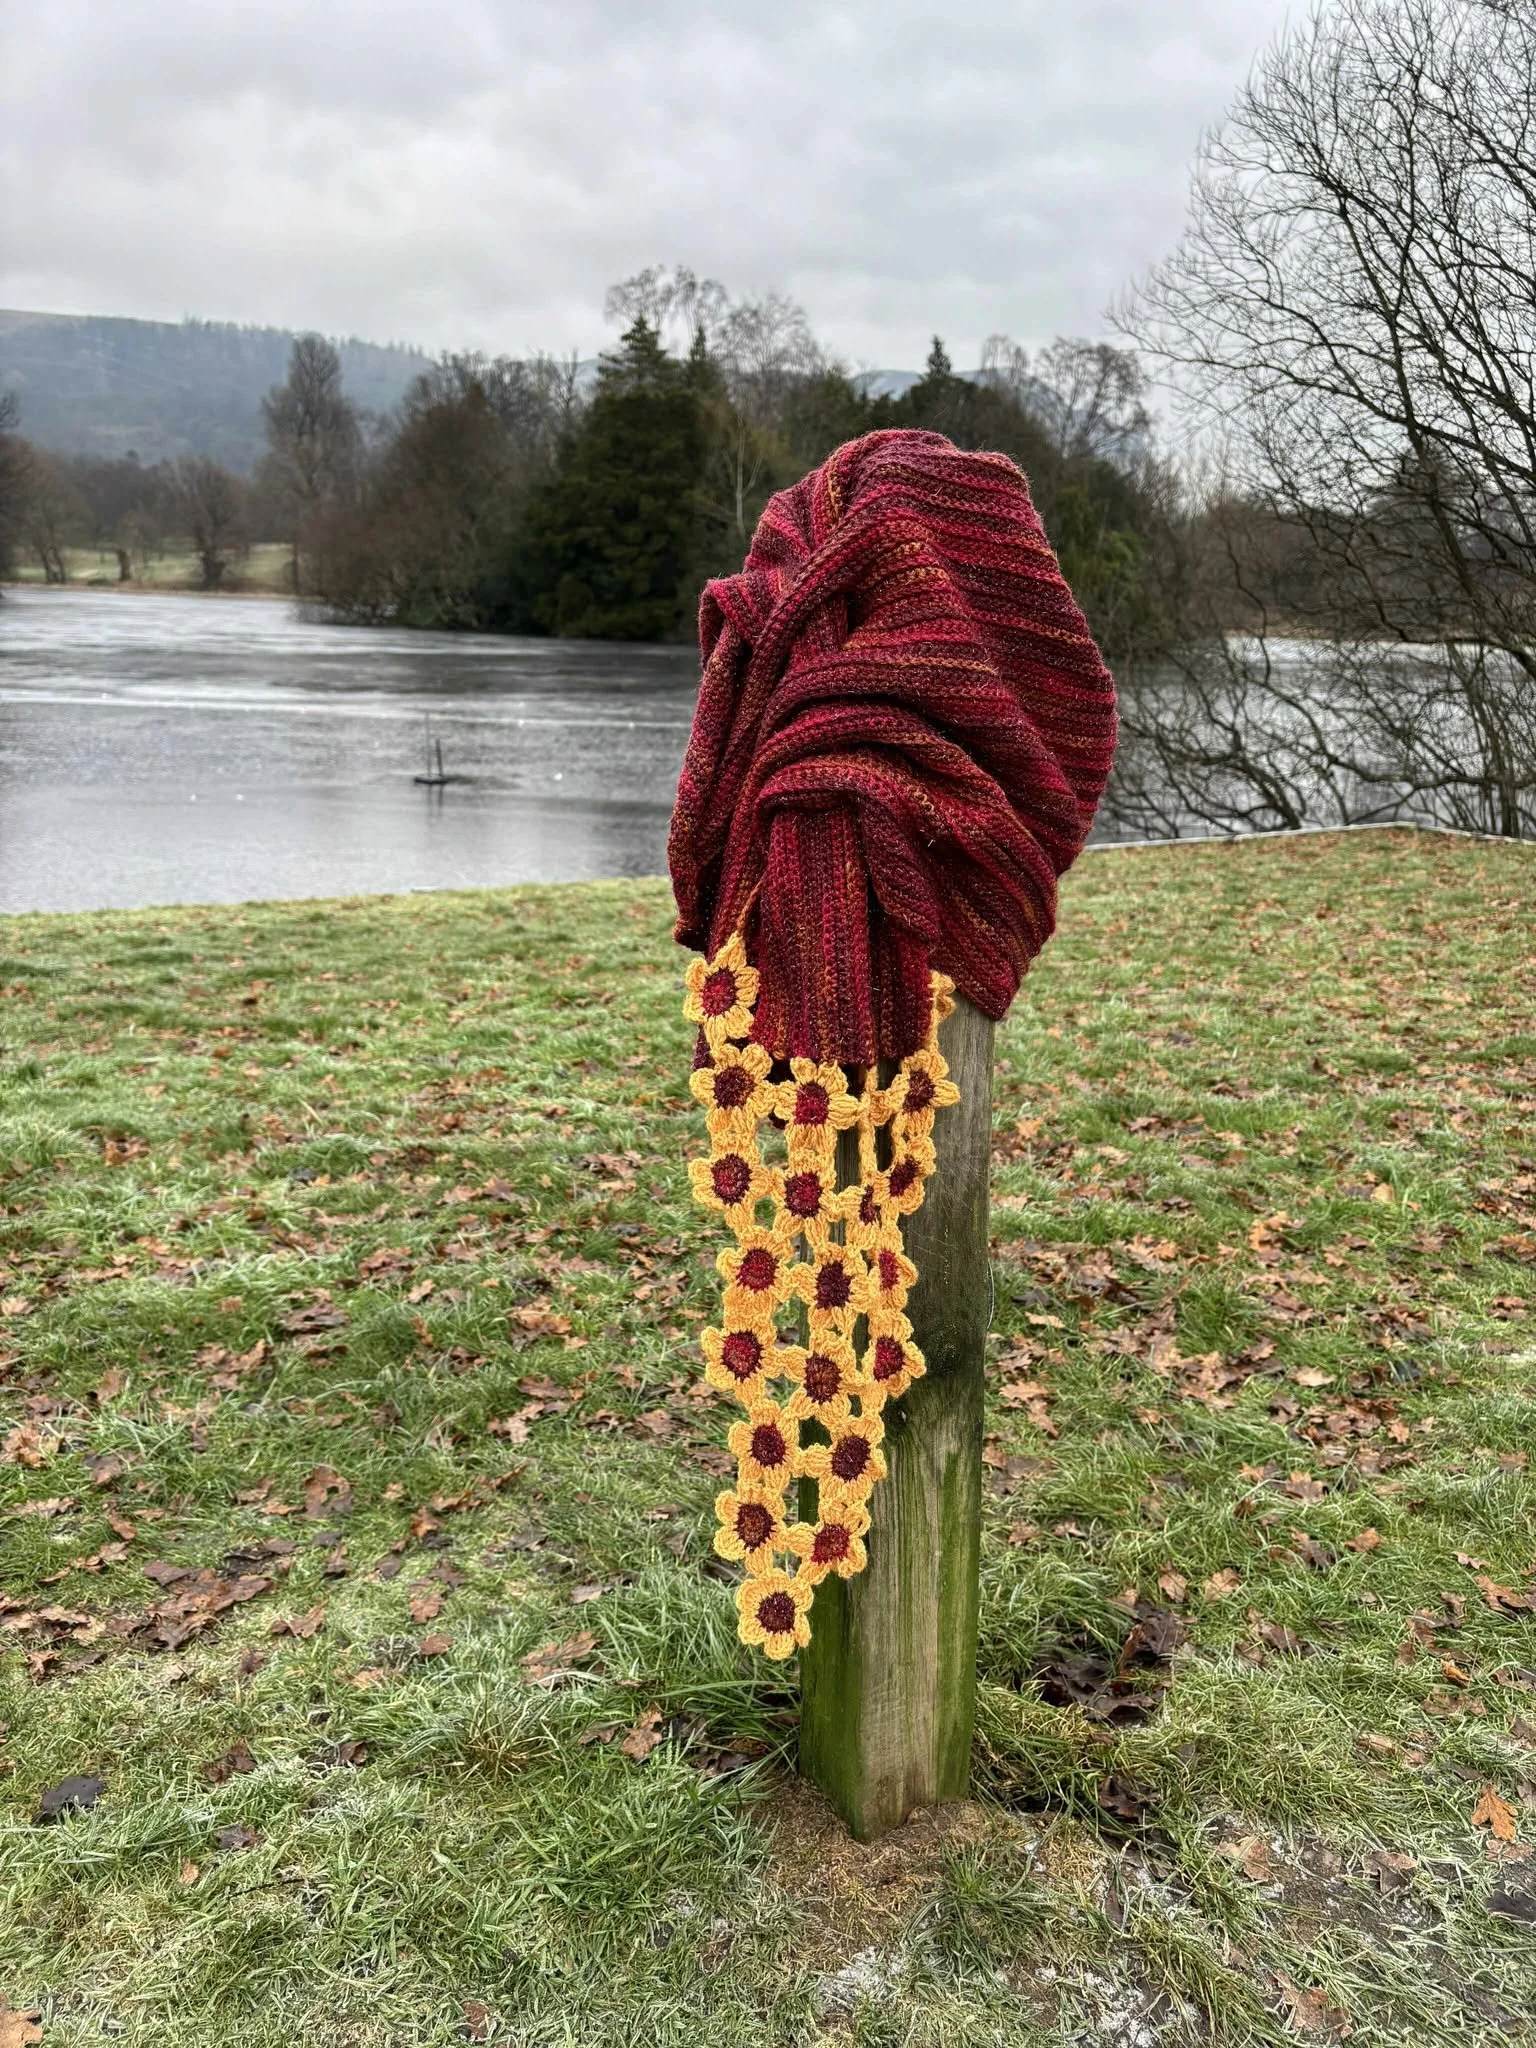
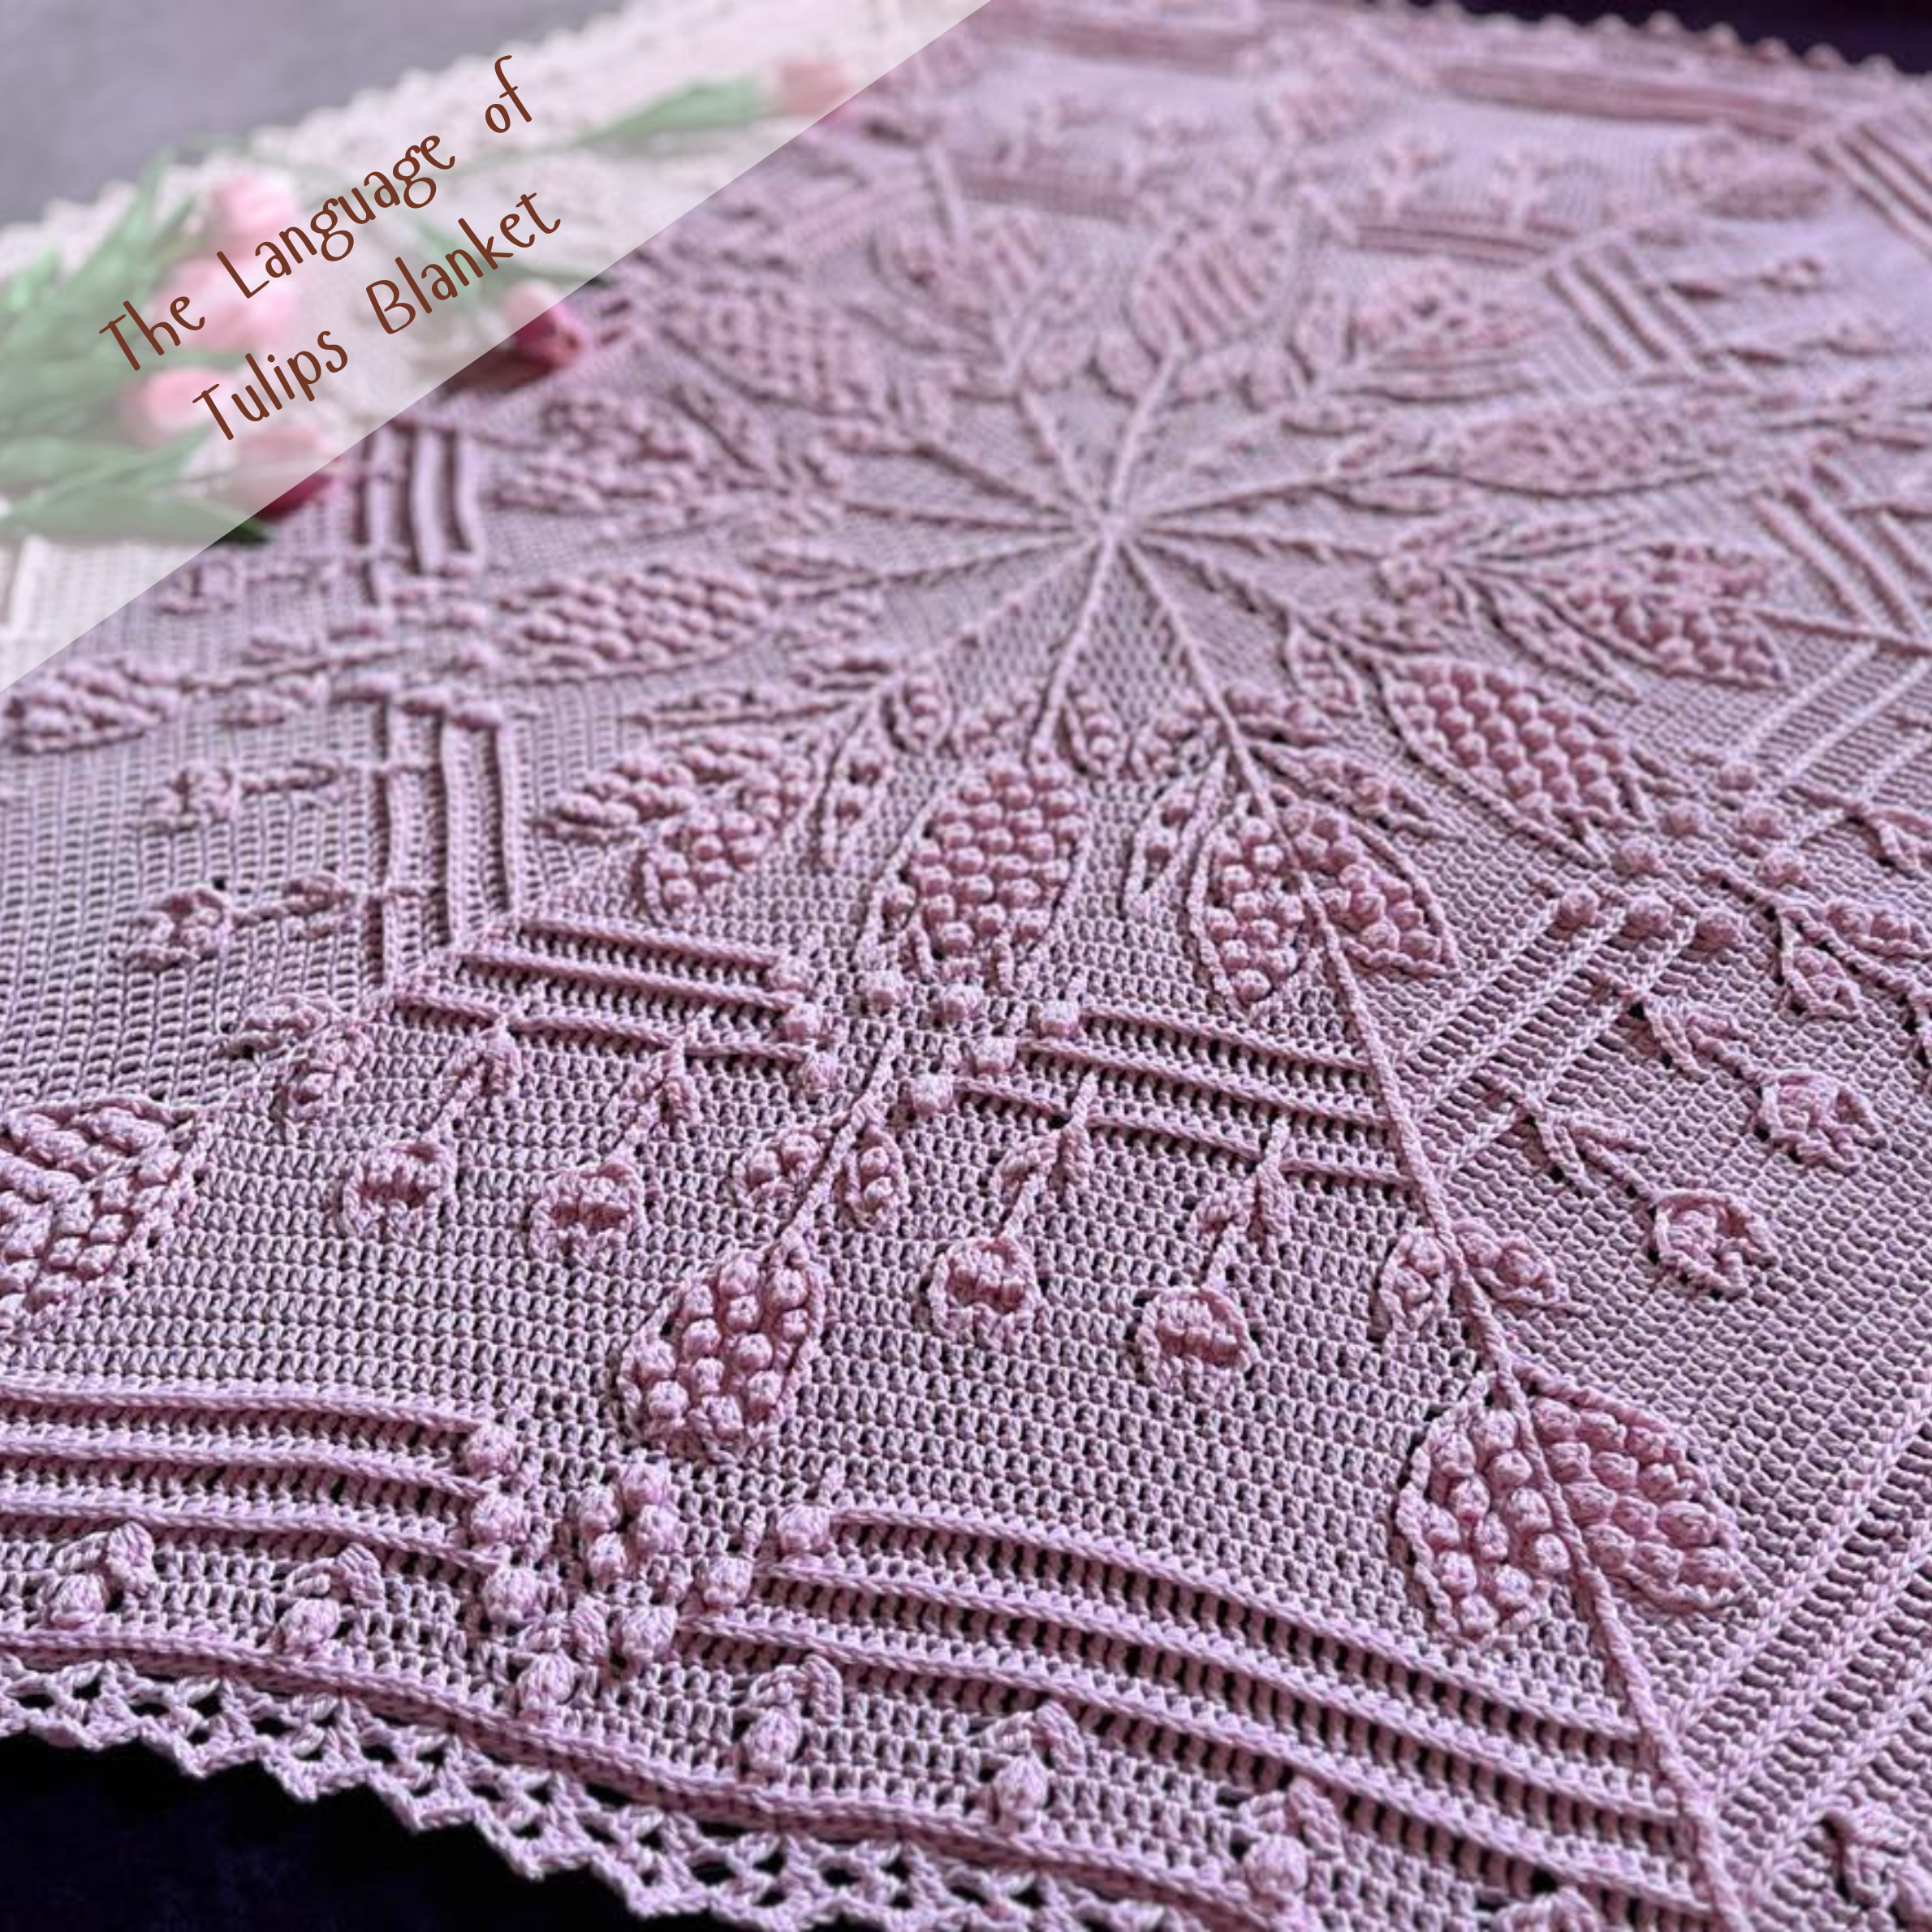
When stitches go every which way, understanding the instructions is what guides you through the chaos. Pictured above is The Language of Tulips Blanket.
Opening a new crochet pattern should be exciting, not confusing. If you've ever looked at a pattern and wondered what all the brackets, symbols, stitch counts, and abbreviations mean, you're not alone.
Over the years I have developed a pattern style that aims to provide as much guidance as possible while keeping instructions clear and easy to follow. Whether you're working from one of my dragonfly designs, a shawl, blanket, purse, or motif pattern, the same formatting principles apply throughout.
This guide explains the symbols, brackets, and pattern conventions you'll find in Auburncraft Crochet Design patterns.
Why I Format My Patterns This Way
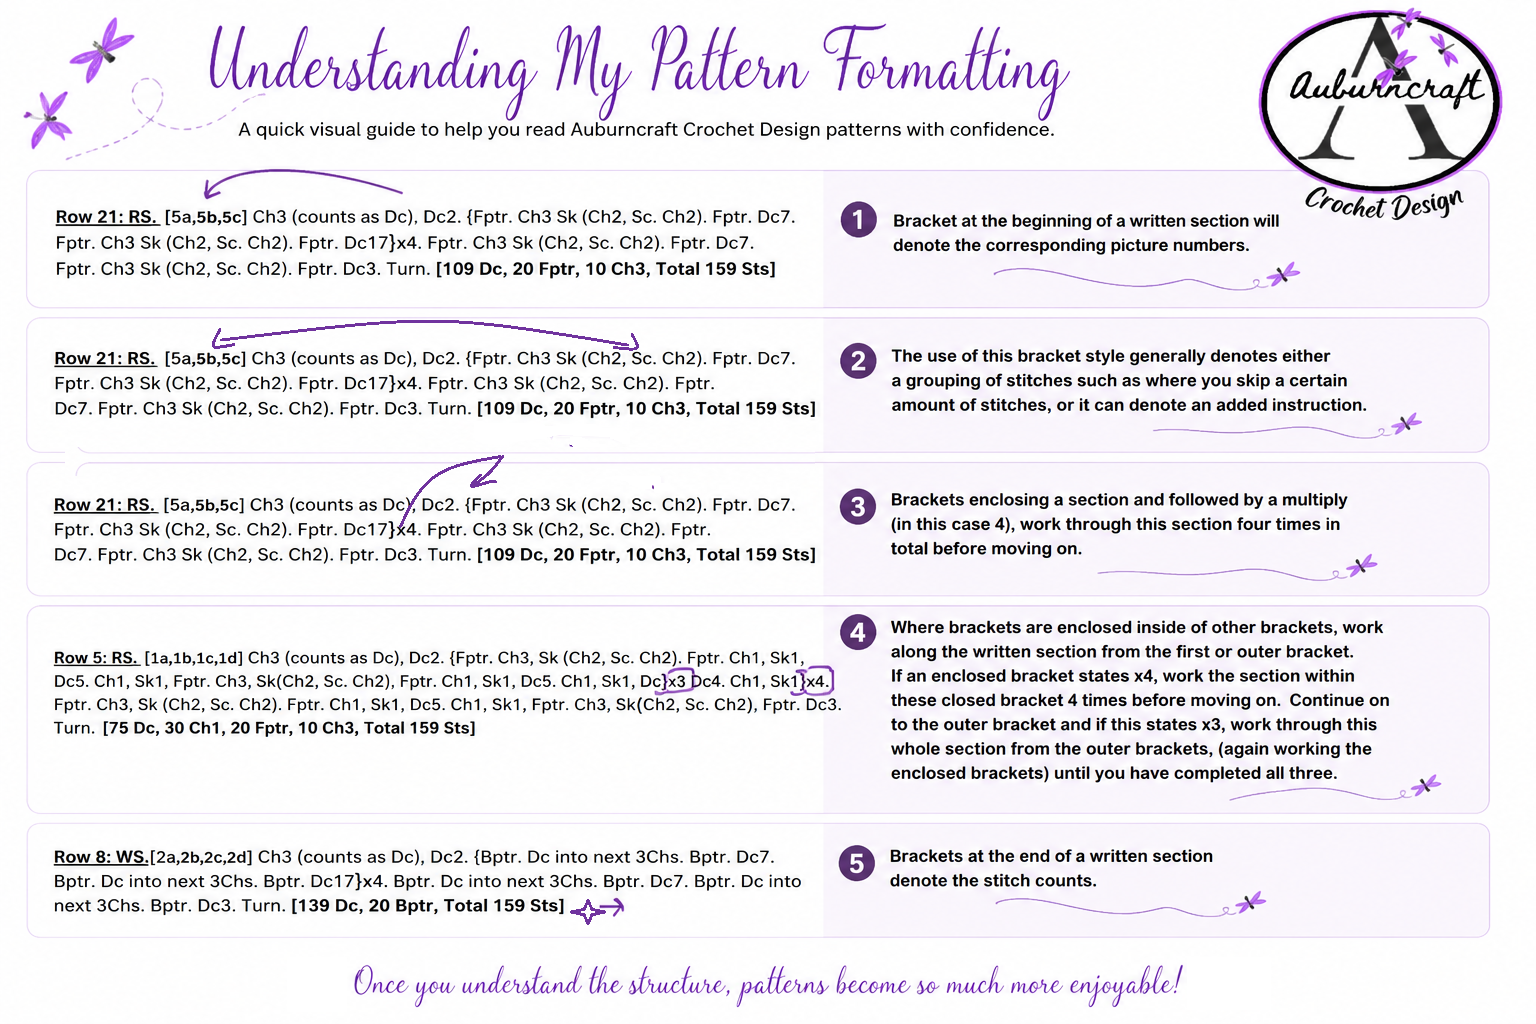
Crochet patterns can quickly become difficult to read when multiple repeats, stitch groups, and special stitches are involved.
My goal is to make patterns easier to follow by:
Clearly identifying repeats
Showing stitch groupings at a glance
Providing row-by-row stitch counts
Including charts whenever possible
Including tutorial photographs for additional guidance
Offering both US and UK terminology where available
Once you understand the formatting, you'll find the patterns become much easier to read.
Understanding Brackets and Symbols
It's not rocket science. It's crochet. The brackets are just there to keep the stitches from escaping!
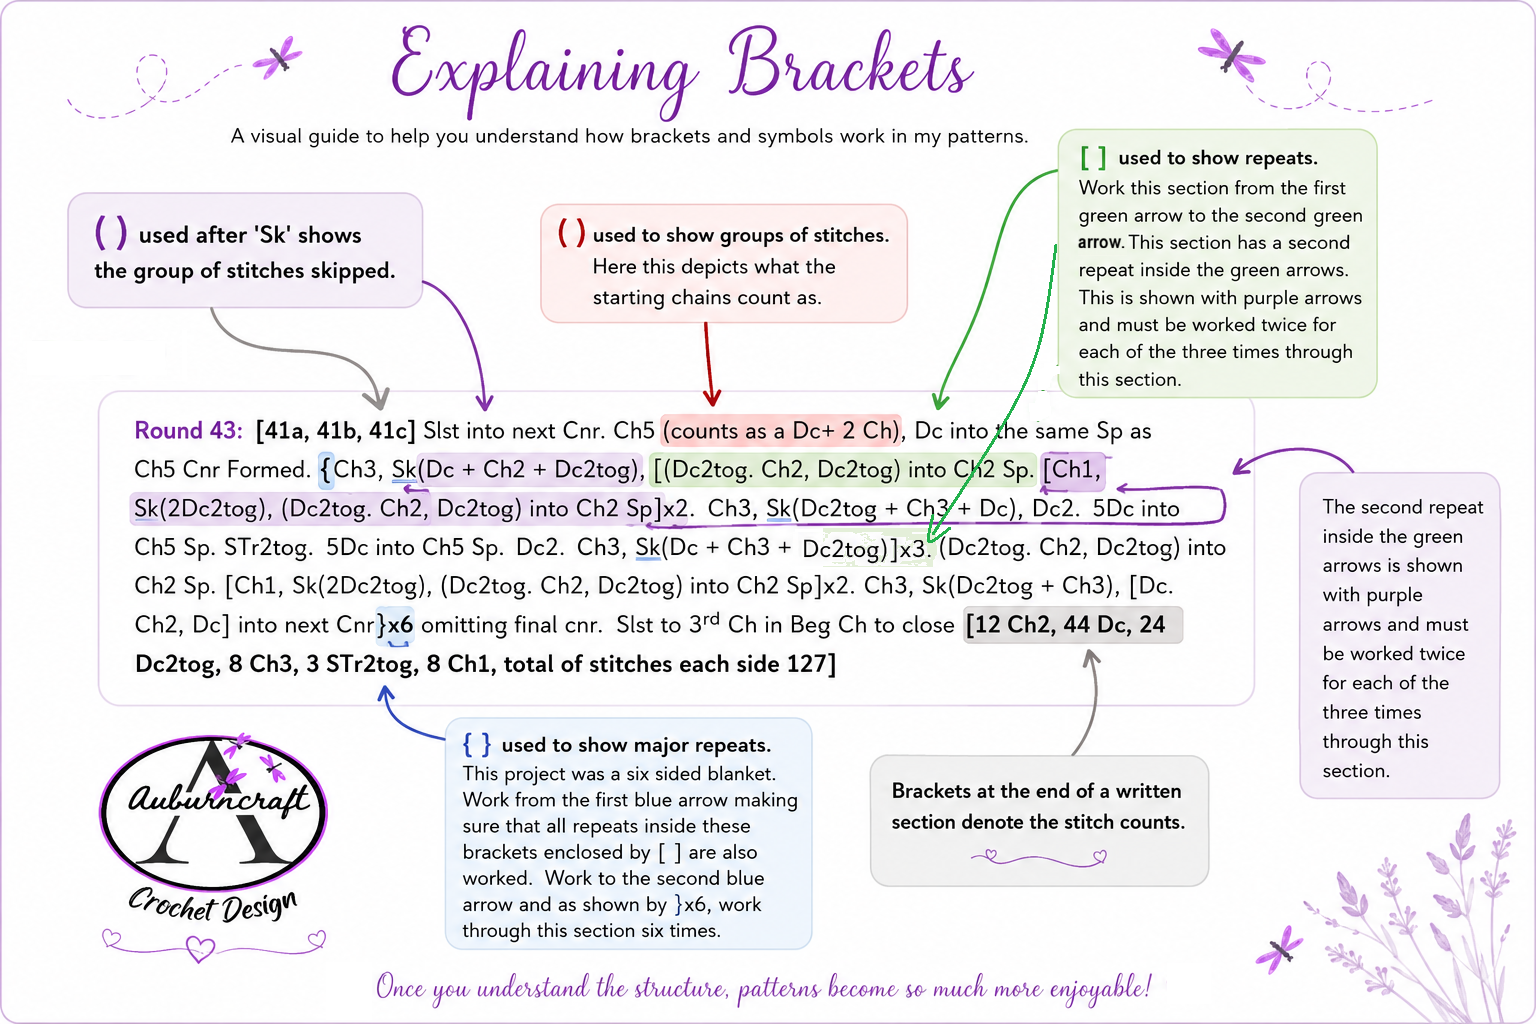
Round Brackets ( )
Round brackets are used to provide additional information.
You may see them used for:
Starting chains that count as stitches
Stitch definitions
Instructions for skipped stitches
Grouped explanations
Example:
Ch1 (counts as Sc)
This means the starting chain is counted as a single crochet.
Square Brackets [ ]
Square brackets indicate a section that is repeated.
Everything inside the brackets is worked the specified number of times.
Example:
[Sc, Ch2, Dc] x3
Work:
Sc, Ch2, Dc
Then repeat the same sequence two more times for a total of three repeats.
Curly Brackets { }
Curly brackets are used for larger sections that may contain multiple stitch groups or nested repeats.
These are particularly useful in more advanced patterns where a complete section needs to be grouped together for clarity.
Example:
{ [Sc, Ch2, Dc] x4, Ch1, Skip next St }
This allows larger sections of instructions to be read more easily.
The Plus Symbol (+)
The plus symbol shows stitches that are worked together within the same stitch or space.
Example:
(3Hdc + Ch3 + 3Hdc) into next St
This means:
Work 3 half double crochet stitches
Chain 3
Work another 3 half double crochet stitches
All into the same stitch.
The plus sign helps separate the individual components of the stitch group, making complex instructions easier to read.
Understanding Skipped Stitches
Sometimes patterns require skipping several stitches or a combination of stitches and spaces.
Rather than asking you to count each element separately, I place the skipped section inside brackets.
Examples:
Sk(Sc + Ch2)
or
Sk(Sc, Ch2, Sc)
The bracketed section shows exactly what should be skipped before continuing.
This often makes lace and filet crochet patterns easier to follow.
3Dc vs Dc3 — What's the Difference?
This is one of the most important formatting rules used throughout my patterns.
3Dc
A number before a stitch means all stitches are worked into the same stitch or space.
Example: 3Dc - Work 3 double crochet stitches into one stitch.
———————————————————————————————————————-
Dc3
A number after a stitch means the stitch is worked into consecutive stitches.
Example: Dc3 - Work 1 double crochet into each of the next 3 stitches.
The same principle applies to all stitches:
Sc3 or 3Sc
Hdc3 or 3Hdc
Tr3 or 3Tr
and so on.
Understanding this distinction makes stitch placement and stitch counts much easier to follow.
Pattern Photos and Tutorials
Many Auburncraft Crochet Design patterns include tutorial photographs.
When present:
Bold numbers at the beginning of a row correspond with tutorial photographs.
These photos provide visual guidance for that specific stage of the pattern.
For visual learners, these photos can be extremely helpful when working more complex stitch patterns.
Stitch Counts
At the end of each row or round you will find the stitch count displayed in bold square brackets.
Example: [48 Sts]
This allows you to quickly check your work and identify any mistakes before moving on.
I strongly recommend checking stitch counts regularly, particularly when working lace, filet crochet, shawls, and motif patterns.
Starting Chains and Standing Stitches
Patterns include starting chains where required and indicate what those chains count as.
Personally, I prefer using standing stitches whenever possible because they often create a neater finish.
If you are comfortable using foundation stitches, you may also substitute foundation rows in place of starting chains where appropriate.
Right Side (RS) and Wrong Side (WS)
You may occasionally see:
RS = Right Side
WS = Wrong Side
These indicate which side of the work should be facing you.
Unless otherwise stated, photographs shown within my patterns are usually taken from the right side of the work.
US and UK Crochet Terminology
Many Auburncraft Crochet Design patterns are available in both US and UK terminology.
Be sure to check which version you are using before beginning your project, as stitch names differ between the two systems.
Final Thoughts
Crochet patterns often look complicated at first glance, but once you understand the structure they become much easier to follow.
My aim is always to provide clear instructions, detailed stitch counts, charts where possible, and plenty of photographs to help guide you through each design.
If you're ever unsure about a particular instruction, don't hesitate to reach out. I'm always happy to help fellow crocheters enjoy the journey from first stitch to finished project.