



Yes, getting a cushion insert for your newly made crochet cushion is probably the best option. This is especially true if you want the cushion to be easily washable.
This is not always an available option. Maybe this cushion is not your average size or shape, so you just want to add stuffing.
Using stuffing on its own can have its problems. Bits of the stuffing end up popping out through the crochet.
There is a solution to this little issue and I used this method in my, 'Wish Upon a Star' cushion.
Instead of just the usual white fluffy stuffing, purchase some wadding. This is readily available from any fabric store and many craft suppliers. You can usually buy it by the metre/yard.

Most cushions are made in at least two pieces. Prior to joining the piece together, cut wadding to the general shape of your cushion, just slightly smaller. With a darning needle and thread, tack the wadding to the inside of the cushion.

You can then proceed to join your cushion pieces together and stuff as usual.

The Wadding reduces the amount of stuffing required for the project and prevents any stuffing from popping through the crochet.
Project featured uses Paintbox Simply Chunky yarn. The pattern is available here.

If you appreciate this little cheat, please give my post a like. It is a simple thing but lets me know my efforts are appreciated.
Disclaimer: This post may contain affiliate links.


 Do you ever find yourself watching a show and getting inspired to grab your hook? I do!I have been binge watching Frankie Drake Mysteries of late and just loving the 1920's fashion. Really lovely trousers and dresses. But oh, the hats! I found myself in love with them. Next thing I knew I had my hook in my hand.I am pretty happy with the results and would like to think that Frankie would rock this hat!The hat is out with my long-suffering testers at present and will be published in the next few weeks.This uses a 5mm hook and an Aran or Chunky Yarn. Whichever makes gauge. I made this one with Lincraft Balmy. The hat is one size only. Circumference is 22 inches. Larger or smaller could be achieved using a larger or smaller hook. Or adjusting the yarn thickness.The embellishments on the hat are made using Surface Slip Stitch and the band is done with a length of Ribbon.Watch this space for an update when published.


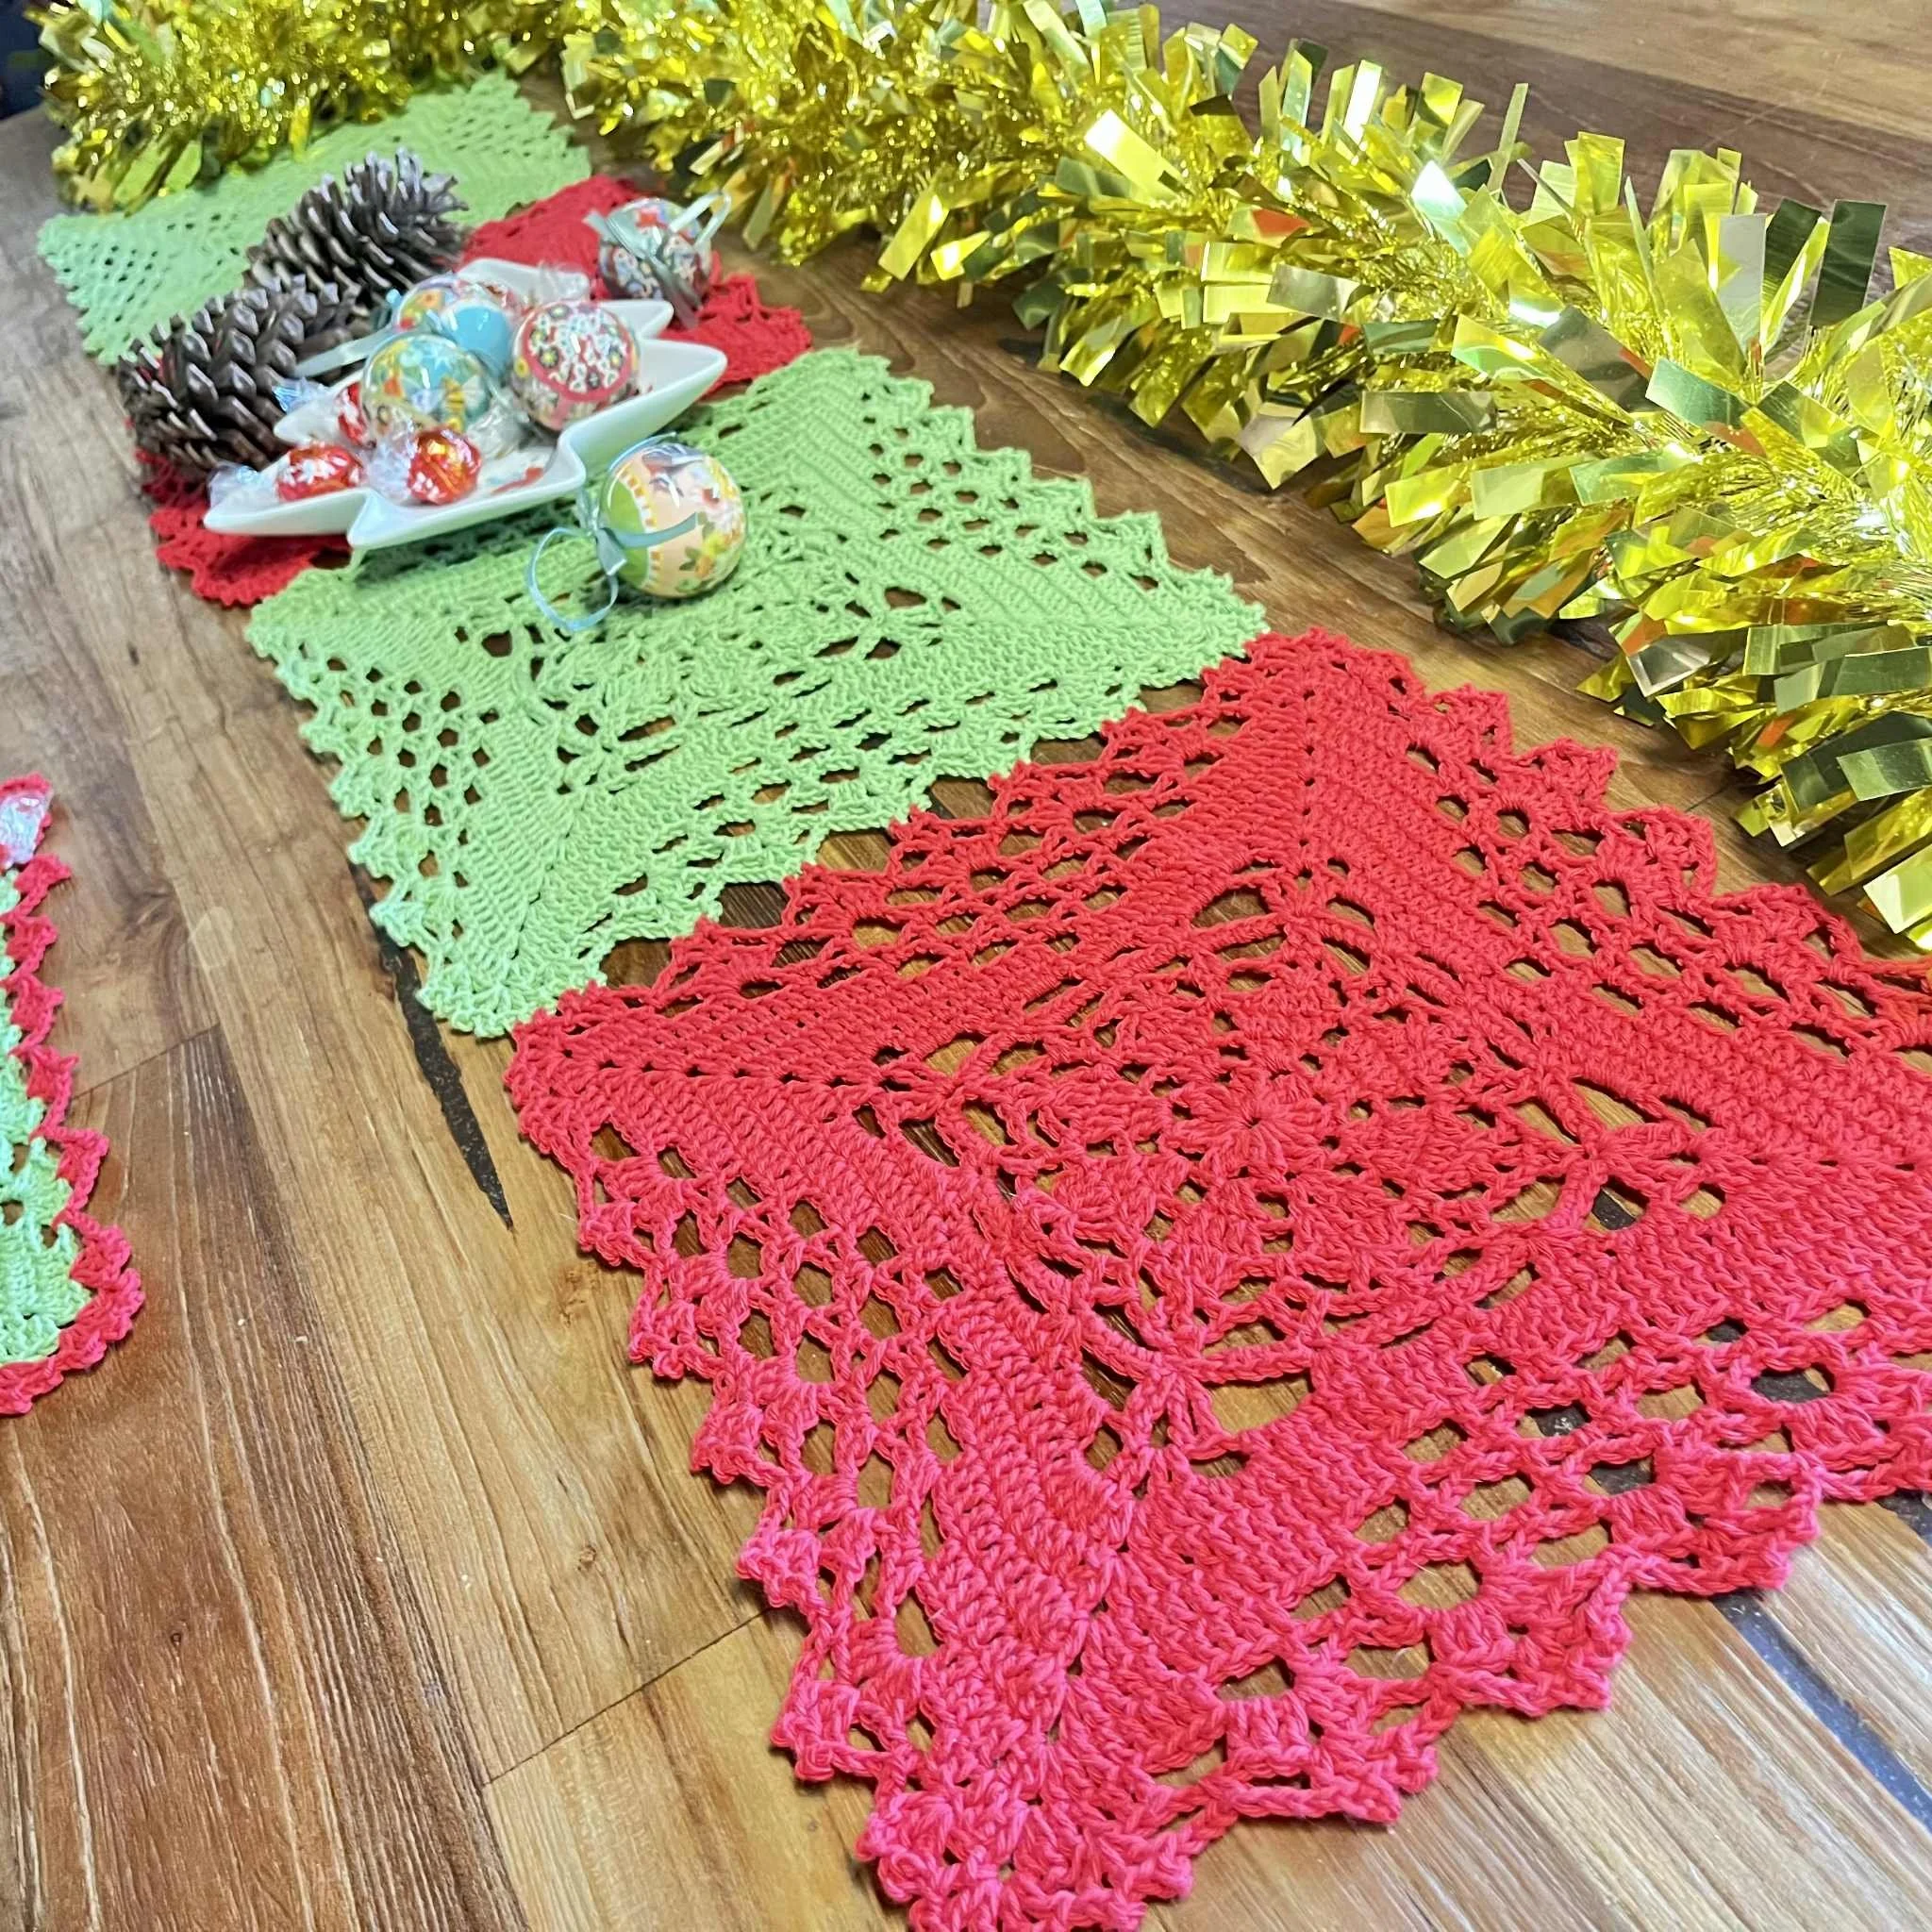
 Use stitch markers to keep track of decrease rows.Ch25.Row 1. Sc into 4th ch from hook. Sc in each ch across. Turn (23)Row 2. Sc Dec. Work 1 sc in next 19 st’s. Sc Dec. Turn (21)Row 3. And every alternate Row from here. Ch1. Sc in each st across. Turn.Row 4. Sc Dec. Work 1 sc in next 17 st’s. Sc Dec. Turn (19)Row 6. Sc Dec. Work 1 sc in next 15 st’s. Sc Dec. Turn (17)Row 8. Sc Dec. Work 1 sc in next 13 st’s. Sc Dec. Turn (15)Row 10. Sc Dec. Work 1 sc in next 11 st’s. Sc Dec. Turn (13)Row 12. Sc Dec. Work 1 sc in next 9 st’s. Sc Dec. Turn (11)Row 14. Sc Dec. Work 1 sc in next 7 st’s. Sc Dec. Turn (9)Row 16. Sc Dec. Work 1 sc in next 5 st’s. Sc Dec. Turn (7)Row 18. Sc Dec. Work 1 sc in next 3 st’s. Sc Dec. Turn (5)Row 20. Sc Dec. Work 1 sc in next 1 st’s. Sc Dec. Turn (3)Row 22. Sc3tog. Fasten off and cut yarn.Sew in ends.Block Triangles so they sit flat. This will make them easier to join.The main picture is a little teaser of what I am making from these. It is going to beFAB-U-LOUS!!!!!
 The cynic in me thinks they do it on purpose. It's someones idea of a cruel joke. Whoever thought the colour choices up are probably a frustrated Hooker, cackling in glee that they made me frog another project.What I am currently working on, happens to be made from
 The pattern is available on:
